Showing posts with label cookies. Show all posts

Festive Butterball Cookies


Festive Butterball Cookies

These festive butterball cookies are the same classic ones made with walnuts that my mother and aunts always made for the Holidays. Also known as snowball cookies, these are always a favorite for the Holidays or served at weddings.

We make all of the Holiday cookies at our house, our 10-year-old grandson, Tyler made these cookies from start to finish.

The traditional butterball cookies would be made with walnuts. But, Tyler had some other festive options, which turned out to be delicious.

Festive Butterball Ingredients:

1-1/2 cup butter softened
3/4 cups powdered sugar
1/2 teaspoon salt
1 teaspoon vanilla extract
3 cups all-purpose flour
1 cup white chocolate chips (Mini)
1/2 cup green cookie sprinkles
1/2 cup red cookie sprinkles

Instructions for Festive Butterball Cookies:

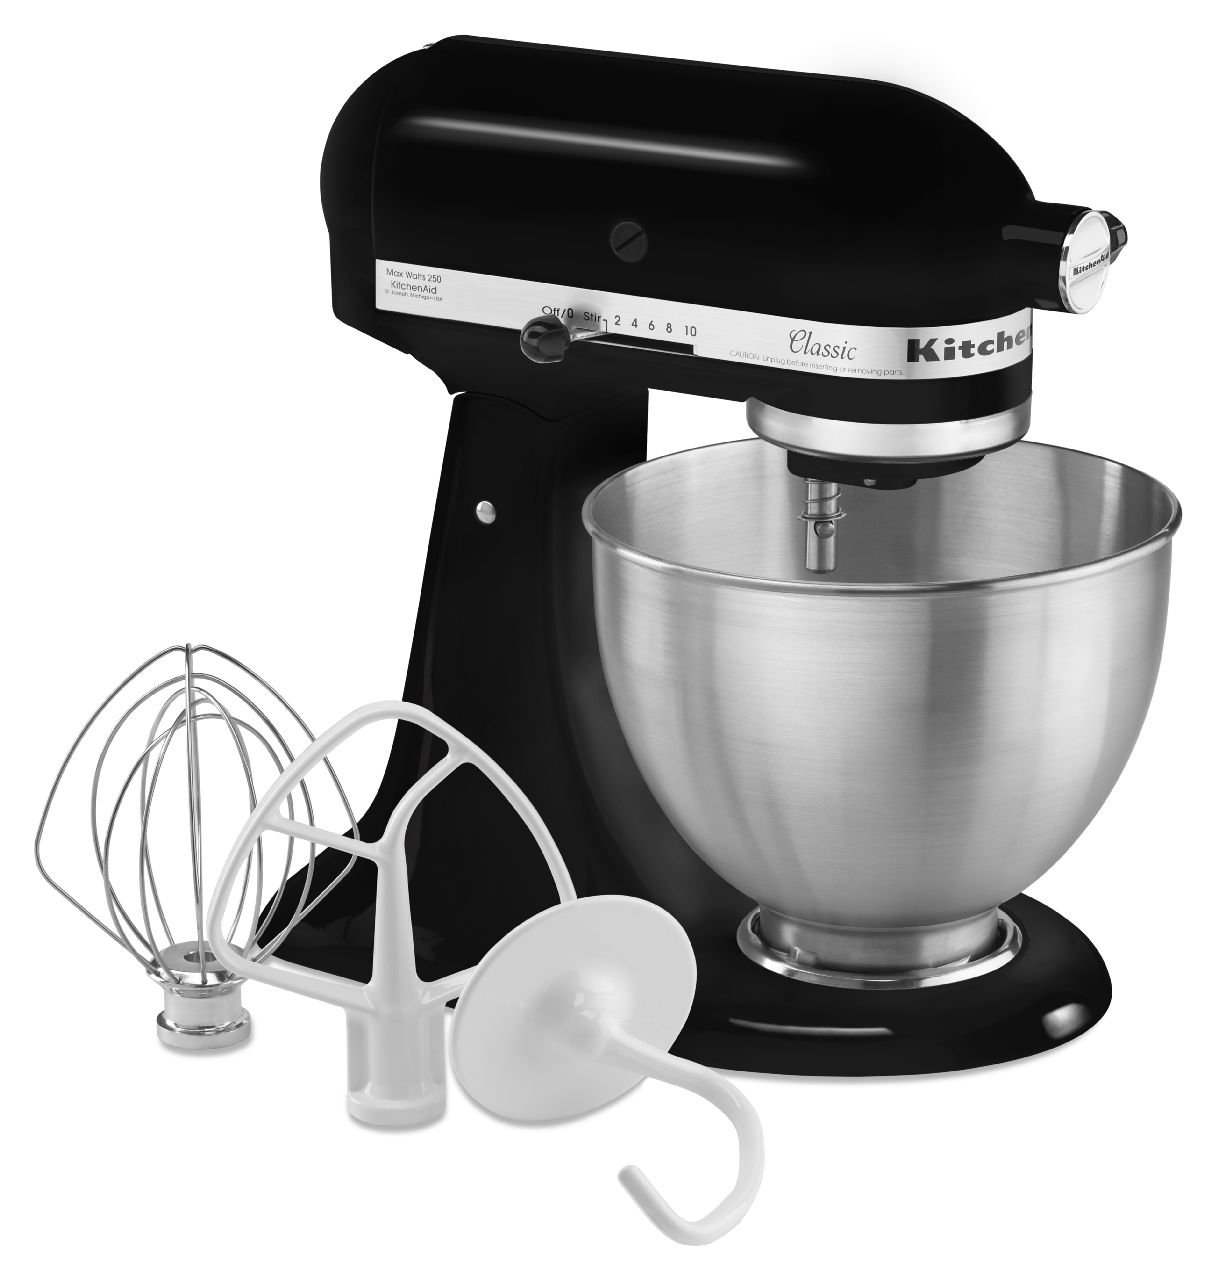
  1. In a large bowl, beat the butter and sugar. Tyler used our KitchenAid Stand Mixer.
  2. Add the vanilla and continue to mix well.
  3. Add in the salt, flour, white chips, and sprinkles.
  4. Continue to mix until the dough becomes thick.
  5. Preheat oven to 375 degrees
  6. Line a cookie sheet with parchment paper.
  7. Roll into 1-inch balls and place on a cookie sheet about 2 inches apart.
  8. Bake for 10-12 minutes or until they turn brown.
  9. Remove and place on a cooling rack for 10 minutes.
  10. Roll in powdered sugar and enjoy.
Christmas Butterball Cookies
Festive Butterball Cookies are ready for the oven

Make these cookies any time of the year. Just omit the festive sprinkles and white chocolate chips and add 1 cup of chopped walnuts.

As always thanks for stopping by and we hope you enjoy it

Baking Sheet Set, 3-Piece Cookie Sheet Set with Silicone Handles, Steel Baking Pans Set, Durable Baking Sheets for Oven, BPA Free Cookie Sheets for Baking Nonstick Set, Sheet Pan - Black Baking PanBaking Sheet Set, 3-Piece Cookie Sheet Set with Silicone Handles, Steel Baking Pans Set, Durable Baking Sheets for Oven, BPA Free Cookie Sheets for Baking Nonstick Set, Sheet Pan - Black Baking PanBaking Sheet Set, 3-Piece Cookie Sheet Set with Silicone Handles, Steel Baking Pans Set, Durable Baking Sheets for Oven, BPA Free Cookie Sheets for Baking Nonstick Set, Sheet Pan - Black Baking PanKitchenAid NEW 7 Quart Bowl Lift Stand Mixer with Double Flex Edge Beater KSM70SK, Empire RedKitchenAid NEW 7 Quart Bowl Lift Stand Mixer with Double Flex Edge Beater KSM70SK, Empire RedKitchenAid NEW 7 Quart Bowl Lift Stand Mixer with Double Flex Edge Beater KSM70SK, Empire Red


Yummy Chewy Oatmeal Raisin Cookies


Yummy Chewy Oatmeal Raisin Cookies

Everyone in my family knows that oatmeal raisin cookies are my favorite cookie. Many years ago Jamie made these yummy chewy oatmeal raisin cookies for me and I just couldn't stop eating them. These cookies for sure lived up to the name, yummy and chewy.

These were so good that I had to have the recipe. Jamie wrote it all down for me and I tucked away and never made them. After digging through some old recipes I came across this recipe and knew that I had to make these again.

Many people don't like raisins. Well, I happen to like them, especially in these soft chewy cookies. These cookies are made with brown sugar, cinnamon, and vanilla. They are soft chewy and bursting with flavor.

Oatmeal cookie mixture

The complete ingredients and instructions will be below, but the first thing to do is to make this mixture. Mix the eggs, vanilla, and raisins in a medium bowl. Cover and put this in the refrigerator for at least one hour.

Yummy Chewy Oatmeal Raisin Cookies Ingredients:

3 eggs beaten
1 teaspoon vanilla
1 cup raisins
2-1/2 cups flour
2 teaspoons baking soda
1 teaspoon cinnamon
1 teaspoon salt
1 cup butter (softened)
1 cup white sugar
1 cup brown sugar
2 cups oatmeal

Instructions:
  1. In a medium bowl beat the eggs, add the vanilla, and raisins cover, and refrigerate for one hour.
  2. In another bowl, beat and cream together the butter, white sugar, and brown sugar.
  3. In a third bowl mix the flour, baking soda, cinnamon, and salt.
  4. Add the dry ingredients to the creamed butter and sugar mixture. Mix until all of the flour is absorbed.
  5. Stir in the egg and raisin mixture, then add the 2 cups of oats.
  6. The mixture will be stiff. Drop onto a cookie sheet lined with parchment paper with a tablespoon. I used a #70 cookie scoop for this.
  7. Bake at 350 degrees for 8 to 10 minutes until cookies are brown around the edges.
Oatmeal cookies ready for the oven

Yummy chewy oatmeal raisin cookies ready for the oven. I'm so glad that I found this recipe, these are the best oatmeal raisin cookies that I've ever had. I yielded 60 cookies from this recipe. These are easy to freeze for a nice sweet treat any time. 

As always thanks for stopping by and I hope you enjoy it!

Wilton Stainless Steel Small Cookie Scoop, SilverWilton Stainless Steel Small Cookie Scoop, SilverWilton Stainless Steel Small Cookie Scoop, SilverKitchenAid RRK150BK 5 Qt. Artisan Series Stand Mixer - Imperial Black (Renewed)KitchenAid RRK150BK 5 Qt. Artisan Series Stand Mixer - Imperial Black (Renewed)KitchenAid RRK150BK 5 Qt. Artisan Series Stand Mixer - Imperial Black (Renewed)Baking Sheet Set, 2-Piece Cookie Sheet Set with Silicone Handles, Steel Baking Pans Set, Durable Baking Sheets for Oven, BPA Free Cookie Sheets for Baking Nonstick Set, Sheet Pan - Black Baking TrayBaking Sheet Set, 2-Piece Cookie Sheet Set with Silicone Handles, Steel Baking Pans Set, Durable Baking Sheets for Oven, BPA Free Cookie Sheets for Baking Nonstick Set, Sheet Pan - Black Baking TrayBaking Sheet Set, 2-Piece Cookie Sheet Set with Silicone Handles, Steel Baking Pans Set, Durable Baking Sheets for Oven, BPA Free Cookie Sheets for Baking Nonstick Set, Sheet Pan - Black Baking Tray


Thumbprint Cookies with Lemon Curd

Thumbprint Cookies with Lemon Curd

Well, I hope you guys aren't tired of lemon recipes yet. I had some lemon curd leftover from the Fresh Lemon Hand Pies I made the other day. I needed to use it up so I made these simple thumbprint cookies with lemon curd filling.

These buttery little shortbread cookies are a true delight. They're so easy to make and can really be filled with any fruit filling.

Thumbprint Cookies with Lemon Curd: Ingredients

1-1/2 cup butter (Softened)
1 cup of sugar
1 teaspoon Vanilla extract or (maple syrup)
3 large eggs beaten
3 cups all-purpose flour
1/2 teaspoon salt
1/4 cup lemon curd or any fruit filling
2 or 3 tablespoons sugar to sprinkle after baking

Instructions:
  1. With an electric or stand mixer, cream the butter, sugar, vanilla together.
  2. Add the salt and flour one cup at a time and continue mixing on low speed.
  3. Add the eggs one at a time, continue to mix until a dough forms.
  4. Line a cookie sheet with parchment paper, roll the dough into balls, about 1-1/2 tablespoons.
  5. Press the center of the ball to create a cavity, fill the cavity with the lemon curd or fruit. I used the tip of a teaspoon to fill them.
  6. Bake at 350 degrees for 18 to 20 minutes sprinkle sugar over top while still hot. Place the cookies on a rack and let cool.
Tip: Did you know that maple syrup is a substitute for vanilla extract? 

I was in the process of making these and found that I was out of the vanilla extract so, I used the maple syrup. They turned out perfect.

Lemon thumbprint cookies

    I used a 1-1/2 tablespoon cookie scoop and then rolled them into balls. Press the dough back together if it splits when pressing with your thumb.

    You can find the recipe for the lemon curd here:

    As always thanks for stopping by and I hope you enjoy it.

    Glazed Lemon Almond Biscotti

    Glazed Lemon Almond Biscotti

    Every year my cousin sends me a box of fresh lemons from his backyard lemon trees in Arizona. So, I put them to good use with these Glazed Lemon Almond Biscotti.

    The lemon and almond are a delicious combination of flavors for biscotti. If you're not a fan of almond flavor you can leave it out. I like lemon so I also made a lemon glaze for my biscotti.

    Biscotti is a perfect treat if you're having friends over for coffee or tea. And, biscotti is really not difficult to make.

    Glazed Lemon Almond Biscotti: Ingredients

    2 cups all-purpose flour
    2/3 cup white sugar
    6 tablespoons butter
    1/4 teaspoon salt
    1 tablespoon grated rind of lemon
    2 teaspoons of almond extract
    2 teaspoons baking powder
    3 tablespoons freshly squeezed lemon juice
    2 large eggs
    1/4 cup slivered almonds

    Lemon Almond Biscotti

    In a large mixing bowl, I beat together the sugar, butter, lemon rind, salt, baking powder, and almond extract. I used my hand mixer until the mixture was smooth.

    Next, I added the lemon juice, eggs, and almond slicers. I continued mixing until they were combined. Turning the mixer to low speed I added the flour and mixed until a sticky dough formed.

    Because the dough is a bit sticky it's best to shape the biscotti log right on a piece of parchment paper. I shaped the log to 14" long x 3" wide x 3/4" high.

    Tip: It helps to use a wet spatula to shape the sticky dough.


    Lemon Biscotti

    I placed the log on a large cookie sheet and baked it at 350 degrees for 25 minutes. Then I removed it from the oven and let it cool for about 30 minutes.

    Notice that I had some cracks on top of the log. I can assure you this does not affect the flavor of the biscotti at all.

    Glazed Lemon Biscotti

    After the log was cooled I brushed it with lukewarm water and waited for about 5 minutes before slicing it into 1/2" slices. The warm water helps soften it to make it easier to slice.

    I turned the oven down to 325 degrees and prepared another cookie sheet with parchment paper. I set the slices on their side and baked them for 12 minutes per side for a total of 24 minutes until they were golden.

    Glazed Lemon Almond Biscotti: The Lemon Glaze

    1/2 cup confectioners' sugar
    3 teaspoons fresh lemon juice or 1 teaspoon of milk


    I whisked this together in a small bowl and drizzled the glaze over the top and down the sides of the biscotti.


    As always thanks for stopping by and I hope you enjoy.

    Pineapple Bow Tie Cookies

    Pineapple Bow Tie Cookies

    These pineapple bow-tie cookies have been on our Holiday cookie list since I was a little guy. And, that was a long time ago. I found my mother's old handwritten recipe for these and just had make them this year.

    We made the dough according to her recipe but it turned out to be a failure. I just could not work with the dough. So, Fran suggested a cream cheese dough and it worked beautifully.

    Pineapple Bow Tie Cookies: Dough

    8 oz cream cheese (softened)
    8 oz butter (softened)
    1/2 teaspoon Vanilla
    3/4 cup powdered sugar
    2-1/2 cups flour

    In my KitchenAid stand mixer, I mixed the cream cheese and butter starting at low speed and then switching to high speed to make sure the two ingredients were creamed together.

    Turning the mixer to medium speed add the powdered sugar and vanilla. Then, add the flour and mix until the dough is formed. Divide the dough into two equal sections, wrap, and refrigerate for one hour.

    Pineapple Bow Tie Cookies: Filling

    20 oz can crushed pineapple
    1/4 cup white sugar
    2 tablespoons cornstarch

    Combine in a medium saucepan. Cook over medium heat while stirring until the pineapple thickens. Then remove from heat.


    Roll the dough to 1/8-inch thick and cut into 2-inch squares. Place 1/2 teaspoon of pineapple in the middle of each square. Fold opposite corners together and press.

    Tip:  To make sure the cookies don't open up while baking use some of the pineapple juice or just a little water to hold corners together.

    Place them on a cookie sheet lined with parchment paper about 2 inches apart. Sprinkle a little sugar over them and bake at 375 degrees for 8-10 minutes. Dust with powdered sugar right out of the oven.

    These cookies are fun and easy to make. They're also very versatile because you can use any fruit filling that you like.

    We made some with raspberry jam right out of the jar. This recipe yielded us about 60 or more cookies. Perfect to dress up your Holiday table.

    Raspberry Bow Tie Cookies

    As always thanks for stopping by and I hope you enjoy it.

    KitchenAid Artisan Series 5-Qt. Stand Mixer with Pouring Shield - Imperial BlackKitchenAid Artisan Series 5-Qt. Stand Mixer with Pouring Shield - Imperial BlackKitchenAid Artisan Series 5-Qt. Stand Mixer with Pouring Shield - Imperial BlackBaking Sheet Set, 3-Piece Cookie Sheet Set with Silicone Handles, Steel Baking Pans Set, Durable Baking Sheets for Oven, BPA Free Cookie Sheets for Baking Nonstick Set, Sheet Pan - Black Baking PanBaking Sheet Set, 3-Piece Cookie Sheet Set with Silicone Handles, Steel Baking Pans Set, Durable Baking Sheets for Oven, BPA Free Cookie Sheets for Baking Nonstick Set, Sheet Pan - Black Baking PanBaking Sheet Set, 3-Piece Cookie Sheet Set with Silicone Handles, Steel Baking Pans Set, Durable Baking Sheets for Oven, BPA Free Cookie Sheets for Baking Nonstick Set, Sheet Pan - Black Baking Pan


    Fun Halloween Treat Ideas

    Fun Halloween Treat Ideas

    Here is a couple of easy Halloween treat ideas that the kids and even the adults will love. These Reese cup bats and chocolate mini donut spiders are not only fun but so easy to make.

     Every Halloween our grandsons go trick or treating in our neighborhood. So, we always try to have some fun treats. There is no recipe or cooking involved you just need the treats and some time to assemble these tasty sweet treats.

    Fun easy Halloween Treats: Here is what you need:

    Reese Cups (Full size)
    Oreo Cookies
    Pretzels (Large Thin)
    Chocolate mini donuts
    Edible candy eyes
    Edible dab-n-hold adhesive

    Let us make the spiders first:

    With a sharp knife cut the large loops of the pretzels where they meet the middle. This is not a perfect process so, you're going to waste some of them.

    Now very carefully press four pretzel loops per side into the mini donuts. Ten glue on the candy eyes using Wilton Dab-N-Hold Edible Adhesive. And, that is it you've made a mini donut spider.

    Now for the Reese Cup Bats:

    First, separate the Oreo cookies scrap the icing off of one side or you can eat that one and keep on going.

    Again using a sharp knife cut the Oreos in half. These will be your bat wings. This is also not perfect  you're going to waste some, which is great because you get to eat them.

    Use the edible adhesive the attach the Oreo halves to the Reese Cups and do the same for the eyes. Oh!! How easy these are to make and so much fun. I'm sure they will disappear quickly.

    As always thanks for stopping by and I hope you enjoy.


    Maple Twist Cookies

    Maple Twist Cookies

    It's four days before Christmas and we're still baking cookies. These Maple Twist Cookies are a favorite of mine. My mother and aunt would make these every year for Christmas.

    I tried making these last year but they turned out to be an epic failure because my mother's recipe was a little short on instructions.

    This year I called out the reserves on this one. My cousin Jimmy and our good friend Verna both had this recipe so I tried again this year.

    They may not look perfect but the taste is what I remember as a kid. A sweet nutty cookie with a maple flavor. There are so many walnut cookie recipes, the combinations in this one are amazing.

    What you need for the dough:
    3 cups all-purpose flour
    6 teaspoons baking powder
    1/4 cup brown sugar
    1/2 cup Crisco
    1 teaspoon vanilla
    1/2 cup milk
    2 large eggs
    1/4 cup butter Melted (save for later)

    Using my Kitchenaid stand mixer, I added the flour and baking powder into the mixing bowl and sifted together.

    Add the Crisco, brown sugar, and vanilla. I turned the mixer on low speed and added the eggs and milk. Continue mixing until the dough is formed. Separate the dough into 3 equal pieces and put it in the refrigerator for one hour.

    While the dough was chilling it was time to make the filling and icing.

    Filling for Maple Twist Cookies:
    3 cups walnuts (Crushed)
    6 teaspoons of brown sugar
    6 teaspoons white sugar
    Milk

    Combine the crushed walnuts and brown sugar and white sugar in a mixing bowl. Add a couple of tablespoons of milk at a time and mix until it looks like a paste. Be careful, don't add too much milk, as it will become runny.

    Icing:
    1 cup powdered sugar
    1 tablespoon butter
    1 teaspoon Maple extract
    1 tablespoon milk

    BLACK+DECKER HC306 One-Touch 1.5 Cup Capacity Electric Chopper, WhiteBLACK+DECKER HC306 One-Touch 1.5 Cup Capacity Electric Chopper, White
    Electric Food Choppers Dicers


    We used our handy food chopper dicer to chop the walnuts fine enough for this recipe. We find this to be a very handy kitchen tool for small jobs like this one.
    Combine and mix well until the icing is smooth.

    My Icing and filling
    Now that everything is prepared we can make these cookies. Roll the dough out thin on a floured surface. Brush with some melted butter, and spread the filling.

    Fold this over 3 times and seal the ends. Cut them into 1/2 inch slices, give them a twist and place them on a greased cookie sheet or cookie sheet with parchment paper.
    Ready for the oven
    Bake these at 350 degrees for about 12 to 15 minutes. Let them cool and add your icing, or you can make the icing a little runny and brush it on while they are still warm.

    I made my icing thick and iced them with a small spatula after the cookies cooled, If you do this you will need to double the icing recipe.

    I yielded about 45 cookies you should get 15 or so cookies from each section of dough.

    As always thanks for stopping by and I hope you enjoy!

    “ I earn money from purchases on affiliate links at no additionl cost to you.” Disclosure Statement

    X