Showing posts with label Appetizers/Snacks. Show all posts

Easy Crusty Italian Bread

 There is something truly magical about the aroma of freshly baked bread throughout the house. And when it comes to Italian cuisine, few things are as iconic and satisfying as a loaf of crusty Italian bread. This culinary delight is so simple to recreate at home.

Easy Crusty Italian Bread

This crusty Italian bread is perfect for dipping in olive oil mixed with savory Italian seasoning, serving it alongside your favorite pasta, or simply enjoying it all on its own with butter.

Ingredients:

  • 4 cups of all-purpose flour
  • 1 Package of Active dry yeast or rapid-rise yeast
  • 1-1/2 cups warm water
  • 1 teaspoon salt
  • 1 tablespoon olive oil
  • 1 teaspoon sugar
Instructions:

If using the active dry yeast, combine it in a small bowl with the warm water and let it sit for about 5 minutes until it becomes foamy. (If using the rapid-rise yeast just combine it with the flour.)


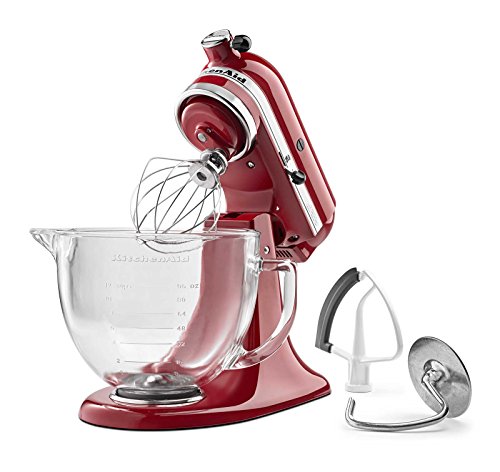
I used my KitchenAid Stand Mixer. Combine the flour, salt, olive oil, and sugar in the mixing bowl. Add the yeast and water mixture and mix on low speed using the dough hook. Mix until the dough forms, remove the dough to a floured surface, and knead a few times. If the dough is too sticky add a little more flour, but not too much.


If you are mixing by hand, combine the dry ingredients in a large bowl. Make a well in the center and pour the yeast mixture and olive oil in the middle. Mix with a wooden spoon or your hands until the dough forms.


Lightly coat the dough with oil, place it in a large bowl, and cover. Let it rise for 1 to 2 hours.


After the dough has risen, gently press down and shape it into an oval. Or, you can divide the dough into two small loaves. 


Place the shaped dough on a parchment-lined baking sheet or a lightly greased baking sheet. I baked mine in my 10-inch cast iron skillet. cover and let it rise for another 30 minutes.


Preheat the oven to 450 degrees while the dough is rising. Once the oven is preheated, place a small pan with one cup of hot water on the lower rack. The steam will help create a crispy crust.


Just before baking, use a sharp knife to make 2 shallow slashes on the surface of the dough. This helps the bread expand while baking.


Bake for 20-25 minutes until it's golden brown and sounds hollow when tapped on the bottom. Allow the bread to cool on a wire rack for 30 minutes before slicing.

Crusty Italian Bread

Here is my crusty Italian bread just out of the oven in my 10-inch cast iron skillet. So, roll up your sleeves, gather some ingredients, and get ready to savor the taste of Italy.

KitchenAid KSM105GBCER 5-Qt. Tilt-Head Stand Mixer with Glass Bowl and Flex Edge Beater - Empire RedKitchenAid KSM105GBCER 5-Qt. Tilt-Head Stand Mixer with Glass Bowl and Flex Edge Beater - Empire RedKitchenAid KSM105GBCER 5-Qt. Tilt-Head Stand Mixer with Glass Bowl and Flex Edge Beater - Empire RedLodge 10.25 Inch Cast Iron Pre-Seasoned Skillet – Signature Teardrop Handle - Use in the Oven, on the Stove, on the Grill, or Over a Campfire, BlackLodge 10.25 Inch Cast Iron Pre-Seasoned Skillet – Signature Teardrop Handle - Use in the Oven, on the Stove, on the Grill, or Over a Campfire, BlackLodge 10.25 Inch Cast Iron Pre-Seasoned Skillet – Signature Teardrop Handle - Use in the Oven, on the Stove, on the Grill, or Over a Campfire, Black


Instant Pot Blackberry Jam


Instant Pot Blackberry Jam

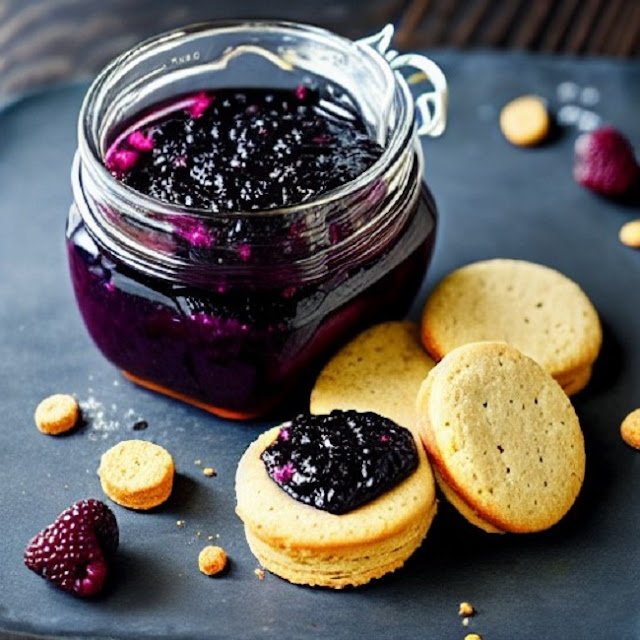
This Instant Pot Blackberry Jam is so easy to make. This sweet and tangy treat is a perfect topping for biscuits, crackers, waffles, french toast, or pancakes. 

Where ever you like a sweet and tangy jam, this is the perfect fit. Try drizzling this jam over some vanilla ice cream.

All you need is an Instant Pot and a few ingredients and in about 30 minutes you'll have a sweet and tangy jam to enjoy.

Here in Western New York, blackberries are in season from the middle to the end of July. You don't have to wait until the blackberries are in season. You can find fresh blackberries at your local grocery store.

Blackberry Jam Ingredients:

  • 6 cups of fresh blackberries (rinsed and pat dry)
  • 1 1/2 cups white sugar
  • 1/4 cup fresh lemon juice (4 tablespoons)
  • 2 teaspoons vanilla extract
  • 3 tablespoons cornstarch
  • 2 tablespoons water
Directions:

  1. Place the blackberries in the Instant Pot, and cover them with sugar, lemon juice, and vanilla. Let them set for 10 minutes. Note: Step one is very important.
  2. Place the lid on and lock it into place, and make sure sure the release valve is set on the seal.
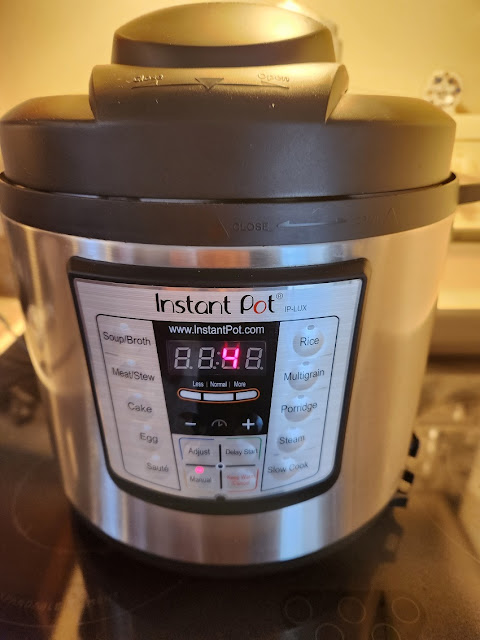
  3. Cook on manual pressure for 4 minutes.
  4. While the blackberries are cooking, mix the cornstarch and water in a small bowl. Set this aside.
  5. After the 4 minutes let the instant pot naturally release the pressure for about 10 minutes.
  6. Then carefully release the remaining pressure with the release valve.
  7. Open the lid and stir in the cornstarch and water.
  8. Continue to stir until all of the cornstarch is dissolved. 
  9. Let cool for a while and transfer to jars.
  10. Refrigerate after the jam has completely cooled.

Preparing blackberry jam

This is step one, after covering the berries with sugar, lemon juice, and vanilla wait 10 minutes. This step starts to break down the fruit and release the natural pectin in the blackberries.

Instant Pot

This only needs 4 minutes on the manual pressure setting in the Instant Pot.

Blackberry Jam

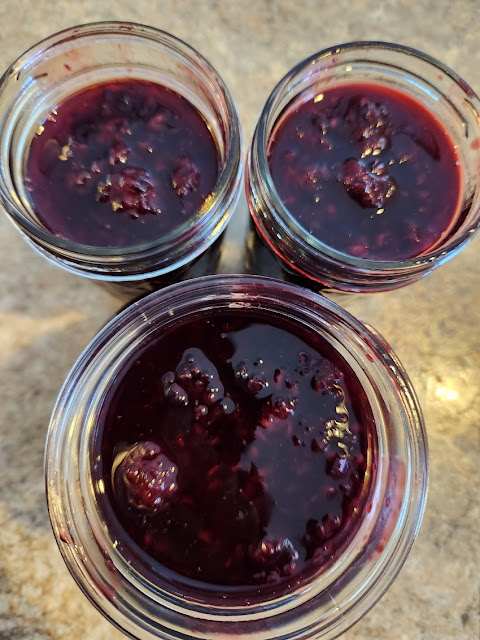
This recipe yielded about 32 ounces of blackberry jam. I gave half of it to my daughter and grandsons. 

This jam will last about two weeks in the refrigerator. If this is too much, just cut all of the ingredients in half, but leave the cooking time at 4 minutes. You will get about 14 to 16 ounces of jam.

If you don't have an Instant Pot you can do this on the stovetop. In a covered saucepan bring the berries to a boil on high heat. Remove the lid when it starts to boil and cook for 40 to 50 minutes.

If you would like a smoother jam, use an immersion blender or potato masher to blend the jam to your desired consistency.

Thanks for stopping by and I hope you enjoy it.

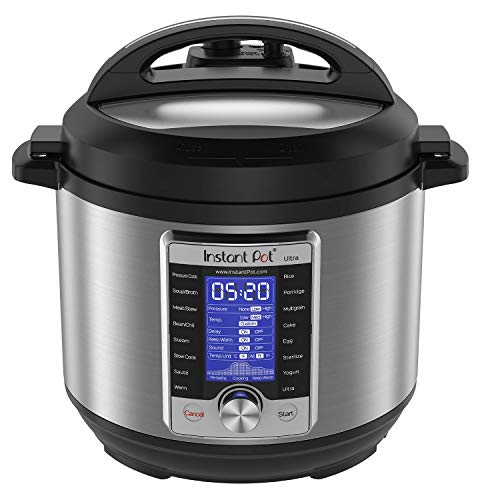
Instant Pot Ultra, 10-in-1 Pressure Cooker, Slow Cooker, Rice Cooker, Yogurt Maker, Cake Maker, Egg Cooker, Sauté, and more, Includes App With Over 800 Recipes, Stainless Steel, 6 QuartInstant Pot Ultra, 10-in-1 Pressure Cooker, Slow Cooker, Rice Cooker, Yogurt Maker, Cake Maker, Egg Cooker, Sauté, and more, Includes App With Over 800 Recipes, Stainless Steel, 6 QuartCheck Price


Air Fryer Pumpkin Seed Recipes


Air Fryer Pumpkin Seed Recipes

Every year when it comes time to carve the pumpkins it turns into a real event at our house. While my daughter and grandsons are competing to see who carves the best pumpkin, I'm collecting and cleaning all of those beautiful pumpkin seeds.

Did you know? That pumpkin seeds are packed with healthy nutrients. Pumpkin seeds contain healthy fats, magnesium, and zinc. Click here for some science-based health benefits of pumpkin seeds.

While everyone was busy carving, I'm busy preparing the seeds. This year I made the pumpkin seeds in our Air Fryer, it was so quick and easy and they were so delicious.

After cleaning the pumpkin seeds I spread them out on a cookie sheet. You can let them dry overnight or do what I did. I placed each of the cookie sheets in the oven at 200 degrees for 10 minutes to dry them out.

We made four flavors of pumpkin seeds this next instruction applies to all four or whatever seasoning you use.

Place the pumpkin seeds in a bowl add a tablespoon of oil and mix well or you can spray them with cooking spray and mix.

Add your seasoning and mix well. Set your air fryer to 400 degrees and timer for 7 minutes. Turn them with a spoon halfway through at 3 and a half minutes. The first batch: Sea Salt, I used one tablespoon of sea salt for this one. 

Cajun Style Pumpkin Seeds:

Simple pumpkin seed recipes

1 tablespoon Smoked Paprika
1 tablespoon sea salt
1/2 teaspoon cayenne pepper
1/2 teaspoon cajun seasoning


Mix well, air fry at 400 degrees for 7 minutes turning them with a spoon halfway through.


Italian Style Pumpkin Seeds:


Easy pumpkin seed recipes

1 tablespoon Italian Seasoning
1 tablespoon garlic powder
1 tablespoon sea salt
1/2 teaspoon black pepper


Mix well, air fry at 400 degrees for 7 minutes turning them with a spoon halfway through.


Cinnamon and Sugar Pumpkin Seeds:


Air fryer pumpkin seeds

1 tablespoon cinnamon

Mix well, air fry at 400 degrees for 7 minutes turning them with a spoon halfway through.

Note: Do not add sugar before air frying. Mix sugar and cinnamon in a bowl and toss hot pumpkin seeds after they air fry, stir well and enjoy.


Drying the pumpkin seeds in the oven at 200 degrees for 10 minutes and using your air fryer is a great way to enjoy this healthy snack right away. You can adjust the amounts of seasoning to your liking in any of these recipes.

We used our Ninja Foodi Grill and Air fryer to make our pumpkin seeds. Click here to read my review of the Ninja Foodi Grill.

   As always thanks for stopping by and I hope you enjoy it.

Ninja AG301 Foodi 5-in-1 Indoor Grill with Air Fry, Roast, Bake & Dehydrate, Black/SilverNinja AG301 Foodi 5-in-1 Indoor Grill with Air Fry, Roast, Bake & Dehydrate, Black/SilverNinja AG301 Foodi 5-in-1 Indoor Grill with Air Fry, Roast, Bake & Dehydrate, Black/Silver


Arugula Pizza with Balsamic Glaze

Arugula Pizza with Balsamic Glaze

 Now that the weather is a little cooler it's time to turn on the oven for some homemade pizza. This Arugula Pizza with Balsamic Glaze was the highlight of the day.

Pizza is just so versatile, you can top it with whatever you like. I started the morning by making two batches of pizza dough. I used Fleischmann's RapidRise Instant Yeast, with the rapid rise yeast your dough will be ready in about 30 minutes.

Ingredients for the Pizza Dough:

2 packages of RapidRise Yeast
6 to 7 cups all-purpose flour
2-1/2 cups lukewarm water
1/8 teaspoon salt
3 tablespoons of light olive oil

To mix the dough I used my KitchenAid Stand Mixer with the dough hook. Add the water, yeast, salt, and oil into the mixing bowl. Begin adding the flour one cup at a time. Continue mixing until the dough forms. Then, Roll out on a floured surface, cover with a kitchen towel for about 30 minutes. This recipe will easily make three pizzas.

Arugula Pizza


Lightly grease the pizza pan and roll out the dough. I made several tomato pizzas and Jamie made this Arugula Pizza with fresh tomatoes and balsamic glaze.

Start with spreading olive oil over the top of the rolled out dough. Add fresh oregano leaves, Italian seasoning, one clove of minced garlic, and some shredded mozzarella cheese. The fresh oregano is from Jamie's herb garden.

Arugula Tomato Pizza Recipe


Now, add fresh sliced tomatoes and fresh arugula. You can slice the tomatoes to your liking thick or thin. Add some more shredded mozzarella cheese over top and bake at 450 degrees for 10 to 12 minutes until the crust is golden brown.

Arugula Tomato Pizza


Remove the pizza from the oven and drizzle the top with Cento Italian Glaze. This is a sweet and tart glaze made from balsamic vinegar and works well with meat, roasted vegetables, cheese plates, and fruits. Now, it's time to slice and enjoy your pizza.

As always thanks for stopping by and I hope you enjoy it!

Norpro Wood Pastry/Pizza RollerNorpro Wood Pastry/Pizza RollerNorpro Wood Pastry/Pizza RollerKitchenAid Gourmet Pizza Wheel, One Size, Matte RedKitchenAid Gourmet Pizza Wheel, One Size, Matte RedKitchenAid Gourmet Pizza Wheel, One Size, Matte Red


Canning and Preserving Eggplants

If you follow my blog, then you know I have a passion for preserving old family recipes. These are the recipes our grandmother's and mother's made from scratch.

Food that when you make it today brings back the fondest childhood memories. Let's face it homemade is the best and nobody makes it like our grandmothers.

My cousins, Jimmy and Carmie share the same passion for preserving these cherished recipes. Here are the recipe and instructions that have been in my cousin Carmie's family for generations.

Eggplants prepared in this way are perfect on sandwiches, or as a snack with a nice slice of Italian bread. I'm so glad Carmie has this recipe because my mother also made these and I don't have her recipe. So, here is the recipe by Jimmy and Carmie.

EGGPLANTS 

A Marcella Family Recipe 

Canning and Preserving Eggplants


Carmie and I have been making this family favorite for as long as we have been married. (Basically, I cut the EGGPLANT and then make sure the jars are sealed). It is a recipe that her mother; ANNIE taught her. For years we have been saying that we should document this recipe and process so that it will be preserved for future generations. Anyone that we know that has tried this specialty really enjoys them. Whenever we go back east, we are always reminded to pack 3 or 4 jars. 

We have always made a bushel of Eggplants when making this recipe; however, you can make 2 or 3 individual EGGPLANTS if you like. As you will see there are no critical conversions for the ingredients no matter how many you decide to make. 

The first step is to trim both ends and then peel them with a potato peeler or a paring knife. Then you will slice the Eggplant into 1/8th to ¼” thick slices. (When we first started, I attempted to cut them by hand and trying to keep them uniform was next to impossible. So, after a few years I bought a RIVAL ELECTRIC FOOD SLICER). It is now well over 40 years old and still performing well). Now, the slices are uniform and the time for this step was cut by about 60% or more.

Peel and Slice


rival electric food slicer

 So, the ingredients for day one is EGGPLANTS and SALT. As indicated, we did a bushel of Eggplants. Twenty-three in all.

 Next, the Eggplant Slices are layered in a kitchen strainer and salted with Iodized Salt between each layer. Once the strainer is full of all of the slices that have been salted we then place the strainer in a place for them to drain overnight. (A sink or tub work well) 

We place a dish or flat bowl on top of the Eggplants and then place a weight on the dish or bowl to help press the moisture from the Eggplants. (We use a gallon of oil or vinegar) The next day the strainer; that was full to the top, will now only be-half full and the slices will now be half as thick as they were original.

Pressing the water out of the eggplants overnight


 On day two you will need the following ingredients: 

1-gallon HEINZ Apple Cider Vinegar
1 ½ -gallons CRISCO Canola Oil
1 Jar 2.12 ounces McCormick Red Crushed Pepper 
1 Jar 2.6 ounces McCormick Crushed Whole Oregano Leaves 
1 Jar 32 ounces Minced Garlic 
Wide Mouth Pint Mason Jars 

To start, fill a large frying pan about half full of vinegar and bring to a slow boil. On the counter next to the stove, layout several dish towels. Start by placing several slices of Eggplant in the boiling vinegar and blanch for 30 seconds or so. 

Remove from the vinegar and lay the individual slices flat on the dish towels to drain. Once drained, place the Eggplant slices in a large bowl. Continue until all of the slices have been blanched. The slices will have a very vinegary taste at this time. 


 At this time, we fill a large saucepan with enough water to cover two mason jars when laid on their sides. Bring the water to a boil and place two jars in the water. Also, in a small saucepan, we heat enough water to cover the Mason Jar inserts.

Boiling the jars and lids

 Now for the hard part. (Just kidding) Carmie sets up a workstation with a shallow bowl, oil, oregano, red crushed pepper, and garlic. One of the jars is removed from the boiling water and placed on the shallow bowl. (Remember to place another jar into the boiling water). First, a little oil is added to the bottom of the jar, then a little garlic, a little oregano, a little red crushed pepper and then a couple of Eggplant slices. 

This process is continued until the jar is full to within approximately ¾ to ½ inch from the top of the jar. A regular dinner fork is used to keep the slices layered and flat. It also helps eliminate any air pockets that may form. 

The top of the jar is then wiped with a clean dish rag and one of the Mason Jar Lids are placed on the jar and the lid ring is installed and tightened. The jar is then placed in a draft-free area to await that wonderful sound. POP! We have found that the FOOD SAVER VACUUM SEAL MACHINE is a lot more reliable. SO, I get to help again. Using the Food Saver and the Wide Mouth Jar Attachment, I seal the jars.


 As you can tell, this is not an easy process; however, if you start with two or three Eggplants, you should not be overwhelmed. Also keep in mind that if you start small, you can eliminate the mason jar and use a small Tupper Ware Container. The process is the same except the final assembly is in the Tupper Ware Container, not the Mason Jar. 

Once opened, the jars must be refrigerated. Unopened, and if sealed properly the jars will last about two years when stored in a cool dark place. Once opened and refrigerated they still have a shelf life of 6 months or so. Twenty-three Eggplants yielded twenty-three pints. 


You might like some of our other Canning Recipes

Baked Stuffed Portabella Mushrooms

Baked Stuffed Portabella Mushrooms

If you're looking for a great meal for any meatless day of the week, these baked stuffed portabella mushrooms will be a family delight.

Portabella mushrooms or also spelled (Portobella) is a large cremini mushroom. These large mushrooms have a firm fleshy texture, which makes them perfect for stuffing.

I started by, removing the stems, rinsing the mushrooms with cold water and patting them dry with a paper towel. I diced the stems and added them into the stuffing ingredients.

recipe baked portabella mushrooms


Baked Stuffed Portabella Mushrooms: Stuffing Ingredients


1 cup seasoned breadcrumbs
1 tablespoon Italian seasoning
1 clove garlic minced
1/4 cup Romano or Parmesan Cheese
1 tablespoon olive oil
2 eggs
Diced mushroom stems
Mozzarella Cheese for the topping

This is so easy to make. Just combine all of the ingredients into a mixing bowl. Mix well until you have sort of a sticky ball of stuffing.

baked portabella mushroom caps

I had three portabella mushrooms I placed them on a cookie sheet lined with parchment paper. Then, filled each one with the stuffing.

Bake these at 350 degrees for 15 minutes. Remove from the oven and top them off with the mozzarella cheese.

 Place them back in the oven for 10 more minutes until the cheese melts. And, That's all there is to it, now, you have a perfect meatless meal for you and your family.

As always thanks for stopping by and I hope you enjoy it!

You may also like some of our other mushroom recipes:


Alfredo Cheese Pizza Recipe

Alfredo Cheese Pizza Recipe

Our grandson Bobby came over with this delicious alfredo cheese pizza recipe. Bobby loves to cook and is turning into quite the chef.

But first, let me tell you about another use for a cast-iron skillet. We needed a pizza stone for this recipe and didn't have one.

So, Bobby found out that you can use a cast-iron skillet in place of a pizza stone. Just place the cast iron skillet in the oven upside down at 500 degrees for 20 minutes.

After the pizza dough was made, it was divided into four equal pieces. If you need a pizza dough recipe try my All-Purpose Dough Recipe here. Or you can pick up the fresh dough at your local grocery store.

Alfredo Pizza Recipe

Take one part of your dough and spread it out on a floured 10-inch plate.  Use a spatula to spread half of the alfredo sauce on top, then add shredded mozzarella cheese.

Using oven mitts to take the skillet out of the oven and place it on a wooden cutting board. Carefully transfer the pizza from the plate to the bottom of the cast-skillet.

 Place it back in the oven for only five minutes, then slide the pizza onto a rack to cool slightly before cutting.

Cast Iron Pizza Stone


Bobby made four pizzas, two with alfredo sauce, and two tomato sauce, cheese, and pepperoni. The outcome was amazing, these pizzas were delicious with a nice crunch.

Oh, I almost forgot, here is the recipe for the alfredo sauce.

Ingredients

6 or 7 cloves of garlic (diced)
3 tablespoons Olive Oil
1/4 cup grated Romano Cheese 
Heavy Cream (enough to cover the bottom of the pan)

Directions
  1. In a 10-inch skillet, add olive oil and garlic.
  2. Cook over medium heat until the garlic begins to sweat.
  3. Add the heavy cream, enough to cover the bottom of the pan.
  4.  Add the Romano cheese and stir.
  5. Continue stirring until the sauce is smooth.
As always thanks for stopping by and I hope you enjoy it.


You might like to try some of my other pizza recipes

Sausage Cheese Ball Appetizers

Sausage cheese ball appetizers

I like quick and easy, and these sausage cheese ball appetizers are just that. Whenever your planning your next party add these to your appetizer list.

Or, Make these anytime just as a snack your family and friends will love them. These will disappear as fast as you get them out of the oven.

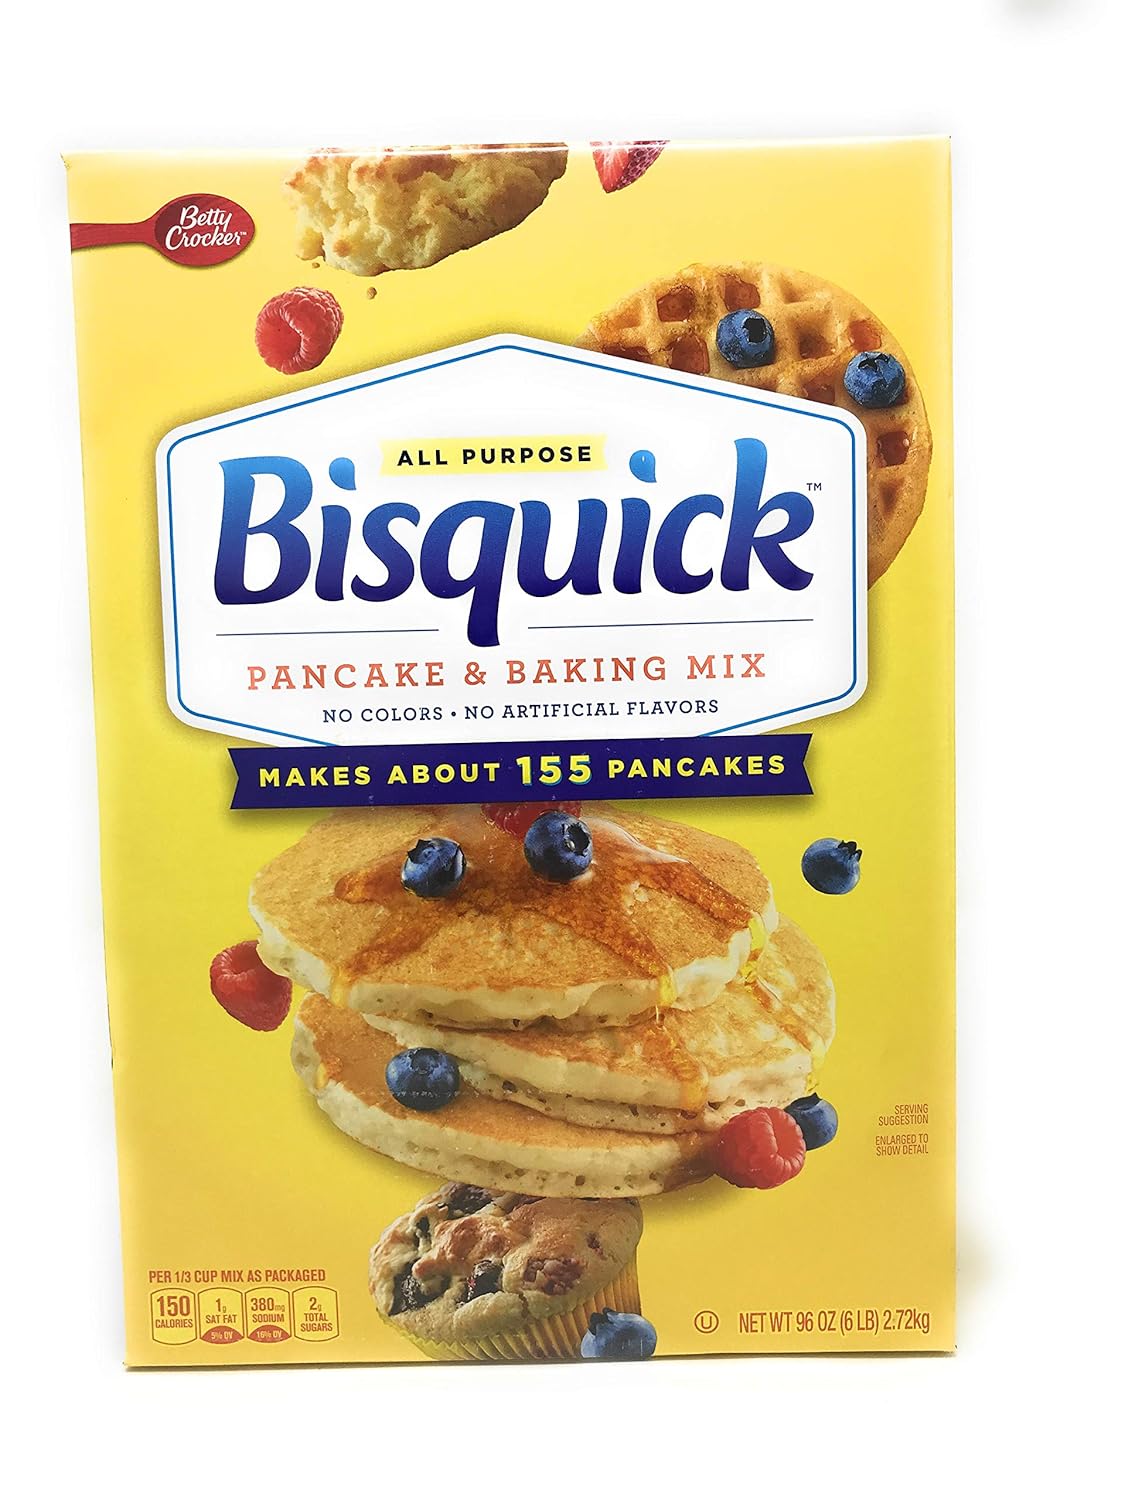
Made with a few simple ingredients, Bisquick, Sausage, and Cheddar Cheese. We always make these around the Holidays and make sure we make enough to freeze.

Did I mention that you can make these ahead and freeze them? Then just bake when you're ready for a snack. They make a perfect game day appetizer. We will be making these for the Super Bowl for sure.

Sausage Cheese Ball Appetizers Ingredients:

1 lb. bulk sausage
3 cups Original Bisquick
4 cups shredded cheddar
1/2 cup grated Parmesan Cheese
1 tsp. garlic powder
1/2 cup milk
1-1/2 tsp. chopped parsley (optional)

Directions:
  1. Cook the sausage in a 10-inch skillet over medium heat.
  2. You want the sausage to be crumbled, use a spatula or wooden spoon to break it up while cooking.
  3. Cook the sausage until browned.
  4. In a large bowl add the sausage and all other ingredients.
  5. Mix well and shape into 1-inch balls.
  6. Place them on a cookie sheet lined with parchment paper.
  7. Bake for 20 to 25 minutes at 350 degrees.


Use parchment paper or a greased cookie sheet. You can also freeze the sausage balls for a snack at any time. You should yield about 100 sausage balls. It depends on how big you roll them.

As always thanks for stopping by and I hope you enjoy it!


“ I earn money from purchases on affiliate links at no additionl cost to you.” Disclosure Statement

X