Showing posts with label Baking. Show all posts

Easy Crusty Italian Bread

 There is something truly magical about the aroma of freshly baked bread throughout the house. And when it comes to Italian cuisine, few things are as iconic and satisfying as a loaf of crusty Italian bread. This culinary delight is so simple to recreate at home.

Easy Crusty Italian Bread

This crusty Italian bread is perfect for dipping in olive oil mixed with savory Italian seasoning, serving it alongside your favorite pasta, or simply enjoying it all on its own with butter.

Ingredients:

  • 4 cups of all-purpose flour
  • 1 Package of Active dry yeast or rapid-rise yeast
  • 1-1/2 cups warm water
  • 1 teaspoon salt
  • 1 tablespoon olive oil
  • 1 teaspoon sugar
Instructions:

If using the active dry yeast, combine it in a small bowl with the warm water and let it sit for about 5 minutes until it becomes foamy. (If using the rapid-rise yeast just combine it with the flour.)


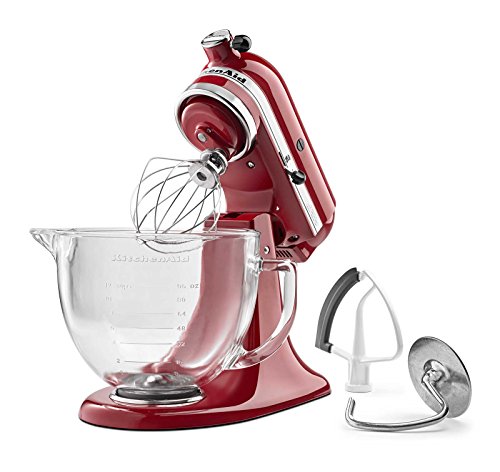
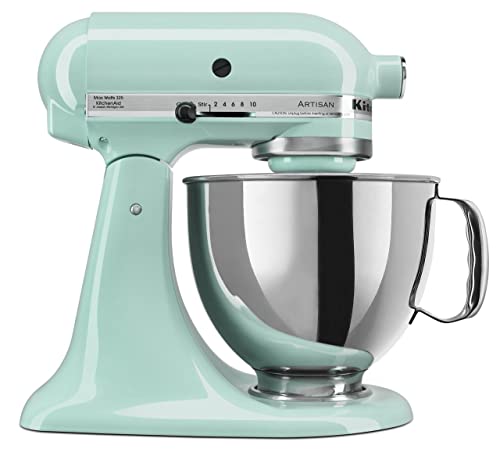
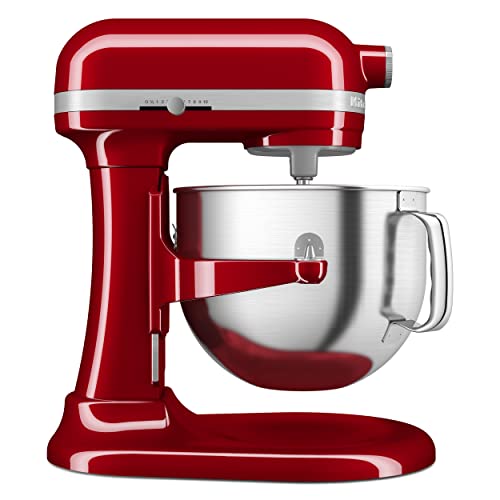
I used my KitchenAid Stand Mixer. Combine the flour, salt, olive oil, and sugar in the mixing bowl. Add the yeast and water mixture and mix on low speed using the dough hook. Mix until the dough forms, remove the dough to a floured surface, and knead a few times. If the dough is too sticky add a little more flour, but not too much.


If you are mixing by hand, combine the dry ingredients in a large bowl. Make a well in the center and pour the yeast mixture and olive oil in the middle. Mix with a wooden spoon or your hands until the dough forms.


Lightly coat the dough with oil, place it in a large bowl, and cover. Let it rise for 1 to 2 hours.


After the dough has risen, gently press down and shape it into an oval. Or, you can divide the dough into two small loaves. 


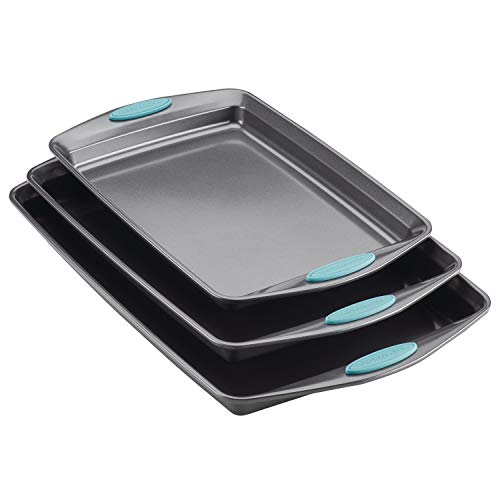
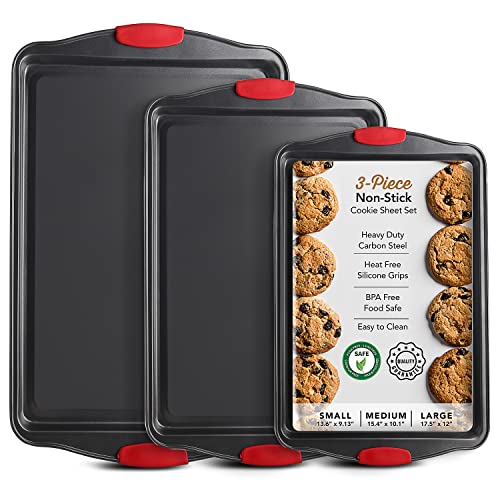
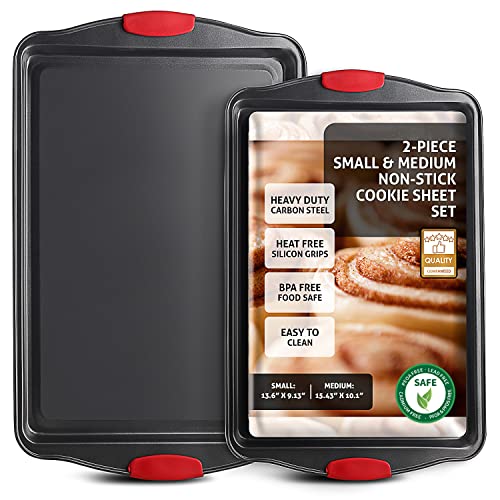
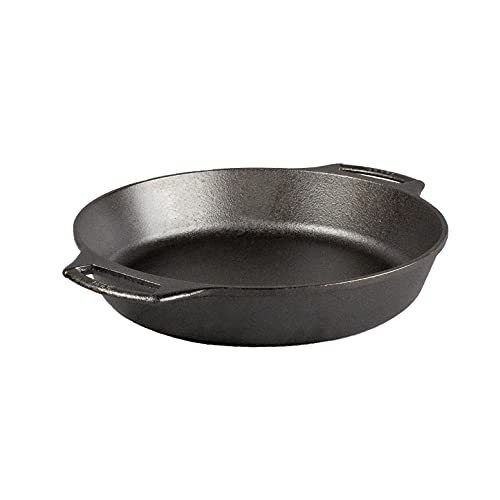
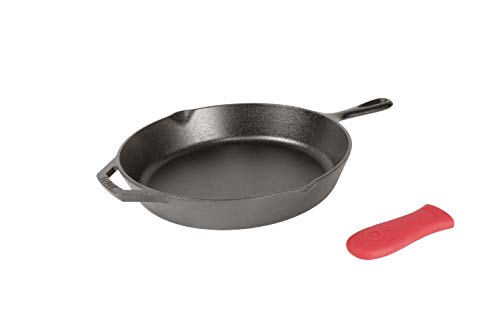
Place the shaped dough on a parchment-lined baking sheet or a lightly greased baking sheet. I baked mine in my 10-inch cast iron skillet. cover and let it rise for another 30 minutes.


Preheat the oven to 450 degrees while the dough is rising. Once the oven is preheated, place a small pan with one cup of hot water on the lower rack. The steam will help create a crispy crust.


Just before baking, use a sharp knife to make 2 shallow slashes on the surface of the dough. This helps the bread expand while baking.


Bake for 20-25 minutes until it's golden brown and sounds hollow when tapped on the bottom. Allow the bread to cool on a wire rack for 30 minutes before slicing.

Crusty Italian Bread

Here is my crusty Italian bread just out of the oven in my 10-inch cast iron skillet. So, roll up your sleeves, gather some ingredients, and get ready to savor the taste of Italy.

KitchenAid KSM105GBCER 5-Qt. Tilt-Head Stand Mixer with Glass Bowl and Flex Edge Beater - Empire RedKitchenAid KSM105GBCER 5-Qt. Tilt-Head Stand Mixer with Glass Bowl and Flex Edge Beater - Empire RedKitchenAid KSM105GBCER 5-Qt. Tilt-Head Stand Mixer with Glass Bowl and Flex Edge Beater - Empire RedLodge 10.25 Inch Cast Iron Pre-Seasoned Skillet – Signature Teardrop Handle - Use in the Oven, on the Stove, on the Grill, or Over a Campfire, BlackLodge 10.25 Inch Cast Iron Pre-Seasoned Skillet – Signature Teardrop Handle - Use in the Oven, on the Stove, on the Grill, or Over a Campfire, BlackLodge 10.25 Inch Cast Iron Pre-Seasoned Skillet – Signature Teardrop Handle - Use in the Oven, on the Stove, on the Grill, or Over a Campfire, Black


Homemade Double Chocolate Chip Cookies


Homemade Double Chocolate Chip Cookies

These homemade double chocolate chip cookies are the best. Made with milk chocolate, and dark chocolate chips. Every chewy bite is filled with rich chocolate. They are so easy to make, and no need to chill the dough like some other recipes call for.

We had a couple of bags of chocolate chips leftover from our holiday baking. So, I thought it would be a great idea to make some cookies. 

Double Chocolate Chip Cookie Ingredients:

3 cups all-purpose flour
1 teaspoon baking soda
1/2 teaspoon baking powder
1/2 teaspoon salt
1 cup white sugar
1 cup light brown sugar
1 cup salted butter (softened)
2 large eggs
2 teaspoons vanilla extract
1 cup chocolate chips
1 cup dark chocolate chips

Instructions:
  1. In a bowl mix flour, baking soda, baking powder, and salt. Set aside
  2. Cream together butter, white, and brown sugar until combined.
  3. Beat in the eggs and vanilla (I used our KitchenAid Stand Mixer)
  4. Mix in the dry ingredients until the batter is combined
  5. Add the chocolate chips and continue to mix until the dough is stiff.
  6. Preheat the oven to 375 degrees
  7. Scoop onto cookie sheets lined with parchment paper. (I used my 1-1/2 tablespoon cookie scoop)
  8. Bake at 375 degrees for 10 minutes.
  9. Let them stand for a couple of minutes then move to a cooling rack.
Double Chocolate Chip Cookies

Using my 1-1/2 tablespoon cookie scoop I yielded 46 cookies from this recipe. You could use a 2 or 3 tablespoons scoop to make them bigger. You will probably get 36 cookies.

These cookies are easy to freeze with freezer bags so you can just take one or two out at a time to enjoy. Although they never last that long in my house to make it to the freezer.


As always thanks for stopping by and I hope you enjoy it.

KitchenAid RRK150IC 5 Qt. Artisan Series - Ice (Renewed)KitchenAid RRK150IC 5 Qt. Artisan Series - Ice (Renewed)KitchenAid RRK150IC 5 Qt. Artisan Series - Ice (Renewed)OXO Good Grips Medium Cookie ScoopOXO Good Grips Medium Cookie ScoopOXO Good Grips Medium Cookie ScoopRachael Ray Bakeware Nonstick Cookie Pan Set, 3-Piece, Gray with Agave Blue GripsRachael Ray Bakeware Nonstick Cookie Pan Set, 3-Piece, Gray with Agave Blue GripsRachael Ray Bakeware Nonstick Cookie Pan Set, 3-Piece, Gray with Agave Blue Grips


Festive Butterball Cookies


Festive Butterball Cookies

These festive butterball cookies are the same classic ones made with walnuts that my mother and aunts always made for the Holidays. Also known as snowball cookies, these are always a favorite for the Holidays or served at weddings.

We make all of the Holiday cookies at our house, our 10-year-old grandson, Tyler made these cookies from start to finish.

The traditional butterball cookies would be made with walnuts. But, Tyler had some other festive options, which turned out to be delicious.

Festive Butterball Ingredients:

1-1/2 cup butter softened
3/4 cups powdered sugar
1/2 teaspoon salt
1 teaspoon vanilla extract
3 cups all-purpose flour
1 cup white chocolate chips (Mini)
1/2 cup green cookie sprinkles
1/2 cup red cookie sprinkles

Instructions for Festive Butterball Cookies:

  1. In a large bowl, beat the butter and sugar. Tyler used our KitchenAid Stand Mixer.
  2. Add the vanilla and continue to mix well.
  3. Add in the salt, flour, white chips, and sprinkles.
  4. Continue to mix until the dough becomes thick.
  5. Preheat oven to 375 degrees
  6. Line a cookie sheet with parchment paper.
  7. Roll into 1-inch balls and place on a cookie sheet about 2 inches apart.
  8. Bake for 10-12 minutes or until they turn brown.
  9. Remove and place on a cooling rack for 10 minutes.
  10. Roll in powdered sugar and enjoy.
Christmas Butterball Cookies
Festive Butterball Cookies are ready for the oven

Make these cookies any time of the year. Just omit the festive sprinkles and white chocolate chips and add 1 cup of chopped walnuts.

As always thanks for stopping by and we hope you enjoy it

Baking Sheet Set, 3-Piece Cookie Sheet Set with Silicone Handles, Steel Baking Pans Set, Durable Baking Sheets for Oven, BPA Free Cookie Sheets for Baking Nonstick Set, Sheet Pan - Black Baking PanBaking Sheet Set, 3-Piece Cookie Sheet Set with Silicone Handles, Steel Baking Pans Set, Durable Baking Sheets for Oven, BPA Free Cookie Sheets for Baking Nonstick Set, Sheet Pan - Black Baking PanBaking Sheet Set, 3-Piece Cookie Sheet Set with Silicone Handles, Steel Baking Pans Set, Durable Baking Sheets for Oven, BPA Free Cookie Sheets for Baking Nonstick Set, Sheet Pan - Black Baking PanKitchenAid NEW 7 Quart Bowl Lift Stand Mixer with Double Flex Edge Beater KSM70SK, Empire RedKitchenAid NEW 7 Quart Bowl Lift Stand Mixer with Double Flex Edge Beater KSM70SK, Empire RedKitchenAid NEW 7 Quart Bowl Lift Stand Mixer with Double Flex Edge Beater KSM70SK, Empire Red


Yummy Chewy Oatmeal Raisin Cookies


Yummy Chewy Oatmeal Raisin Cookies

Everyone in my family knows that oatmeal raisin cookies are my favorite cookie. Many years ago Jamie made these yummy chewy oatmeal raisin cookies for me and I just couldn't stop eating them. These cookies for sure lived up to the name, yummy and chewy.

These were so good that I had to have the recipe. Jamie wrote it all down for me and I tucked away and never made them. After digging through some old recipes I came across this recipe and knew that I had to make these again.

Many people don't like raisins. Well, I happen to like them, especially in these soft chewy cookies. These cookies are made with brown sugar, cinnamon, and vanilla. They are soft chewy and bursting with flavor.

Oatmeal cookie mixture

The complete ingredients and instructions will be below, but the first thing to do is to make this mixture. Mix the eggs, vanilla, and raisins in a medium bowl. Cover and put this in the refrigerator for at least one hour.

Yummy Chewy Oatmeal Raisin Cookies Ingredients:

3 eggs beaten
1 teaspoon vanilla
1 cup raisins
2-1/2 cups flour
2 teaspoons baking soda
1 teaspoon cinnamon
1 teaspoon salt
1 cup butter (softened)
1 cup white sugar
1 cup brown sugar
2 cups oatmeal

Instructions:
  1. In a medium bowl beat the eggs, add the vanilla, and raisins cover, and refrigerate for one hour.
  2. In another bowl, beat and cream together the butter, white sugar, and brown sugar.
  3. In a third bowl mix the flour, baking soda, cinnamon, and salt.
  4. Add the dry ingredients to the creamed butter and sugar mixture. Mix until all of the flour is absorbed.
  5. Stir in the egg and raisin mixture, then add the 2 cups of oats.
  6. The mixture will be stiff. Drop onto a cookie sheet lined with parchment paper with a tablespoon. I used a #70 cookie scoop for this.
  7. Bake at 350 degrees for 8 to 10 minutes until cookies are brown around the edges.
Oatmeal cookies ready for the oven

Yummy chewy oatmeal raisin cookies ready for the oven. I'm so glad that I found this recipe, these are the best oatmeal raisin cookies that I've ever had. I yielded 60 cookies from this recipe. These are easy to freeze for a nice sweet treat any time. 

As always thanks for stopping by and I hope you enjoy it!

Wilton Stainless Steel Small Cookie Scoop, SilverWilton Stainless Steel Small Cookie Scoop, SilverWilton Stainless Steel Small Cookie Scoop, SilverKitchenAid RRK150BK 5 Qt. Artisan Series Stand Mixer - Imperial Black (Renewed)KitchenAid RRK150BK 5 Qt. Artisan Series Stand Mixer - Imperial Black (Renewed)KitchenAid RRK150BK 5 Qt. Artisan Series Stand Mixer - Imperial Black (Renewed)Baking Sheet Set, 2-Piece Cookie Sheet Set with Silicone Handles, Steel Baking Pans Set, Durable Baking Sheets for Oven, BPA Free Cookie Sheets for Baking Nonstick Set, Sheet Pan - Black Baking TrayBaking Sheet Set, 2-Piece Cookie Sheet Set with Silicone Handles, Steel Baking Pans Set, Durable Baking Sheets for Oven, BPA Free Cookie Sheets for Baking Nonstick Set, Sheet Pan - Black Baking TrayBaking Sheet Set, 2-Piece Cookie Sheet Set with Silicone Handles, Steel Baking Pans Set, Durable Baking Sheets for Oven, BPA Free Cookie Sheets for Baking Nonstick Set, Sheet Pan - Black Baking Tray


Easy Cast Iron Skillet Pizza


Easy Cast Iron Skillet Pizza

We love cooking new things in our cast iron skillets and pizza is no exception. This easy cast iron skillet pizza turned out to be amazing and it disappeared in minutes. 

We spend several evenings baking cookies for the Holidays with our daughter and grandsons. On one of these evenings, we needed something quick to eat before we started baking our cookies.

Our grandson Bobby, showed up with pizza dough, sauce, and his favorite topping, olives. Bobby decided to use one of our cast iron skillets to make our pizza.

Cast Iron Skillet Recipe
Ready for the oven

How to make Easy Cast Iron Skillet Pizza:

  1. The first thing Bobby did was preheat the oven to 500 degrees.
  2. Spread the dough on a floured surface to the size of the skillet, we used our 12-inch cast-iron skillet.
  3. Place the cast-iron skillet in the 500-degree oven for 5 or 10 minutes.
  4. Carefully remove the skillet from the oven using heavy potholders.
  5. Place the shaped dough in the skillet and add your sauce, favorite toppings, and shredded mozzarella.
  6. Place it back in the oven and bake for 10 minutes until the crust is golden brown.
  7. Again carefully remove the skillet from the oven and using a spatula transfer the pizza to a cooling rack.
  8. After a couple of minutes slide it onto a pizza pan slice it and enjoy.
What makes this so easy is you can pick up fresh pizza dough at your local grocery store and have fresh hot pizza in 20 minutes.

If you prefer to make your own dough try my All-purpose dough recipe here. This recipe will make 3 nice sized pizzas, so if you're only making one pizza divide the ingredients accordingly.

As always thanks for stopping by and I hope you enjoy it.

Try some of our other pizza recipes

Cast Iron Skillet Deep Dish PizzaCast Iron Skillet Deep Dish PizzaHomemade Mozzarella Tomato and Basil PizzaHomemade Mozzarella Tomato and Basil Pizza


Find all of your Cast Iron Skillet needs here: 

Lodge Cast Iron Baker’s SkilletLodge Cast Iron Baker’s SkilletLodge Cast Iron Baker’s SkilletLodge Cast Iron Skillet with Red Silicone Hot Handle Holder, 12-inchLodge Cast Iron Skillet with Red Silicone Hot Handle Holder, 12-inchLodge Cast Iron Skillet with Red Silicone Hot Handle Holder, 12-inchLodge Seasoned Cast Iron 3 Skillet Bundle. 12 inches and 10.25 inches with 8 inch Set of 3 Cast Iron Frying PansLodge Seasoned Cast Iron 3 Skillet Bundle. 12 inches and 10.25 inches with 8 inch Set of 3 Cast Iron Frying PansLodge Seasoned Cast Iron 3 Skillet Bundle. 12 inches and 10.25 inches with 8 inch Set of 3 Cast Iron Frying Pans


Thumbprint Cookies with Lemon Curd

Thumbprint Cookies with Lemon Curd

Well, I hope you guys aren't tired of lemon recipes yet. I had some lemon curd leftover from the Fresh Lemon Hand Pies I made the other day. I needed to use it up so I made these simple thumbprint cookies with lemon curd filling.

These buttery little shortbread cookies are a true delight. They're so easy to make and can really be filled with any fruit filling.

Thumbprint Cookies with Lemon Curd: Ingredients

1-1/2 cup butter (Softened)
1 cup of sugar
1 teaspoon Vanilla extract or (maple syrup)
3 large eggs beaten
3 cups all-purpose flour
1/2 teaspoon salt
1/4 cup lemon curd or any fruit filling
2 or 3 tablespoons sugar to sprinkle after baking

Instructions:
  1. With an electric or stand mixer, cream the butter, sugar, vanilla together.
  2. Add the salt and flour one cup at a time and continue mixing on low speed.
  3. Add the eggs one at a time, continue to mix until a dough forms.
  4. Line a cookie sheet with parchment paper, roll the dough into balls, about 1-1/2 tablespoons.
  5. Press the center of the ball to create a cavity, fill the cavity with the lemon curd or fruit. I used the tip of a teaspoon to fill them.
  6. Bake at 350 degrees for 18 to 20 minutes sprinkle sugar over top while still hot. Place the cookies on a rack and let cool.
Tip: Did you know that maple syrup is a substitute for vanilla extract? 

I was in the process of making these and found that I was out of the vanilla extract so, I used the maple syrup. They turned out perfect.

Lemon thumbprint cookies

    I used a 1-1/2 tablespoon cookie scoop and then rolled them into balls. Press the dough back together if it splits when pressing with your thumb.

    You can find the recipe for the lemon curd here:

    As always thanks for stopping by and I hope you enjoy it.

    Thin Crisp Italian Pizzelles

    Thin Crisp Italian Pizzelles

    Thin crisp Italian pizzelles, just the way that I like them. Growing up I thought that my grandmother invented the pizzelle. Truth be known the pizzelle originated in the Southern Region of Italy many years ago.

     These were always on the table for the Christmas and Easter Holidays. And, if you've ever been to an Italian wedding I'm sure you saw these on the cookie table.

    There are so many different variations of pizzelles. You can make them, thin and crispy, soft and chewy, and in many different flavors. You can also shape them like a cone, or cannoli, or a bowl and fill them with your favorite filling.

    Thin Crisp Italian Pizzelles: My Ingredients

    6 large eggs
    1 teaspoon Anise extract
    4 teaspoons baking powder
    2 teaspoons Vanilla
    1 teaspoon Lemon extract
    3-1/2 cups all-purpose flour
    1 cup butter, oil or margarine (melted) (We use butter.)
    1-1/2 cups sugar

    Directions

    1. Beat the eggs and sugar together, we use our KitchenAid Stand Mixer.
    2. Add the cooled butter, margarine, or oil.
    3. Now add the vanilla, lemon, and anise.
    4. Last, add the flour and baking powder to the egg mixture.
    5. Mix until the batter is stiff enough to be dropped by a spoon.

    recipe pizzelles Italian cookies

    Here is the batter all ready to go. This recipe will make about 50 to 60 pizzelles depending on how many you eat while you're making them. If you don't want that many just cut the recipe in half. But trust me these won't last long.

    Some people don't like the Anise flavoring. So, you can substitute lemon for the Anise, or any other flavor you like.  Such as, Almond, Vanilla, Orange, Rum, and the list goes on.

    Pizzelles Italian Cookie

    Now, it's time to make the Pizzelles. You'll need a Pizzelle Baker or Iron. Before making your cookies spray the top and bottom of the iron with a non-stick spray, or brush lightly with vegetable oil.

    After the iron is heated, drop the batter by tablespoons onto each side. Close and clamp the iron for about 30 seconds or less depending on how you like them, light or darker.

    Remove the cookies with a spatula and place them on a flat surface to cool. We store them in an airtight container to keep them nice and crisp.

     Pizzelles will last up to 2 weeks stored like this. But, I'm going to bet they are not going to last that long.

    Rolled and Filled Pizzelles by Carmie and Jimmy

    Pizzelle Italian cookie

    Carmie and Jimmy are my cousins, they also keep the old family traditions and recipes alive. Here they made one of the variations of pizzelles.

    In their recipe, they used grated orange rind, orange juice, and vanilla as the flavoring. Carmie and Jimmy went one step further by rolling and filling the pizzelles.

    Talk about a sweet treat. Don't those look mouth-watering? I assure you these too will not last long. You're family and friends will think you are a pastry chef.

    Pizzelles Italian Cookies

    Carmie used some 5/8 x 6-inch wood dowels to shape the pizzelles cannoli style. You'll want to do this while they're still hot off the iron. After rolled let them cool completely.

    Carmie's Sweet Filling Ingredients

    1 cup Crisco
    2 cups of sugar
    1-1/2 cups of warm water
    1 cup butter softened
    1 teaspoon of vanilla

    Directions

    1. Beat together the Crisco and butter, add the sugar a little at a time, continue beating until dissolved.
    2. Add in the vanilla and continue mixing.
    3. Add the warm water 1/4 cup at a time (make sure water is really warm)
    4. Continue mixing until really smooth
    5. Use a pastry bag to fill the rolled pizzelles.
    Tip: If you don't have a pastry bag use a zip lock bag and snip off one corner. 

    Thank you Carmie and Jimmy for the recipe and pictures of your rolled and filled pizzelles.


    As always thanks for stopping by and I hope you enjoy it.

     I would like the hear if you have any different variations of Pizzelles, please let me know in the comment section.


    “ I earn money from purchases on affiliate links at no additionl cost to you.” Disclosure Statement

    X