How to Make Roasted Red Peppers

Roasted Red Pepper Recipes

How to make Roasted Red Peppers

My cousins, Jim and Carmie are as passionate as I am about preserving old family recipes and creating new ones. This easy Roasted Red Peppers Recipe is just one example.

 If you've read some of my previous posts you'll see that I've called on them before to help clarify an old recipe.

Not many people can do this outside on their grill in January, but they live in Arizona and the temperature was 80 degrees.  Much warmer than here in Western New York. Following is their simple process of roasting Red Peppers for our enjoyment.

Roasted Red Peppers by Jim and Carmie

We have been making our own ROASTED PEPPERS for over 40 years and finally decided to write down our process and capture it on film as best as possible.

First, we start with a bushel of red bell or pimento peppers. You can do 3 or 4 peppers or as many as you feel comfortable with. It’s simple, all you need is your gas grill.

 Place the peppers on the grill with the grill set on high (no need to wash them) and then cook until they're burnt and blistered.

 Place the cooked peppers in a large pot and keep covered. Continue until all the peppers are cooked.
Next, you’ll need news paper, a small bowl of water, and a large bowl. Lay the news paper out on a table. The table can be uncovered or if you prefer you can use an old table cloth. (We use an old table cloth.)

 Start by peeling the skin from the peppers, then open the peppers and remove the stem, seed pod, and all the seeds. Then tear the pepper into large sections. One to three sections and place in the large bowl. 
make roasted red peppers
(We have found that dipping the pepper into a bowl of water prior to peeling makes the process easier and that two people makes this easier also – one peeling and the other deseeding and tearing into strips.) Be careful during this process as the juice from the peppers will be hot.
roasted red pepper recipe
After peeling, deseeding and tearing all the peppers into strip’s we divide them into one-quart ziplock storage bags and add a heaping teaspoon of chopped garlic to each bag. 

The peppers will yield their own oil and as you bag them the oil will transfer automatically. Lay the bags flat on a cookie sheet and freeze.
preserving roasted red peppers
 Keep frozen until ready to serve. Thaw either in a microwave or allow them to come to room temperature.

 They are great by themselves, as a side dish or in a sandwich. Season to your taste with salt and pepper when serving.

The bushel of peppers we used contained 68 peppers and yielded 13-quart bags. The whole process took about 2 ½ to 3 hours.

Check out these Grilled Stacked Veggies made with roasted red peppers.


As always thanks for stopping by and I hope you enjoy!

Soup Croutons

Easy Croutons recipe

This easy croutons recipe has been in our family for as long as I can remember. Passed down from our grandmother to our mother's to us. Every time grandma Liz made her Wedding Soup she made these soup croutons to go along with it.

I've only had these in Wedding Soup, but I'm sure they would be great in any of your favorite soups. I had a recipe for these and have made them several times. They just weren't the same as grandma's soup croutons.

Once again I had to call out the reserves, my cousin Jimmy from Arizona had the recipe just the way that grandma made them.

Here is the recipe for soup croutons:

Jimmy's Ingredients for Soup Croutons:

6 large eggs (separated)
4 tablespoons flour
6 teaspoons baking powder
1 tablespoon parsley
1 tablespoon grated Romano cheese
1/2 teaspoon salt
1/4 teaspoon black pepper

1Easylife 18/8 Stainless Steel Measuring Spoons, Set of 6 for1Easylife 18/8 Stainless Steel Measuring Spoons, Set of 6 for

This handy set of six measuring spoons makes adding your liquid or dry ingredients a breeze. Everyone needs a set of these in the kitchen 


Jimmy's Instructions for easy soup croutons:
  1. In a large bowl, combine egg yolks with all other ingredients and mix well.
  2. In another bowl beat the egg whites until they are fluffy and form peaks.
  3. Fold the egg whites into the egg yolk mixture using a spatula.
  4. Pour and spread the mixture into a 9 x 13 inch greased cookie sheet.
  5. Preheat your oven to 375 degrees and bake for 15 minutes or until golden brown.
  6. Let them cool and cut into 1-inch cubes.


Here is the link to our wedding soup recipe, from our grandmother's kitchen to yours. Give this soup and croutons a try I'm sure you'll enjoy these especially on a cold day.

As always thanks for stopping by and I hope you enjoy!

Maple Twist Cookies

Maple Twist Cookies

It's four days before Christmas and we're still baking cookies. These Maple Twist Cookies are a favorite of mine. My mother and aunt would make these every year for Christmas.

I tried making these last year but they turned out to be an epic failure because my mother's recipe was a little short on instructions.

This year I called out the reserves on this one. My cousin Jimmy and our good friend Verna both had this recipe so I tried again this year.

They may not look perfect but the taste is what I remember as a kid. A sweet nutty cookie with a maple flavor. There are so many walnut cookie recipes, the combinations in this one are amazing.

What you need for the dough:
3 cups all-purpose flour
6 teaspoons baking powder
1/4 cup brown sugar
1/2 cup Crisco
1 teaspoon vanilla
1/2 cup milk
2 large eggs
1/4 cup butter Melted (save for later)

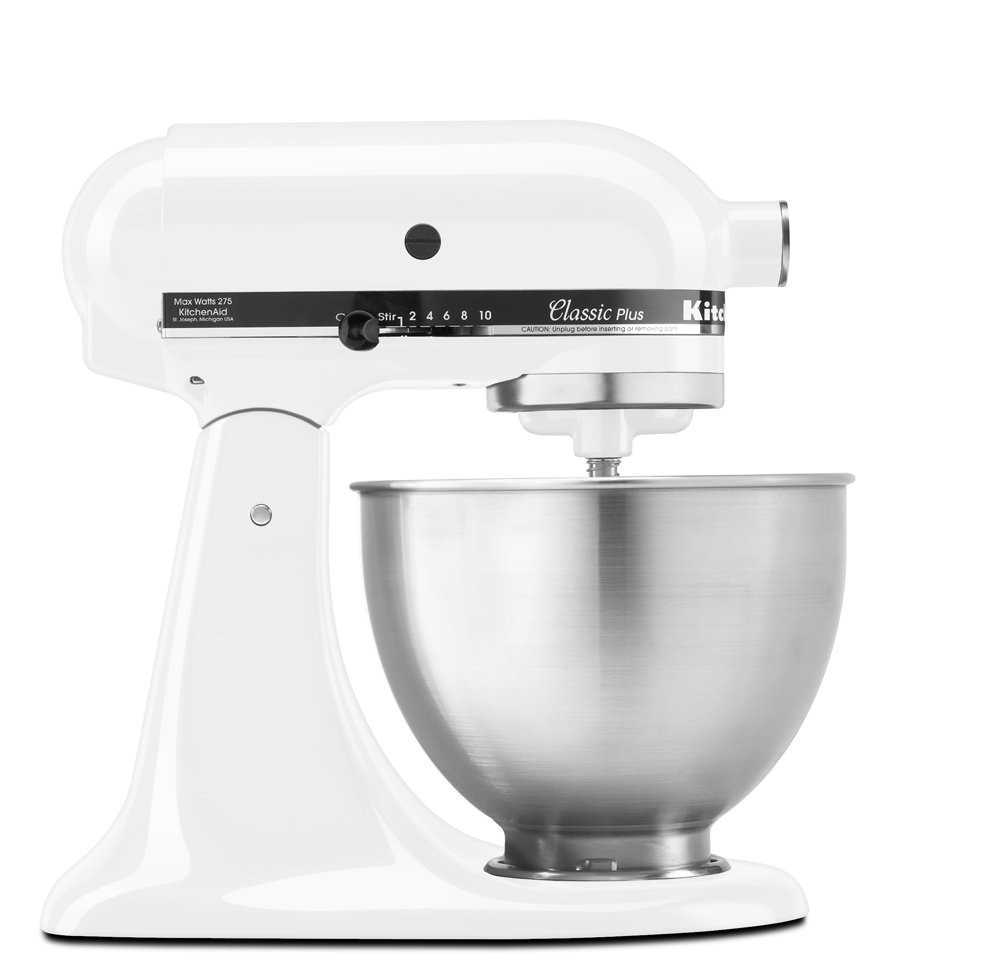
Using my Kitchenaid stand mixer, I added the flour and baking powder into the mixing bowl and sifted together.

Add the Crisco, brown sugar, and vanilla. I turned the mixer on low speed and added the eggs and milk. Continue mixing until the dough is formed. Separate the dough into 3 equal pieces and put it in the refrigerator for one hour.

While the dough was chilling it was time to make the filling and icing.

Filling for Maple Twist Cookies:
3 cups walnuts (Crushed)
6 teaspoons of brown sugar
6 teaspoons white sugar
Milk

Combine the crushed walnuts and brown sugar and white sugar in a mixing bowl. Add a couple of tablespoons of milk at a time and mix until it looks like a paste. Be careful, don't add too much milk, as it will become runny.

Icing:
1 cup powdered sugar
1 tablespoon butter
1 teaspoon Maple extract
1 tablespoon milk

BLACK+DECKER HC306 One-Touch 1.5 Cup Capacity Electric Chopper, WhiteBLACK+DECKER HC306 One-Touch 1.5 Cup Capacity Electric Chopper, White
Electric Food Choppers Dicers


We used our handy food chopper dicer to chop the walnuts fine enough for this recipe. We find this to be a very handy kitchen tool for small jobs like this one.
Combine and mix well until the icing is smooth.

My Icing and filling
Now that everything is prepared we can make these cookies. Roll the dough out thin on a floured surface. Brush with some melted butter, and spread the filling.

Fold this over 3 times and seal the ends. Cut them into 1/2 inch slices, give them a twist and place them on a greased cookie sheet or cookie sheet with parchment paper.
Ready for the oven
Bake these at 350 degrees for about 12 to 15 minutes. Let them cool and add your icing, or you can make the icing a little runny and brush it on while they are still warm.

I made my icing thick and iced them with a small spatula after the cookies cooled, If you do this you will need to double the icing recipe.

I yielded about 45 cookies you should get 15 or so cookies from each section of dough.

As always thanks for stopping by and I hope you enjoy!

Mini Reese's Peanut Butter Cup Cookies

Mini Reese's Peanut Butter Cup Cookies

Reese's Peanut Butter Cup Cookies

Well, we're still on our Christmas cookie baking extravaganza and it is not going to end here so stay tuned for more. These Mini Reese's Peanut Butter Cup Cookies always make the cut for the Holiday's or anytime.

I got on the scale today and lost 2 pounds, I really don't know how that happened after a weekend of baking and sampling cookies. Oh well, I'm happy with that for now but I don't think it's going to last over the next couple of weeks.

This is just another cookie we make every year for the Holidays. These Reese's cup peanut butter cookies are so easy to make and another one that is so tasty. After all who doesn't like peanut butter and chocolate?

You're going to use the same cookie dough that is in our Hershey Kiss Peanut Butter Cookies click the link to get the cookie dough recipe.

Follow the same instructions as in the other recipe for the dough. This time instead of placing the 1-inch sugar-coated balls on a cookie sheet you're going to place them into mini muffin pan.

make peanut butter cookies

You'll need a bag of Mini Reese's Cups or least 48 of them. It's a good idea to unwrap them and put them in the freezer while you're making the cookie dough.

Preheat the oven to 350 degrees and bake the cookies for about 12 to 14 minutes. They will just begin to rise over the top of the muffin pan.

mini peanut butter cup cookies

Take them out of the oven, press in the Mini Reese's Cups and place the muffin pan in the freezer for about 10 minutes. After that, turn the muffin pan over and lightly tap the bottom, they will fall right out.

As always thanks for stopping by and I hope you enjoy!

“ I earn money from purchases on affiliate links at no additionl cost to you.” Disclosure Statement

X