A couple of weeks ago at work, I was grabbing myself a coffee. I noticed my co-worker Brad Turner putting these in the microwave.
So, I asked Brad what they were because they looked delicious. Brad replied these are breakfast bombs, My mother makes them all the time.
I immediately asked for the recipe, because I knew that I had to make these. Brad's mother, Jennifer Turner was kind enough to share how she makes these biscuit breakfast bombs.
Breakfast Biscuit Bombs by Jennifer Turner:
- Preheat oven to 350 degrees - Grease baking sheets or line with parchment paper.
- Open the biscuits and let them warm slightly while making the egg mixture.
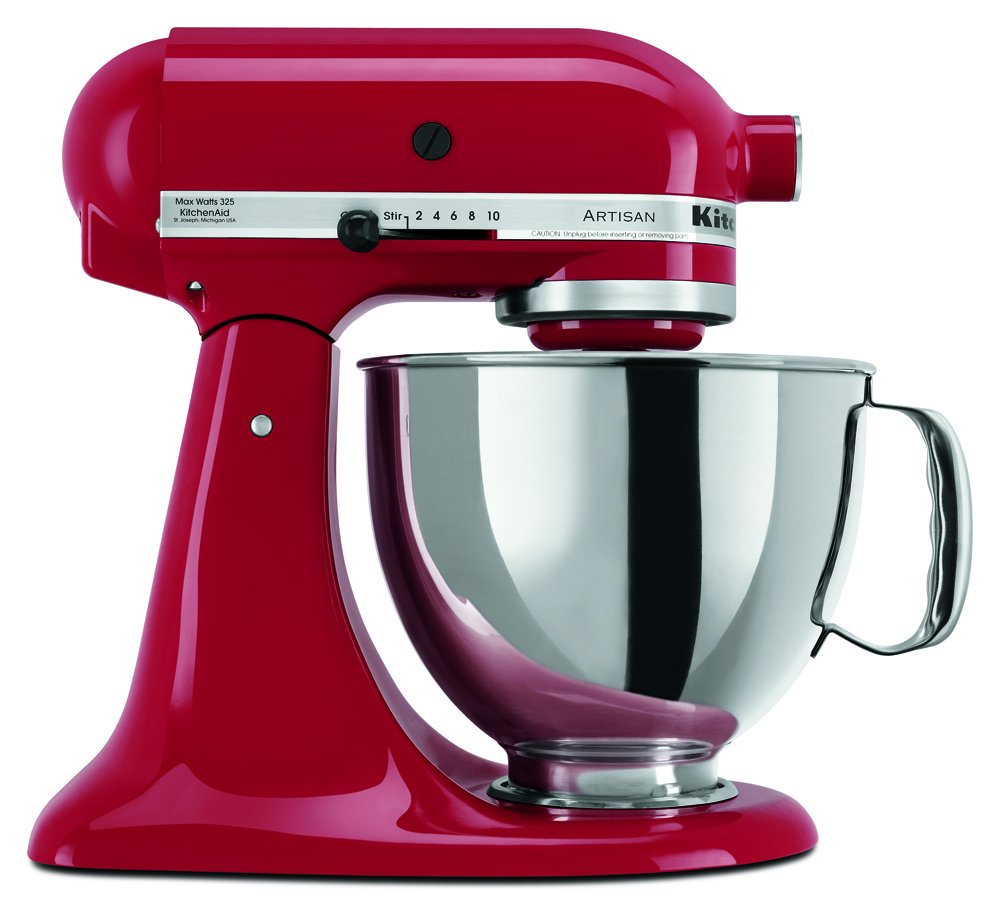
- In a skillet melt 1 tablespoon of butter over medium heat.
- Pour in beaten eggs and cook for 1-1/2 to 2-1/2 minutes until eggs are firm but still moist.
- Stir in cheese (Hold back 8 tablespoons for garnish) until melted and then add the meat.
- Separate each biscuit and create a pocket.
- Place 1/4 cup of mixture into each pocket.
- Cover with the other half of the biscuit, press sides down, brush with melted butter, and sprinkle the remaining cheese over top.
- Bake at 350 degrees for 15-18 minutes until golden brown.

Because I love bacon that is what I used for my egg mixture. The biscuit breakfast bombs are versatile, you can use diced ham, sausage, or even meatless and use diced red and green peppers.

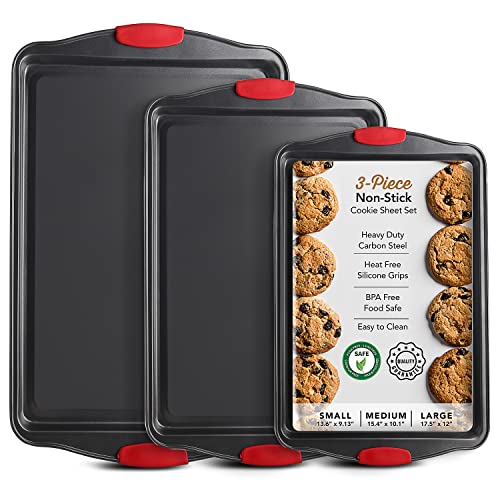
Circulon A1 Series with ScratchDefense Technology Nonstick Induction Frying Pan/Skillet, 12 Inch, Graphite Baking Sheet Set, 3-Piece Cookie Sheet Set with Silicone Handles, Steel Baking Pans Set, Durable Baking Sheets for Oven, BPA Free Cookie Sheets for Baking Nonstick Set, Sheet Pan - Black Baking Pan