When it comes to Italian food there is nothing like this easy homemade
ravioli recipe. Ravioli are so versatile because there are so many options
for the filling.
We happened to be visiting Sammy and as luck would have it he was in the process
of making ravioli. This was a great opportunity to capture the process and post
it.
The filling that Sammy had ready was ricotta cheese, sausage, and spinach. This
is one of the many fillings you can use for ravioli.
Filling with ricotta cheese, sausage, and spinach:
1 lb. (16 oz.) ricotta cheese
1/2 lb. Italian bulk sausage (cooked, crumbled and cooled)
1 egg
2 cups chopped spinach (fresh or frozen)
1 clove minced garlic (Optional)
salt and pepper to taste
In a small frying pan cook the sausage. Break it up as fine as possible
while cooking. Let the sausage cool before mixing with the ricotta
cheese.
Mix the ricotta cheese, spinach, garlic, egg, and salt and pepper in a
mixing bowl. Now add the cooled sausage and mix well. Cover and
refrigerate while you make the dough.
The Dough:
4 cups all-purpose flour (more if needed)
4 eggs
1 tablespoon olive oil
1/2 teaspoon salt
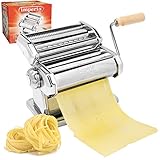
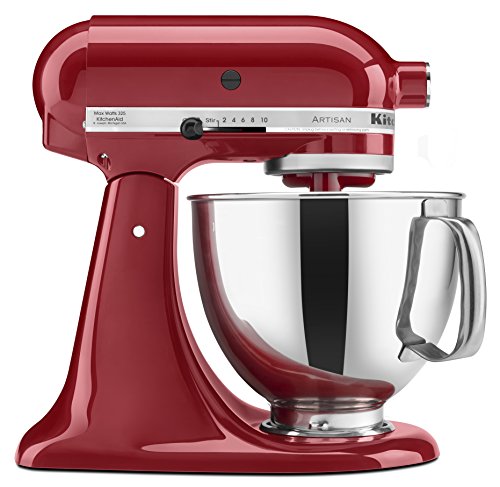
We use our
KitchenAid Stand Mixer
for this. Add the flour, olive oil, and salt into the mixing bowl. Add one egg
at a time mixing on low speed. Do this until a ball of dough forms, then knead
it by hand on a floured surface. Let the dough rest for 30 minutes.
If you don't have a stand mixer you can mix the dough by hand. Mound the flour
onto a clean surface. Use your fingers starting in the middle of the mound to
create a well. Add your eggs, oil, and salt to the middle and work in the flour.
Knead by hand until the dough is formed.
Tip:
If the dough is too dry add a teaspoon of water or more as needed. Or, if
the dough is too wet add a little more flour.
Getting ready to roll the dough. Cut the dough into four equal sections. I know,
here you only see three that's because Sammy has one in the roller.
Easy Homemade Ravioli Recipe: Rolling the Dough
Using the pasta attachment for the KitchenAid. Take one section and begin
on a wider setting running the dough through. Then, move the dial to
thinner settings and then to the thinnest setting. Make sure you don't have any
tears or holes in the dough.
Again if you don't have a KitchenAid or a pasta machine get out the rolling pin.
Take one section of dough and on a floured surface roll into a circle as thin as
you can without holes or tears in the dough. Cut about 4-inch strips.
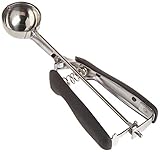
Lay the strip of dough on a floured surface and cut it in half. Sammy used a
1-1/2 tablespoon scooper
to place the filling onto the dough. With two fingers, Sammy spreads a little
water on both halves of the dough. The water helps stick the dough
together.
Place the second half of the dough over the filling. Lightly press around the
filling to form the ravioli.
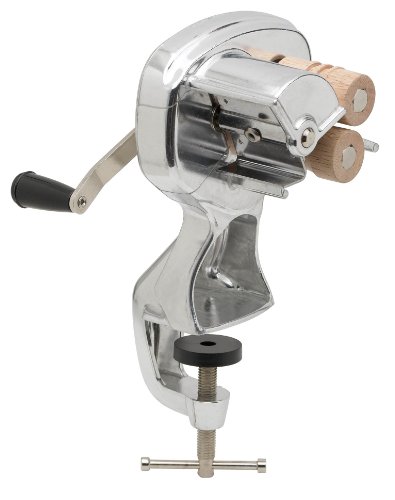
Now Sammy centers this
handy ravioli cutter
over the filling and firmly presses to cut out the ravioli.
Tip:
If you don't have one of these handy cutters just use a mason jar you'll have
the same tasty ravioli only it will be round.
After cutting the ravioli carefully pull the extra dough away. Roll out the
extra dough into another strip and make more.
Sammy yielded about 30 delicious ravioli from this recipe.
As I said, in the beginning, there are so many options for ravioli fillings here
is our typical ricotta cheese filling recipe.
Ricotta Cheese Filling:
1 lb. ricotta cheese
1 egg
1/4 cup parmesan cheese
2 tablespoons parsley
1 clove garlic minced (optional)
salt and pepper to taste
As always thanks for stopping by and I hope you enjoy
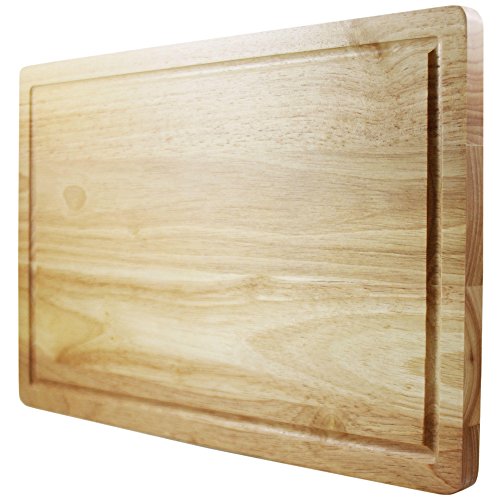
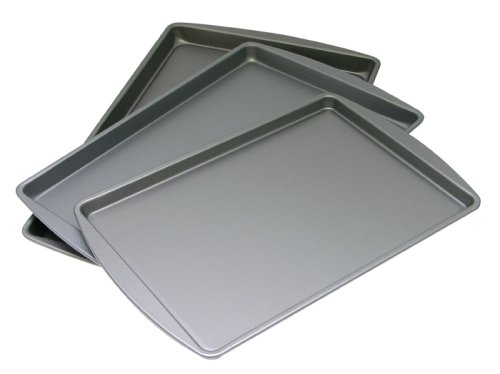
Some Handy tools for making Easy Homemade Ravioli