Showing posts with label garlic. Show all posts

Buttery Garlic Rolls

Buttery Garlic Rolls

Easy Garlic Rolls

Today in Western New York the temperature was 85 degrees with high humidity, but that didn't stop me from turning on the oven to make these easy garlic rolls.

My grandmother made something similar to this every time she made pizza she would make these wonderful garlic knots. I decided to change it up a bit and make it simple, just butter, garlic, and some parmesan cheese.

Here is what I used for the dough:

1 cup lukewarm water plus 2 tablespoons
1 package dry yeast
1-1/2 tablespoon butter (softened)
1 teaspoon sugar
3 cups all-purpose flour

I decided to use butter for this dough instead of oil or shortening, so I didn't add any salt. I added the water, yeast, butter, and sugar in my KitchenAid mixing bowl and let it sit for about 5 minutes to let the yeast begin to bubble.

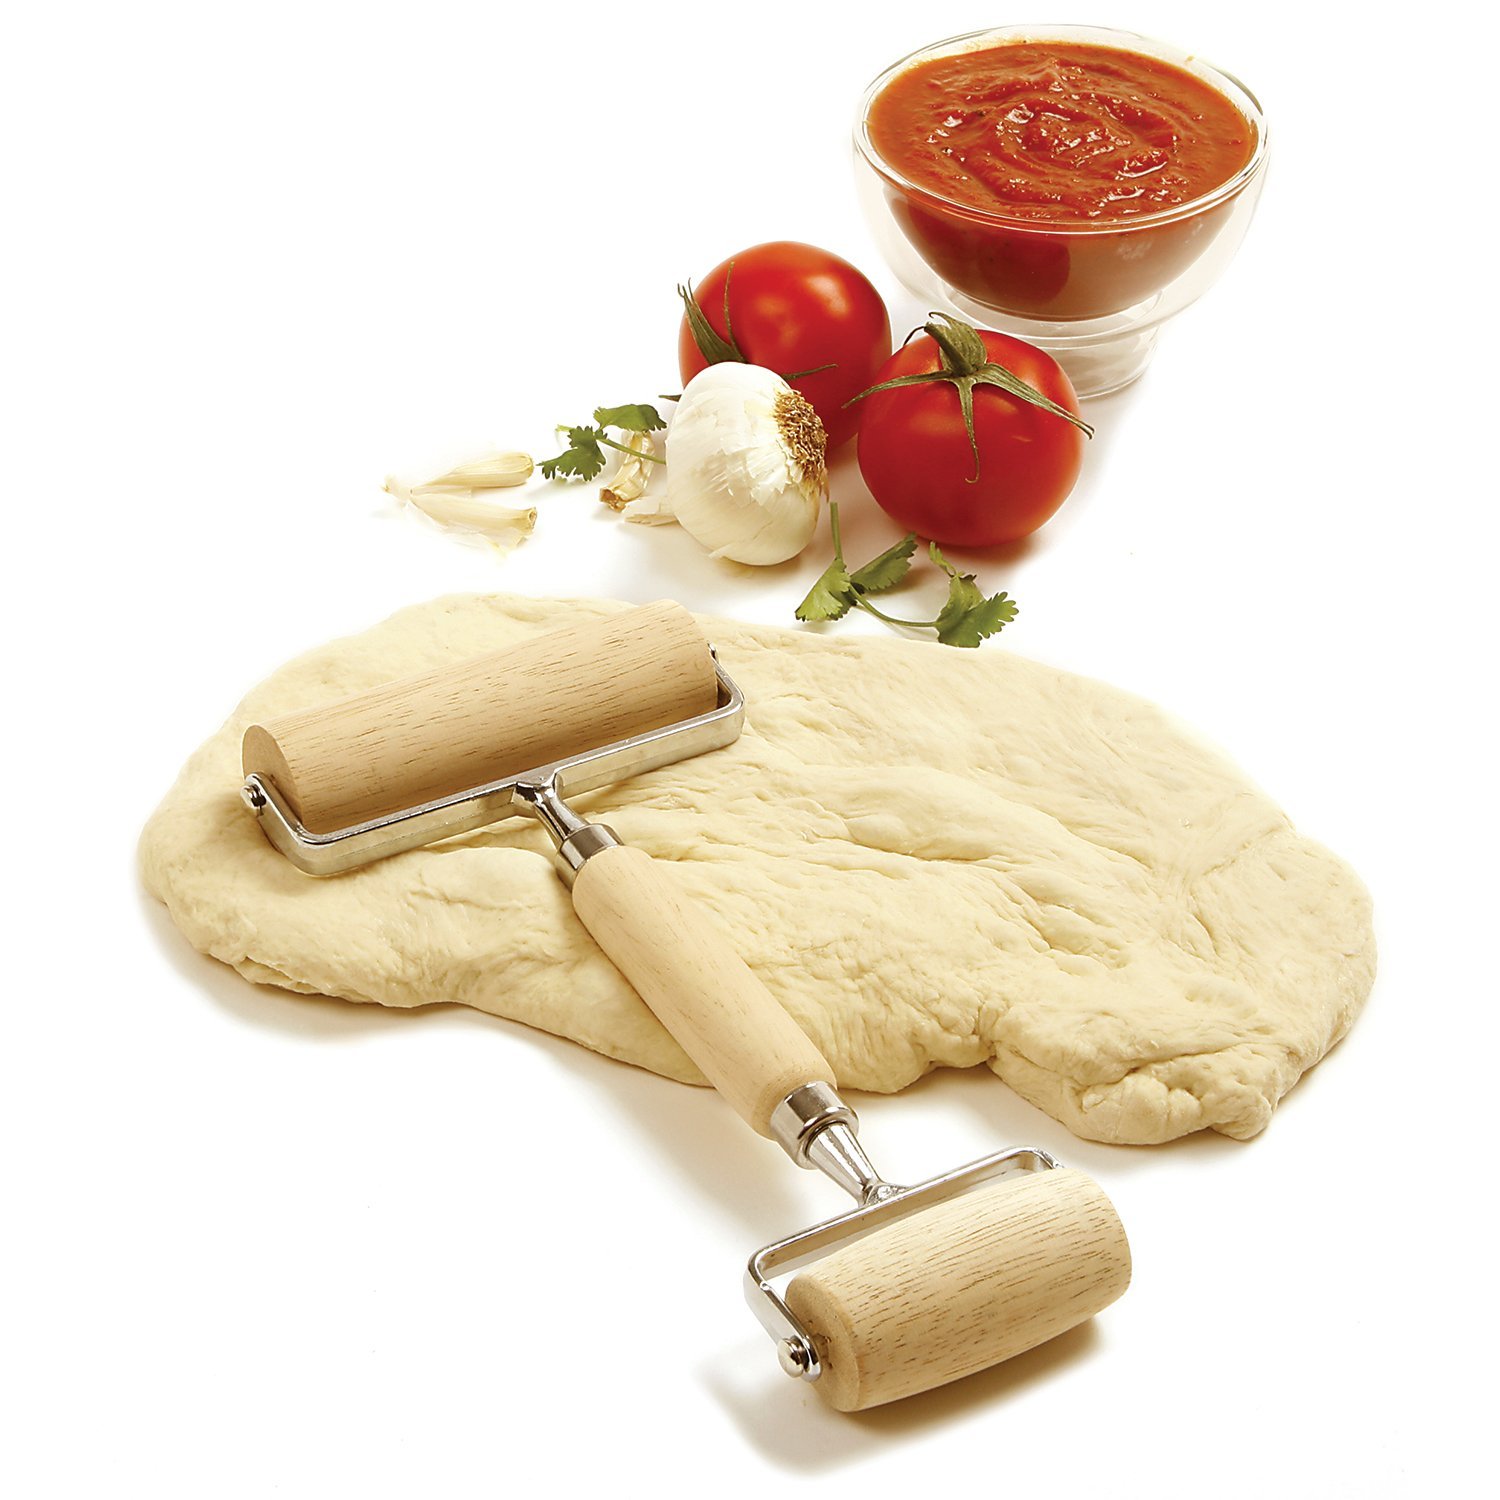
Then added the flour and turned the mixer on low speed. I started out with just one cup of water but the dough wasn't coming together so I added two more tablespoons of water. Then finished mixing the dough by hand on a floured surface,
Buttery Garlic Rolls
I covered the dough and let it rise for a little over an hour
 Now I have to tell you this funny story that my cousin told me a couple of weeks ago.

 My mother was baking a cake and she called my aunt and said: "Christy do you have any minus" my aunt replied: "Helen what are you talking about" my mother said: "this recipe calls for 2 cups of water minus 2 tablespoons, and I don't have any minus" Oh! you had to know my mother and aunt, I just couldn't stop laughing.

Okay back to the garlic rolls, Here is what I used for the rolls:

4 cloves fresh garlic chopped fine
3 tablespoons butter melted
Garlic Powder
Parmesan Cheese

I spread the dough on 11x17 greased cookie sheet, brushed the butter on top, spread the garlic, and then sprinkled some garlic powder and Parmesan cheese.

Buttery Garlic Rolls


Buttery Garlic Rolls
I rolled this into a log and cut 1/2 inch pieces
I preheated the oven to 425 degrees, brushed some more butter on top and sprinkled some more Parmesan cheese. Bake these for 15 minutes until golden brown.

They came out nice and crispy with a buttery flavor and garlic in every bite. These make a great addition to your favorite pasta or just as a snack dipped in marinara sauce.

These are a perfect fit for garlic bread dinner rolls

As always thanks for stopping by, and I hope you enjoy!!


Garlic Bread Sticks

Garlic Bread Sticks
Now that the weather is cooler I guess it's okay to fire up the oven and do some baking. I was in the mood for some of my homemade pizza so I decided to make some. The recipe for the dough that I use will yield me three 12 inch pizzas, I only made two and thought I would make some of these garlic bread sticks.

These are so easy to make as just a great snack, or if you're in the mood for garlic bread to go with that pasta you're making for dinner these garlic bread sticks will be perfect. You can find the recipe for the dough here, remember this recipe will yield three pizzas so if you only want to make the bread stick you'll want to reduce it accordingly.

Okay here is how I did this: 

I greased a small 13 x 9-inch pan and spread the dough. I used one pound of dough because I wanted to make sure it wasn't thin after I spread it out. I set this aside for about 30 minutes to let the dough rise just a little more. While waiting, finely mince two cloves of garlic.

Then with my pizza cutter, I cut 1-1/2 inch pieces across the width of the pan, this yielded nine pieces. Now brush the top lightly with olive oil, add the garlic, some salt, and pepper to taste, Italian Herb Seasoning, and top off with Romano cheese.

Bake this on the middle rack in your oven at 450 degrees for 15 minutes until the top is golden brown, then cut up the middle after they come out of the oven this will give you 18 nice garlic bread sticks to enjoy.

Norpro Wood Pastry/Pizza RollerNorpro Wood Pastry/Pizza Roller

To roll out my dough I use my Norpro Pastry roller. This is such a handy tool to have in the kitchen. I use this for all of my doughs and pastries.

Here is all that you need to make Garlic Bread Sticks:

1 pound of dough
2 cloves of garlic
Italian Seasoning
Olive oil
Romano cheese
Salt
Pepper

Make these as a snack or serve with any meal, as always I hope you enjoy Thanks for stopping by.

How to Preserve Hot or Sweet Peppers

Preserving hot peppers


Get your gardens ready and be sure to plant plenty of hot and sweet banana peppers. If you don’t plant a garden you can buy a plentiful supply of peppers at any local farmers market. This is an easy wat to preserve hot peppers without canning.

I like hot peppers on pizza, sandwiches, and even in salads. This is a simple brine, and it's so easy to make, for preserving hot and sweet peppers so you can enjoy them all year long.

We especially enjoy finding the hot banana peppers, and cutting them into rings. I pack the peppers and seeds tightly into every jar. Add you garlic and seasoning, then pour in the brine. Top off with olive oil and close the tightly.

In about two weeks you'll be enjoying tasty hot peppers for whatever you choose to put them on, it’s that easy to preserve hot peppers without canning.

 Now here is all that you need to make the brine:

·  1/2 white vinegar to 1/2 water (equal amounts) we used 4 cups of each

Now add these ingredients to the jars:

·  1 tsp of salt
·  1/2 tsp. of Oregano or Italian seasoning
·  3 cloves of Garlic, per one jar
· Olive oil (we use light olive oil)

Instructions To Preserve Hot Peppers:
  1. Boil the brine for 25 minutes, and then let it cool
  2. While the brine is cooling, cut the hot peppers into rings, about 1/4" or more  (Be sure to wear gloves)
  3. Add the salt and oregano to the bottom of each the jar
  4. Pack the peppers tight into the canning jars (you can use pint or quart jars)
  5. While you're packing add cloves of fresh garlic (we added 3 per jar)
  6. Pour the cool brine into the jars to cover the peppers. Just enough to cover the tops.
  7. Add the 2 tablespoons of oil on top of the brine
  8. Seal the jar and give it a few shakes to mix it up well.
  9. Wait two weeks before using
  10. Enjoy!!!

Preserving hot peppers
Here are the simple ingredients for the brine


Preserving hot peppers
Cut your peppers into rings and pack them tightly in the jars

 Tip: After you empty your jars of these amazing peppers save the garlic in the jar. Now you can use the garlic for cooking.


As always thanks for stopping by and enjoy.

“ I earn money from purchases on affiliate links at no additionl cost to you.” Disclosure Statement

X