Easter Rice Pie

Easter Rice Pie

Easter Rice Pie

This traditional Italian Easter rice pie is one that my mother made every year. I finally found the recipe and just had to make it this year.

There are several different versions of this recipe. I think the most popular is made with ricotta cheese and I will be making that one also.

This rice pie recipe is made with pineapple and raisins and is a delicious dessert any time of the year. So you don't have to wait for Easter every year to make this.

 Here is what I used for this Italian Rice Pie Recipe:

2 cups cooked and cooled white rice (1/2 cup uncooked = 2 cups cooked)
1/2 cup butter or margarine
1-1/4 cup sugar
1/2 Tsp. lemon extract
7 large eggs
1-20oz. can crushed pineapple
1/2 cup raisins
1 tsp grated orange rind

This is how I made my Easter Rice Pie:


recipe Italian rice pie
I started by boiling my rice for about 15 minutes. Then remove it from the heat add the butter and cover the pot.

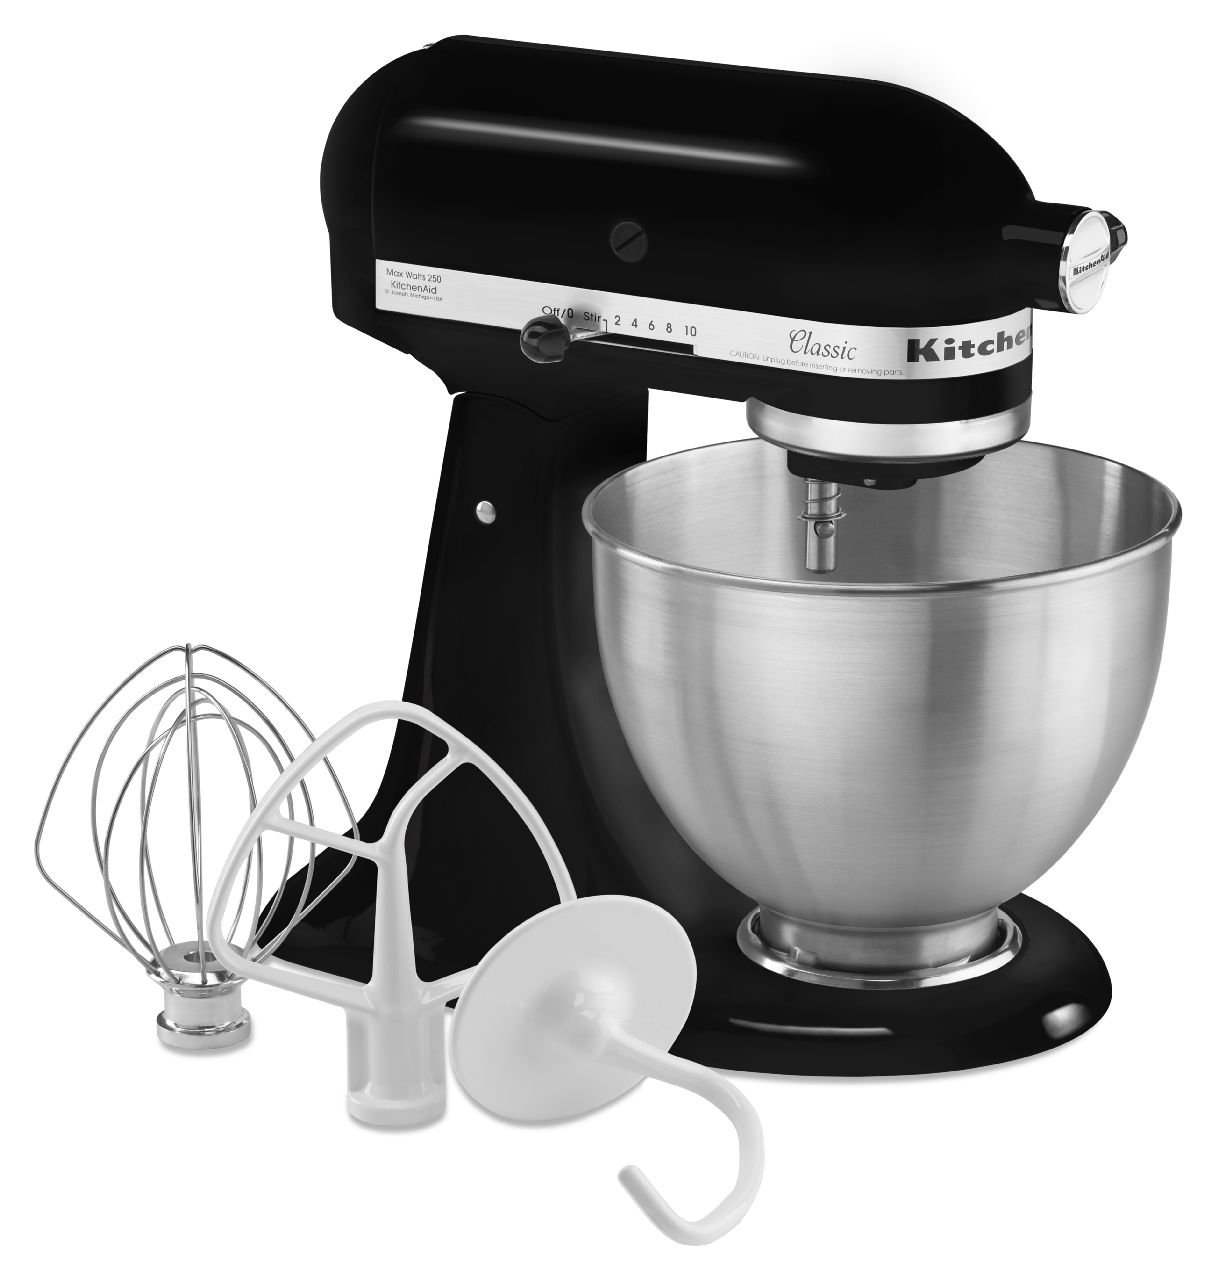
While the rice was cooling down I added the eggs, sugar, lemon extract, and orange rind in my KitchenAid mixer and beat these together using the whisk attachment.

Then I added the cooled rice, crushed pineapple (juice and all), and raisins into my mixture.


I stirred everything together with a spoon to make sure all of my ingredients were well-mixed. I greased a 9-inch x 13-inch glass baking dish with butter and poured my mixture in.

The oven was already preheated to 350 degrees, I baked my Italian rice pie on the center rack for one hour.

Italian Easter Rice Pie

This is my rice pie right out of the oven. I let this cool completely and then put it in the refrigerator for about an hour before cutting it.

You can also cook this in 9-inch pie plates. I'd say that you may need two or three of them. Your cooking time may be a little less if you use pie plates.


As always thanks for stopping by and I hope you enjoy!

These are the kitchen tools I used to make this delicious dessert

Here is your shopping list for this delicious dessert. Have it all delivered right to your door.

Best Pan Seared Scallops

Best pan seared scallops

Pan Seared Scallop Recipe:

We love all kinds of seafood and scallops are no exception. Since it was Friday during Lent I thought it was a great idea to make some easy pan seared scallops.

I served these over brown rice with a butter and lemon sauce. Oh! and of course, I used garlic I always like to use garlic when I cook.

What I used to make pan seared scallops:

1-lb. fresh wild sea scallops (25-30)
1/2 cup butter (divided)
1 clove garlic finely chopped
4 tablespoons fresh chives chopped (divided)
1/2 of a lemon and grated rind
Salt and Pepper

easy pan seared scallops
Preparing the scallops:

I used fresh sea scallops not frozen. I rinsed the scallops with cold water and laid them out on some paper towels.

Then I patted them dry the scallops must be completely dry or they won't brown and caramelize.

I seasoned both sides with salt and pepper, and then prepared my skillet.


pan seared scallops recipe

Preparing my Cast Iron Skillet:

I set the skillet on medium heat and added 2-1/4 tablespoons of butter.

Then added the garlic and about 1 tablespoon of the freshly chopped chives.

Then I grated some fresh lemon rind right into the pan while everything was heating up.


cook pan seared scallops

Cooking the scallops:

Now I turned the heat up to the high setting and began cooking the scallops.

I didn't want to crowd the scallops in the pan so I only cooked 9 or 10 at a time.

I seared the scallops for exactly 2 minutes per side until both sides were nice and brown.


While I was searing the scallops I had the brown rice boiling. After the rice was finished and the scallops were seared I made my lemon butter sauce.

I added the remaining butter, grated more lemon rind, and one more tablespoon of the fresh chopped chives into the hot skillet.

Then I squeezed the juice of 1/2 of a fresh lemon into the pan and stirred this around for about 15 seconds then removed the pan from the heat.

I placed the scallops over a bed of the brown rice poured some lemon butter sauce over the top and then garnished with fresh chopped chives. This turned out to be just a perfect meal for us on a Friday night. Serve this with a nice glass of your favorite white wine.

As always thanks for stopping by and I hope you enjoy!

Kitchen tools I used to make these perfect pan seared scallops

Perfect Cast Iron Skillet Steak

perfect cast iron skillet steak

Cast Iron Skillet Steaks

Spring is on the way but not yet here in Western New York. So, how do you cook a really good steak in the winter without your grill? Iron skillet steak cooking is the way to make a perfect steak.

I had a one pound strip steak about 1-inch thick. I realized the best way to cook this was in my cast iron skillet.
cook steaks cast iron skillet

The first thing that I did was preheat the oven to 350 degrees.

I chopped up two cloves of fresh garlic because I like garlic. Then covered the bottom of my cast iron skillet with olive oil.

I set the burner to medium-high while I seasoned my steak.

cooking steak cast iron skillet

 I seasoned my steak on both sides with salt, pepper, and McCormick Grill Mates Montreal Steak Seasoning.

I firmly pressed the seasoning into both sides of the steak with my fingers.

By this time the cast iron pan was hot. I cooked the steak exactly 3 minutes per side.

steaks cast iron skillet

Then I place the cast iron skillet into the oven and cooked it for 10 minutes.

I wanted my steak to be medium rare. Using my digital thermometer I made sure that I had an internal temperature of  140 degrees.

I let my steak rest for 4 to 5 minutes before cutting into it.

Cooking time may vary by the thickness of your steak.

Internal Temperatures:
Rare130 to 135°F
Medium Rare140°F
Medium155°F
Well Done165°F  

Prep time:     10 minutes
Cook time:    20 minutes (includes Rest Time)
Serving:        1 to 2 people (16oz. steak)

This steak was so tender, juicy and full of flavor. What I like best about cooking with my cast iron is you can go from stovetop to oven. Just make sure you have a good oven mitt to take the pan out of the oven.

As always thanks for stopping by and I hope you enjoy.


Quick Easy Lemon Bars

quick easy lemon bars

Quick Easy Lemon Bars: 

Well, since I had plenty of fresh lemons left over from what my cousin sent me from his backyard lemon trees I needed more recipes with lemons.

Jimmy was so kind to also send me his easy lemon bars recipe and easy is the keyword in this one. These lemon bars are so easy to make and such a treat for friends and family.

lemon bars best recipe
How to Make the Crust:

2 cups flour
1 cup butter or margarine
1/2 cup powdered sugar
Dash of Salt 1/8 teaspoon

I placed the butter, flour, powdered sugar, and salt into my KitchenAid mixing bowl.

Using the flat bar attachment I mixed this to a crumbly consistency.  Spread this mixture into a 9-inch x 13-inch ungreased glass baking dish. Firmly press this into the bottom of the dish to form a crust. I pre heated my oven to 350 degrees and baked the crust for 20 minutes on the center rack.

recipe perfect lemon bars
Quick Easy Lemon Bars: Filling

4 eggs beaten
2 cups sugar
6 tablespoons fresh lemon juice
Powdered sugar to dust finished bars

Again, using my KitchenAid I added the eggs, lemon juice, and sugar.


Using the whisk attachment I mixed this on medium speed until the sugar was dissolved. Now, pour this batter over the hot crust and bake for 25 minutes at 350 degrees.

After the lemon bars have been out of the oven for about 15 minutes sprinkle with powdered sugar. This will yield 24 squares (3 equal cuts down the length and 5 cuts across the width).

You may also like my Quick Lemon Meringue Pie


As always thanks for stopping by and I hope you enjoy.

Grow your own fresh lemons with these indoor/outdoor trees.

Easy Chocolate Covered Strawberries


Easy chocolate covered strawberries

These easy chocolate covered strawberries are most popular on Valentine's Day but are perfect for any time of the year or any occasion.

I've never made these before and thought I'd give it a try. Although I do need a little practice on my white chocolate drizzle that's okay they are a perfect sweet treat.

You could go out and buy chocolate-covered strawberries but what fun would that be. It only takes about 30 minutes to make these. I ended up with 28 of these little sweet treats ready to enjoy.

Easy to Make Chocolate Covered Strawberries:


easy to make chocolate covered strawberries
The first thing I did was wash the strawberries and let them drain for a few minutes.

Then I dried each one and placed them on a paper towel.

You want to make sure the strawberries are dry before you dip them. If they are wet the chocolate won't stick.


Nestle TOLL HOUSE Milk Chocolate Morsels 11.5 oz. BagNestle TOLL HOUSE Milk Chocolate Morsels 11.5 oz. Bag
I used 2 cups of Nestles Milk Chocolate chips, which was more than I needed but I wanted to be safe.

I melted them in a microwave-safe bowl on 50% power for a minute at a time stirring between each heating.

In about 4 minutes the chocolate was melted then I did another 30 seconds on high power just to make sure.


Now it was time to dip the strawberries. I grabbed each strawberry by the green stem and dipped it into the chocolate.

Making sure I covered 3/4 of the way up the strawberry with chocolate.

Hold the strawberry over the bowl and let the chocolate drip back into the bowl.


Milk chocolate covered strawberries

Then I placed the strawberry on a cookie sheet lined with wax paper.

After all 28 strawberries were dipped I placed the cookie sheet in the refrigerator for about 10 minutes.

I melted the white chocolate the same way in the microwave.

Then with a teaspoon, I drizzled the white chocolate trying to make it swirl. Again I do need some practice with my drizzling.

These easy to make chocolate covered strawberries were a lot of fun. Did I mention that they are the most delicious little sweet treats?

You might also like my: Sweet and Salty Chocolate Turtles

As always thanks for stopping by and I hope you enjoy.

I used Ghirardelli White Chocolate Chips for the drizzle and this microwave-safe bowl to melt the chocolate.

“ I earn money from purchases on affiliate links at no additionl cost to you.” Disclosure Statement

X