We are now into the fall season and here in Western New York, we have plenty
of beautiful colors all over the trees. It's time to fill the house with those
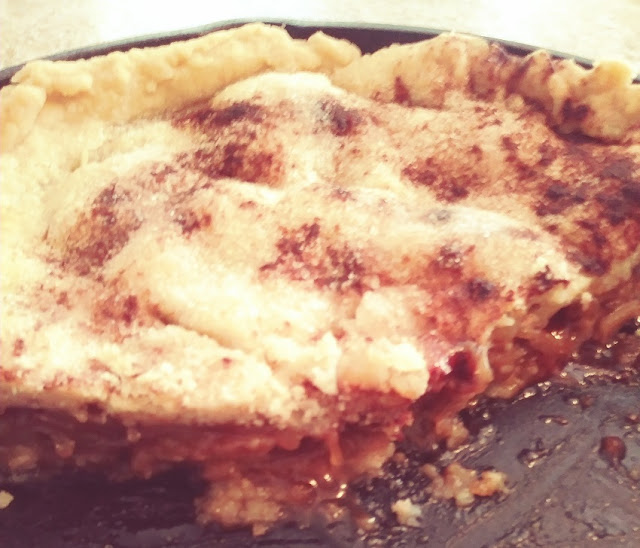
wonderful aromas of cinnamon and spice. Baking this cast iron skillet apple
pie did just that.
I love cooking with my cast iron skillet. This iron skillet apple pie is so
easy to make, and I'm sure it will be a family favorite.
With pie crust made from scratch and, a layer of brown sugar and melted butter
on the bottom of the skillet that bakes into the pie crust, makes this one a
fall favorite.
Cast Iron Skillet Apple Pie: Crust
2-2/3 cups all-purpose flour
1/2 teaspoon salt
1 cup Crisco (Cold)
6 to 8 tablespoons of Ice Water
You can make your own pie crust or buy it already made. I made my own by
adding the flour, and the Crisco (Cold and cut into small pieces) into my
KitchenAid mixing bowl.
Using the flat bar I turned it on low speed and began adding the cold water
one tablespoon at a time until the dough was formed.
Then, I divided the dough into two equal pieces. I wrapped them and set them
in the refrigerator while I prepared the apples.
Cast Iron Skillet Apple Pie: Filling
4 large Granny Smith Apples (Peeled, cored, and sliced)
3/4 cup white sugar
1/4 cup brown sugar
1/4 teaspoon salt
2 tablespoons flour or cornstarch
1 teaspoon nutmeg
1 teaspoon cinnamon
2 tablespoons fresh lemon juice
I mixed all of the ingredients in a large mixing bowl. Then, placed it in the
refrigerator while I prepared my cast iron skillet and the pie crust.
For the bottom of the cast iron skillet:
1/2 cup butter
1 cup brown sugar
Melt the butter over medium heat. Stir in and spread the brown sugar until it
is absorbed and covers the bottom of a
10-inch cast-iron skillet.
Remove it from the heat and roll out your dough. It's best to roll out the pie
crust between wax paper or parchment paper.
Place the bottom pie crust over the brown sugar mixture in the skillet. Fill
the skillet with the apple mixture. Then place the top crust and form the
edges together.
Cut 4 to 6 slits in the top of the pie crust. I brushed the top with 2
tablespoons of melted butter. Then sprinkled some sugar and cinnamon on top.
Bake at 350 degrees for one hour.
The crust was flakey and tender and the filling was sweet, with a nice
buttery, brown sugar bottom. If you like your apple pie on the tart side, cut
back on the sugar or eliminate the brown sugar in the filling.
As always thanks for stopping by and I hope you enjoy it!
&


