Showing posts with label Main Dish. Show all posts

Stuffed Portobello Mushrooms with Spinach and Artichoke Hearts

 Last week, Fran came home from the grocery store with four beautiful portobello mushrooms. We stuffed these with a combination of veggies and cheese for a delicious meal.

Stuffed Portobello Mushrooms

These were easy to make, and we had them as a main dish. We had four mushrooms, and I could hardly finish the second one. So, four of these could easily feed four people.

Ingredients:

  • 4 portobello mushrooms
  • 2 tablespoons olive oil
  • 2 cloves garlic, minced
  • 1/2 of a large onion, chopped
  • 1/4 cup diced red bell pepper
  • 4 ounces cream cheese, softened
  • 1/4 cup sour cream
  • 1 can (14 oz.) artichoke hearts, chopped
  • 1 package frozen spinach (thawed and squeezed dry)
  • 1 cup shredded mozzarella (divided)
  • 1/2 cup Parmesan cheese
  • Salt and pepper to taste
  • Mushroom stems, finely chopped
Instructions:

  1. Remove the stems from the mushrooms and finely chop them. Scrape the gills from the underside of the mushrooms.
  2. Brush both sides of the mushrooms with olive oil and place the cap-side down on a greased cookie sheet. Roast for 10 minutes at 425 degrees.
  3. In a non-stick skillet, heat one tablespoon of olive oil. Add the onions, garlic, red bell pepper, and mushroom stems. Stir and cook until these are tender, about 6 minutes.
  4. In a bowl, mix the cream cheese and sour cream with a hand mixer. Fold in the cooked mixture, artichoke hearts, drained spinach,1/2 mozzarella cheese, and parmesan cheese. Season with salt and pepper.
  5. Flip the mushrooms and fill them with the mixture. Top off with mozzarella cheese.
  6. Bake at 425 degrees for 15 minutes, until the cheese is browned.
These made a meal for Fran and me all by themselves. You could also serve these as an appetizer if you cut into smaller pieces.

David Burke GeoClad Ceramic Hybrid Non-Stick 10David Burke GeoClad Ceramic Hybrid Non-Stick 10David Burke GeoClad Ceramic Hybrid Non-Stick 10Nordic Ware Naturals 3 Piece Set - USA Made Aluminum Commercial Quality Sheet Pan for Baking or Roasting, Encapsulated Galvanized Steel Rim Prevents Warping; Half Sheet, Jelly Roll and Quarter SheetNordic Ware Naturals 3 Piece Set - USA Made Aluminum Commercial Quality Sheet Pan for Baking or Roasting, Encapsulated Galvanized Steel Rim Prevents Warping; Half Sheet, Jelly Roll and Quarter SheetNordic Ware Naturals 3 Piece Set - USA Made Aluminum Commercial Quality Sheet Pan for Baking or Roasting, Encapsulated Galvanized Steel Rim Prevents Warping; Half Sheet, Jelly Roll and Quarter Sheet


Charcoal Grilled Chicken Breasts


Charcoal Grilled Chicken Breasts

I treasure the times when our whole family can get together. It has been a difficult year for gatherings. This year, for Father's Day, we had everybody together.

So, it was time to celebrate with some charcoal-grilled chicken breasts. There is no doubt that the best grilling is done over charcoal. Well, that's my opinion anyway.

I picked up 8 large bone-in chicken breasts at our local grocery store. The first step was to marinate the chicken. We marinated the chicken breasts overnight in Chiavetta's Barbeque Marinade. This is a great marinade for both flavor and tenderizing the meat. 

Charcoal Grilled Chicken Breasts

Seasoning chicken breasts

We fired up the charcoal in the Weber Charcoal Chimney. To me, using the chimney is the best way to fire up your charcoal. There is no chance of getting that charcoal fluid aftertaste on your food.

 While the charcoal was heating up, I seasoned the chicken breasts with Penzeys Galena Street Rib and Chicken Rub. This is a traditional southern-style barbecue rub.

I seasoned the breast meat by lifting up the skin on the chicken breasts and pouring in the seasoning with a small spoon. Then I worked the seasoning onto the meat with my finger. 

Bone Grilled Chicken Breasts

Then, I rubbed the seasoning all over the top and bottom of the chicken breasts. As you can see, these beauties are now ready for the grill.

I grilled these for 7 to 8 minutes per side, flipping them twice, for a total of 30 minutes. Cooking time may vary depending on the size of the chicken breasts. These were large breasts with the ribs.

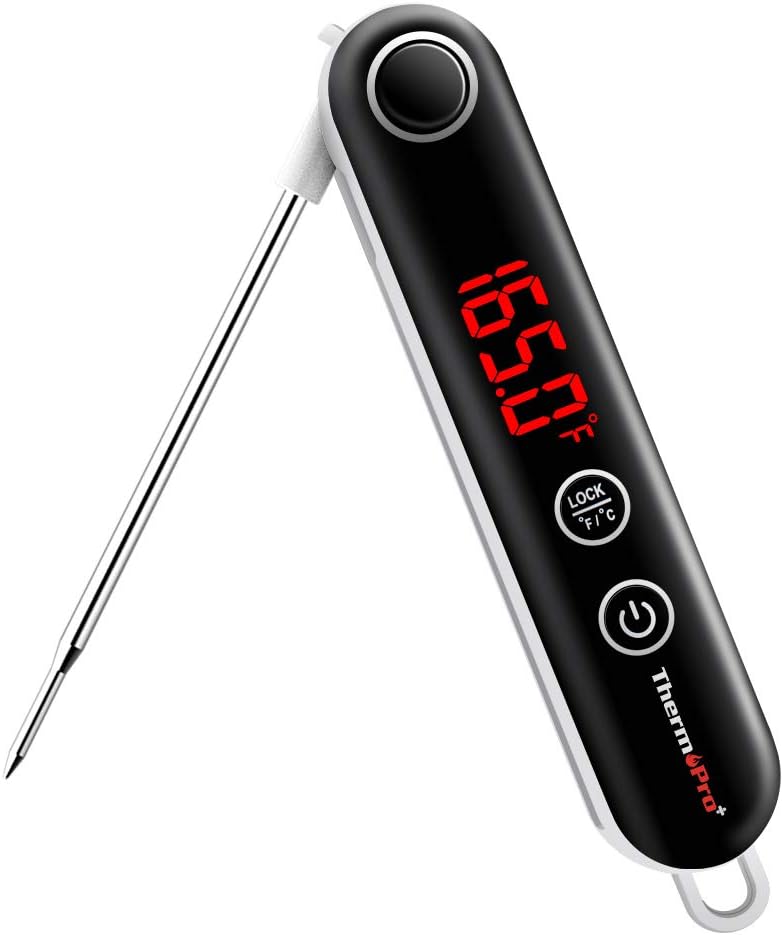
 I grilled them until the internal temperature was 165 degrees. It's best to have an instant-read thermometer on hand so you know when they are cooked.

As always, thanks for stopping by, and I hope you enjoy it!

You might also like these chicken recipes

Smoked Bone in Chicken BreastsSmoked Bone-in Chicken BreastsGrilled Southwestern Chicken BreastsGrilled Southwestern Chicken Breasts


Baked Stuffed Portabella Mushrooms

Baked Stuffed Portabella Mushrooms

If you're looking for a great meal for any meatless day of the week, these baked stuffed portabella mushrooms will be a family delight.

Portabella mushrooms or also spelled (Portobella) is a large cremini mushroom. These large mushrooms have a firm fleshy texture, which makes them perfect for stuffing.

I started by, removing the stems, rinsing the mushrooms with cold water and patting them dry with a paper towel. I diced the stems and added them into the stuffing ingredients.

recipe baked portabella mushrooms


Baked Stuffed Portabella Mushrooms: Stuffing Ingredients


1 cup seasoned breadcrumbs
1 tablespoon Italian seasoning
1 clove garlic minced
1/4 cup Romano or Parmesan Cheese
1 tablespoon olive oil
2 eggs
Diced mushroom stems
Mozzarella Cheese for the topping

This is so easy to make. Just combine all of the ingredients into a mixing bowl. Mix well until you have sort of a sticky ball of stuffing.

baked portabella mushroom caps

I had three portabella mushrooms I placed them on a cookie sheet lined with parchment paper. Then, filled each one with the stuffing.

Bake these at 350 degrees for 15 minutes. Remove from the oven and top them off with the mozzarella cheese.

 Place them back in the oven for 10 more minutes until the cheese melts. And, That's all there is to it, now, you have a perfect meatless meal for you and your family.

As always thanks for stopping by and I hope you enjoy it!

You may also like some of our other mushroom recipes:


Steak and Shrimp Salad

Steak and Shrimp Salad

If you're looking for something easy, quick, and delicious to serve your family for dinner, this steak and shrimp salad is it.

Fresh crisp greens combined with tender strips of steak and hot french fries for the steak salad. On the other side, the greens are topped off with succulent shrimp.

Fran and I were looking for something a little different for dinner the other night and this was it. We put this together with everything we had on hand.

steak shrimp salad recipe

We started off with a huge plate of fresh greens. Romaine lettuce, tomatoes, cucumbers, red, and green peppers.

steak shrimp salad

We cut a thin strip steak into small strips. then, covered the bottom of our 10-inch non-stick skillet with olive oil (about 2 tablespoons). Added a clove of diced garlic and cooked over medium heat.

easy shrimp salad recipes

We thawed the frozen shrimp by running it under cold water. Cooking this in the same skillet as the steak until it was done. (about 5 minutes turning once).

While all of this was going on we had some shoestring french fries cooking in the oven. We assembled everything together and topped off with our favorite dressing.

I used ranch dressing for the steak salad, and Fran used a vinegarette for the shrimp salad. This salad was quick, easy, and made the perfect dinner for both of us.

As always thanks for stopping by and I hope you enjoy it!

You might also like some of our other favorite salads

Cast Iron Fried Potatoes

Cast Iron Fried Potatoes

I love cooking with my cast iron skillet. These cast-iron fried potatoes will make a perfect side dish for any meal. These little baby yellow potatoes are very versatile. You can use them for just about anything, baked, sauteed, mashed, roasted, I choose the fry them.

Cast Iron Skillet Potatoes


These little baby yellow potatoes are firm white potatoes with thin skin. They're perfect for my cast iron skillet.

I first rinsed them in cold water and then dried them. Leaving the skin on, I sliced the potatoes about 1/4 to 1/2 inch thick. You can cut them any way that you like, sliced or quartered.

I covered the bottom of my 10-inch cast-iron skillet with olive oil, then added 2 tablespoons of butter. Let this heat up over medium heat. I cut the potatoes while waiting for the pan to heat up.

I love cooking with garlic, so, I chopped a clove of garlic and added it to the skillet. Let this heat up until the garlic becomes fragrant. Now add the potatoes and begin to stir.

As they cook, add a generous amount of Italian seasoning.  Add sea salt and black pepper to your taste. Continue to move and toss the potatoes as they cook. This will prevent them from sticking and cooking too much on one side. Cook until the potatoes are golden brown.

 Now, you have a quick, easy, and perfect side dish for any meal. Try these delicious little potatoes with my Perfect Cast Iron Skillet Steak.


As always thanks for stopping by and I hope you enjoy it!


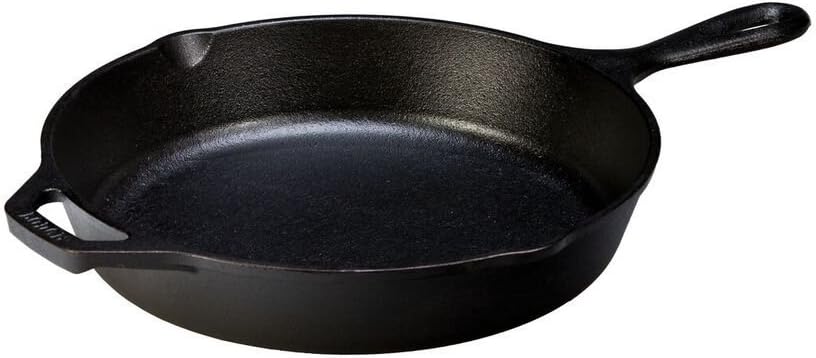
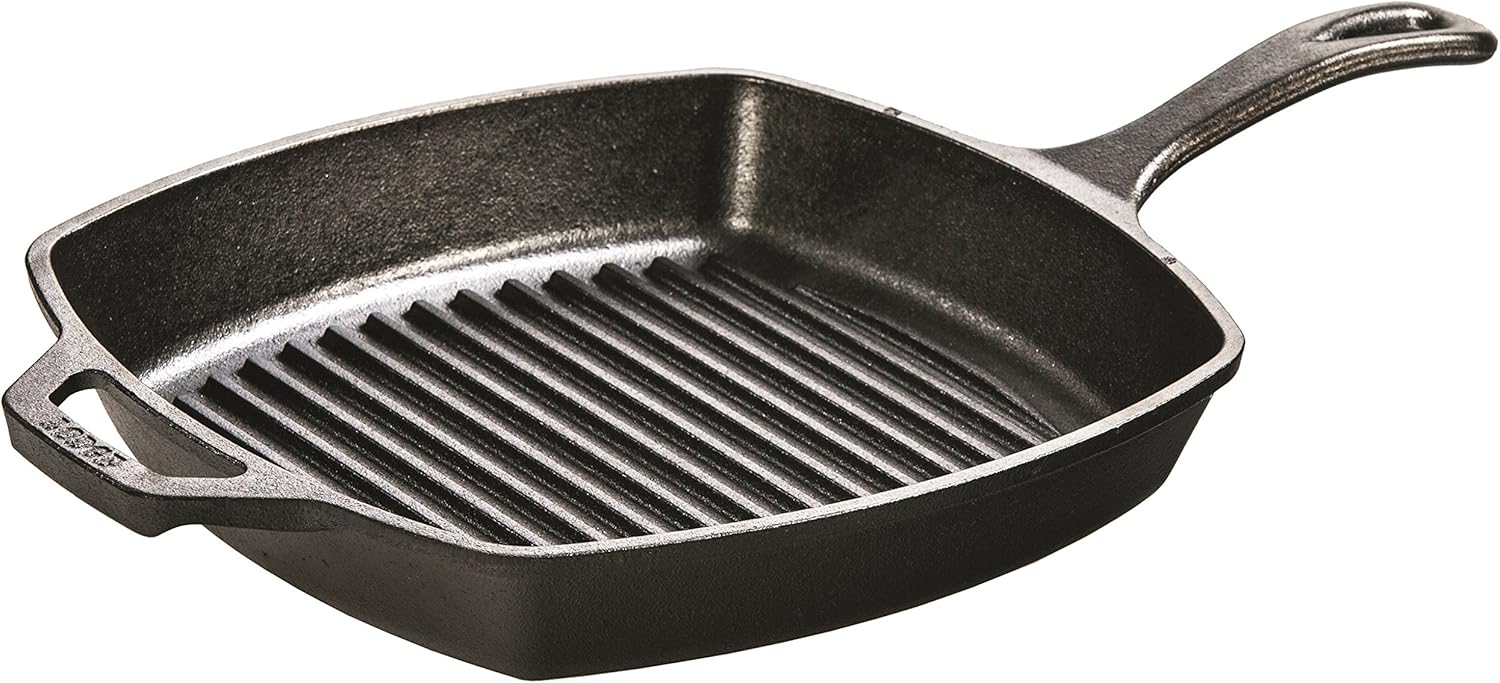
The Lodge Brand is my go-to cast iron skillet


Instant Pot Beef Ribs

Instant Pot Beef Ribs

These instant pot beef ribs are both, melt-in-your-mouth delicious and oh so juicy. Fran picked up a couple of packages of bone-in beef short ribs.

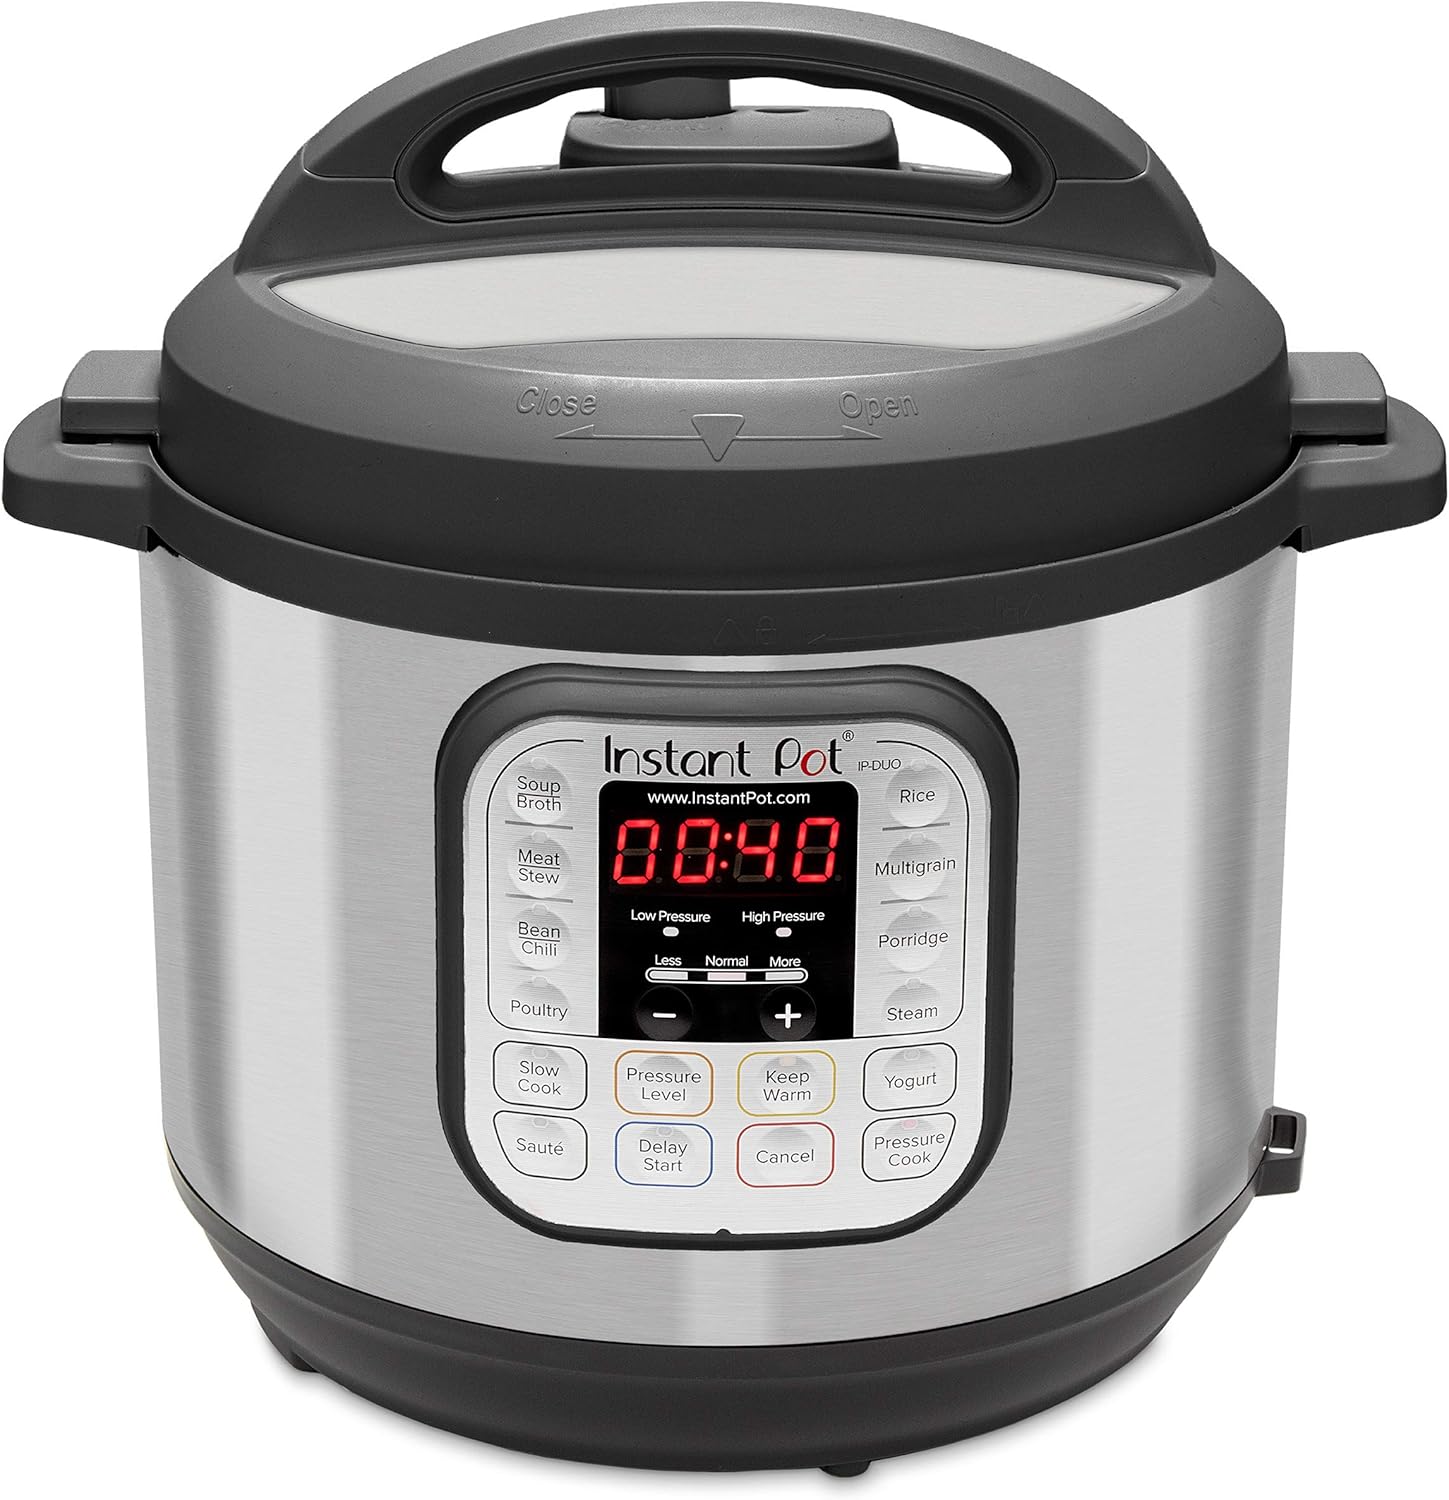
We debated the cooking options, either, braised in a cast-iron skillet or use the instant pot. We choose the instant pot.

Instant Pot Beef Short Ribs Recipe


The very first thing was to get these seasoned and ready to cook. So, I used a rub that I made last summer for this Long Smoked Pulled Pork recipe we did in our smoker.

Ingredients for the Rub:

1/4 cup brown sugar
1/4 cup paprika
2 tablespoons Sea Salt
2 tablespoons black pepper
2 tablespoons garlic powder
2 tablespoons onion powder
1 teaspoon cayenne
1 tablespoon smoked paprika
3 tablespoons Carolina Seasoning (Rub Some Butt)

I rubbed all sides of the beef ribs with this rub, and let them set in the refrigerator for about an hour. I make this rub ahead and keep it in a jar. It's great to use on beef, pork, or chicken. So, it's perfect to always have it on hand.


Instant Pot Short Rib Recipe

Browning the short ribs. Add about 2 tablespoons of oil in the bottom of the instant pot. Set it on saute until it reaches hot.

Set the ribs in, and brown them on all sides, about 3 to 4 minutes per side should do it. Remove them from the instant pot to a plate.

Instant Pot Beef Ribs Recipe

Now add a thickly sliced medium onion and one clove of minced garlic into the instant pot. Add 1/2 cup of bourbon or red wine to De-Glaze the bottom of the instant pot.

You want all of the caramelized bits to blend with the bourbon or wine, use a wooden spoon to do this by gently scraping the bottom.  By the way, we used bourbon.

Add the short ribs back into the pot. Pour in 1/2 cup of beef broth, add a teaspoon of dried thyme, 2 tablespoons of brown sugar, and 5 cloves of chopped garlic.

 Set the instant pot to High Pressure for 45 minutes, and let release naturally for 15 minutes.

This method will produce juicy, tender and fall of the bone beef short ribs. We served ours with mashed potatoes.
Ingredients:

4 or 5 bone-in beef short ribs
6 cloves of Chopped garlic (use one for De-glaze)
1 medium onion sliced
1/2 cup of bourbon or red wine
1/2 cup beef broth
2 tablespoons brown sugar
2 tablespoons oil
1 teaspoon dried thyme

If you don't use the dry rub that I have above, you can season the short ribs with salt, pepper, paprika, and some cayenne pepper.

As always thanks for stopping by and I hope you enjoy it.


Slow Roasted Prime Rib Roast

Slow Roasted Prime Rib Roast

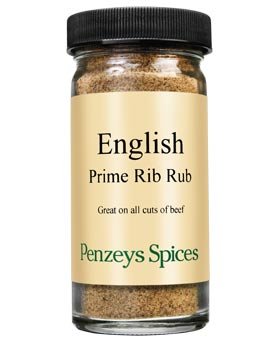
Slow roasted prime rib roast cooked to a perfect medium-rare. With simple seasonings of salt, pepper, fresh garlic, and Penzeys English Prime Rib Rub. This is all you need to make this a perfect feast for your family and friends.

Slow Roasted Prime Rib Roast Recipe

Oh, and of course you need to start with a nice prime rib roast.  I started with this 5.5-pound boneless prime rib roast. Prime rib is a very expensive cut of meat. Many people tell me that they don't attempt making prime rib roast in fear of ruining it. 

I'm here to tell you that making this is so easy, and you'll be so happy with the results. Once your family and friends taste this prime rib you'll be a hero.

I used 3 cloves of fresh garlic cut in half. I made six small cuts on both sides of the top and stuffed the garlic in. Then I seasoned the roast with salt, pepper, and Penzeys English Prime Rib Rub.

Slow Roast Prime Rib Roast

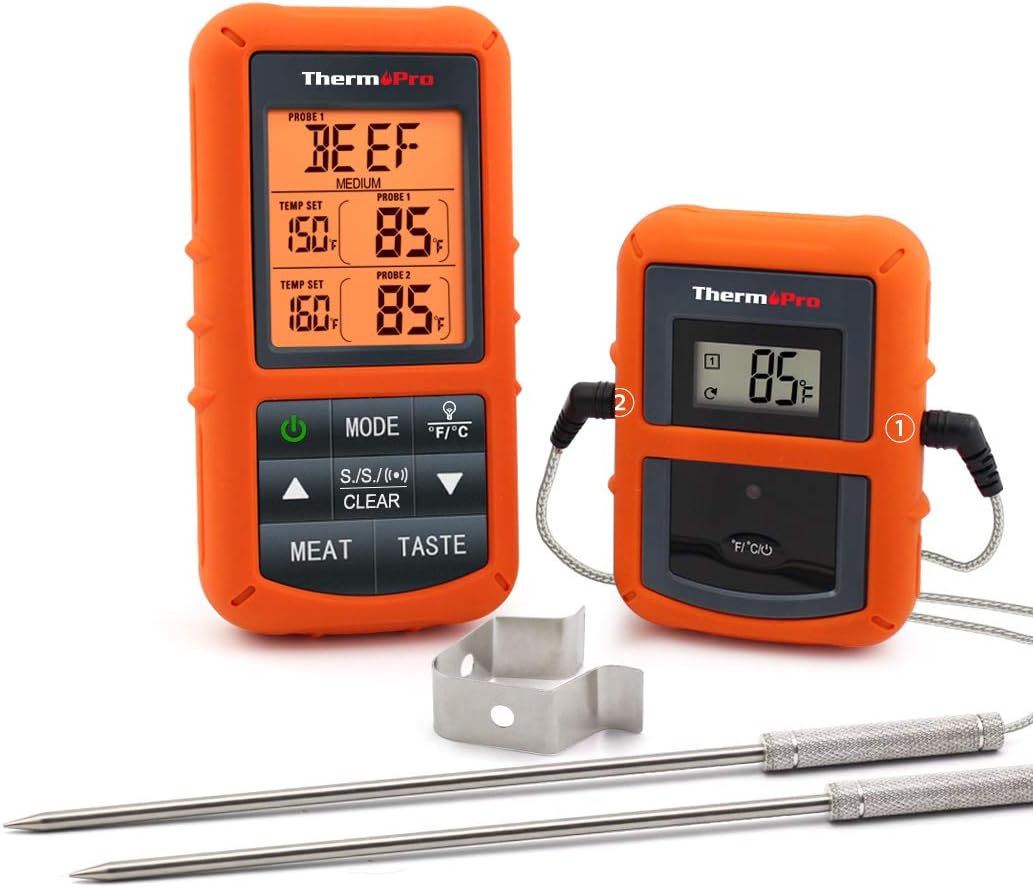
I  left the prime rib out for a couple of hours to reach room temperature.  I inserted the probe of my ThermoPro TP-20 Thermometer. Then, place it in the oven at 275 degrees until the internal temperature is 130 degrees, about 2.5 hours.

Out of the oven, I covered the roast to let it rest for 30 minutes before cutting. While resting the roast will continue to cook to 135  degrees, a perfect medium-rare. The outside was a nice dark tasty crust while the inside was a perfect medium-rare. 

The rule of thumb is about 15 minutes per pound. If you don't have a probe to monitor the internal temperature, use an instant-read thermometer and check the internal temperature after 2 hours.

As always thanks for stopping by and I hope you enjoy it.


Long Smoke Pulled Pork

Long Smoke Pulled Pork

I have been having a blast with my new Char-Griller Off-Set Smoker. Last weekend I did a long smoke pulled pork, and it was so good.

I started by picking up a 5.5-pound Boston butt. I mixed my own rub using David Farrell's book The Old Fat Guy's Guide to Smoking Meat for Beginners.


David calls this Rub a "Do-Anything Rub," which you can find in his book or on his blog. I didn't use all of his ingredients for this, but I did add a few of my own.

Rub I used for this Long Smoke Pulled Pork:

1/4 cup brown sugar
1/4 cup paprika
2 tablespoons Sea Salt
2 tablespoons black pepper
2 tablespoons garlic powder
2 tablespoons onion powder
1 teaspoon cayenne
1 tablespoon smoked paprika
3 tablespoons Carolina Seasoning (Rub Some Butt)

My Process for Long Smoke Pulled Pork:

After mixing the rub. I rubbed both sides of the pork butt, then covered it and set in the refrigerator overnight.

Early the next morning I fired up my smoker using charcoal, and then added oak and hickory wood splits. When the smoker temperature reached 250 degrees, I placed the pork butt in the smoker.

I kept the smoker temperature between 250 and 300 degrees by adding wood splits every 30 to 45 minutes.  After 3 and a half hours, I opened the smoker and inserted my probe to monitor the pork butt's internal temperature. The internal temperature was 160 degrees at his time.

This was the only time I opened the smoker throughout the whole process. I needed to reach an internal temperature of 205 degrees.

smoked pulled pork butt

After 8 hours and 15 minutes, we finally reached 205 degrees. We removed the pork butt from the smoker, covered it to let it rest for about 40 minutes before shredding it.

The outside had a beautiful, tasty bark, while the inside was juicy and tender. The total cook time equaled 90 minutes per pound.

We made delicious sandwiches using my homemade barbecue sauce. You can find the recipe here. 
This pulled pork made the best game-day sandwiches. We had a house full of happy people.


As always, thanks for stopping by, and I hope you enjoy!


“ I earn money from purchases on affiliate links at no additionl cost to you.” Disclosure Statement

X