We haven't made these easy chocolate crinkle cookies for a couple of years. So, this year Fran found the recipe and we decided to add this one to our Holiday cookie list.
These are so easy to make and oh-so-good. They're crisp on the outside and soft and chewy on the inside. Who doesn't love chocolate? The chocolate flavor is to die for.
You can find many recipes to make these easy chocolate crinkle cookies using a cake mix or brownie mix. We prefer this easy-to-make homemade recipe.
Here is what you need:
2 cups
all-purpose flour
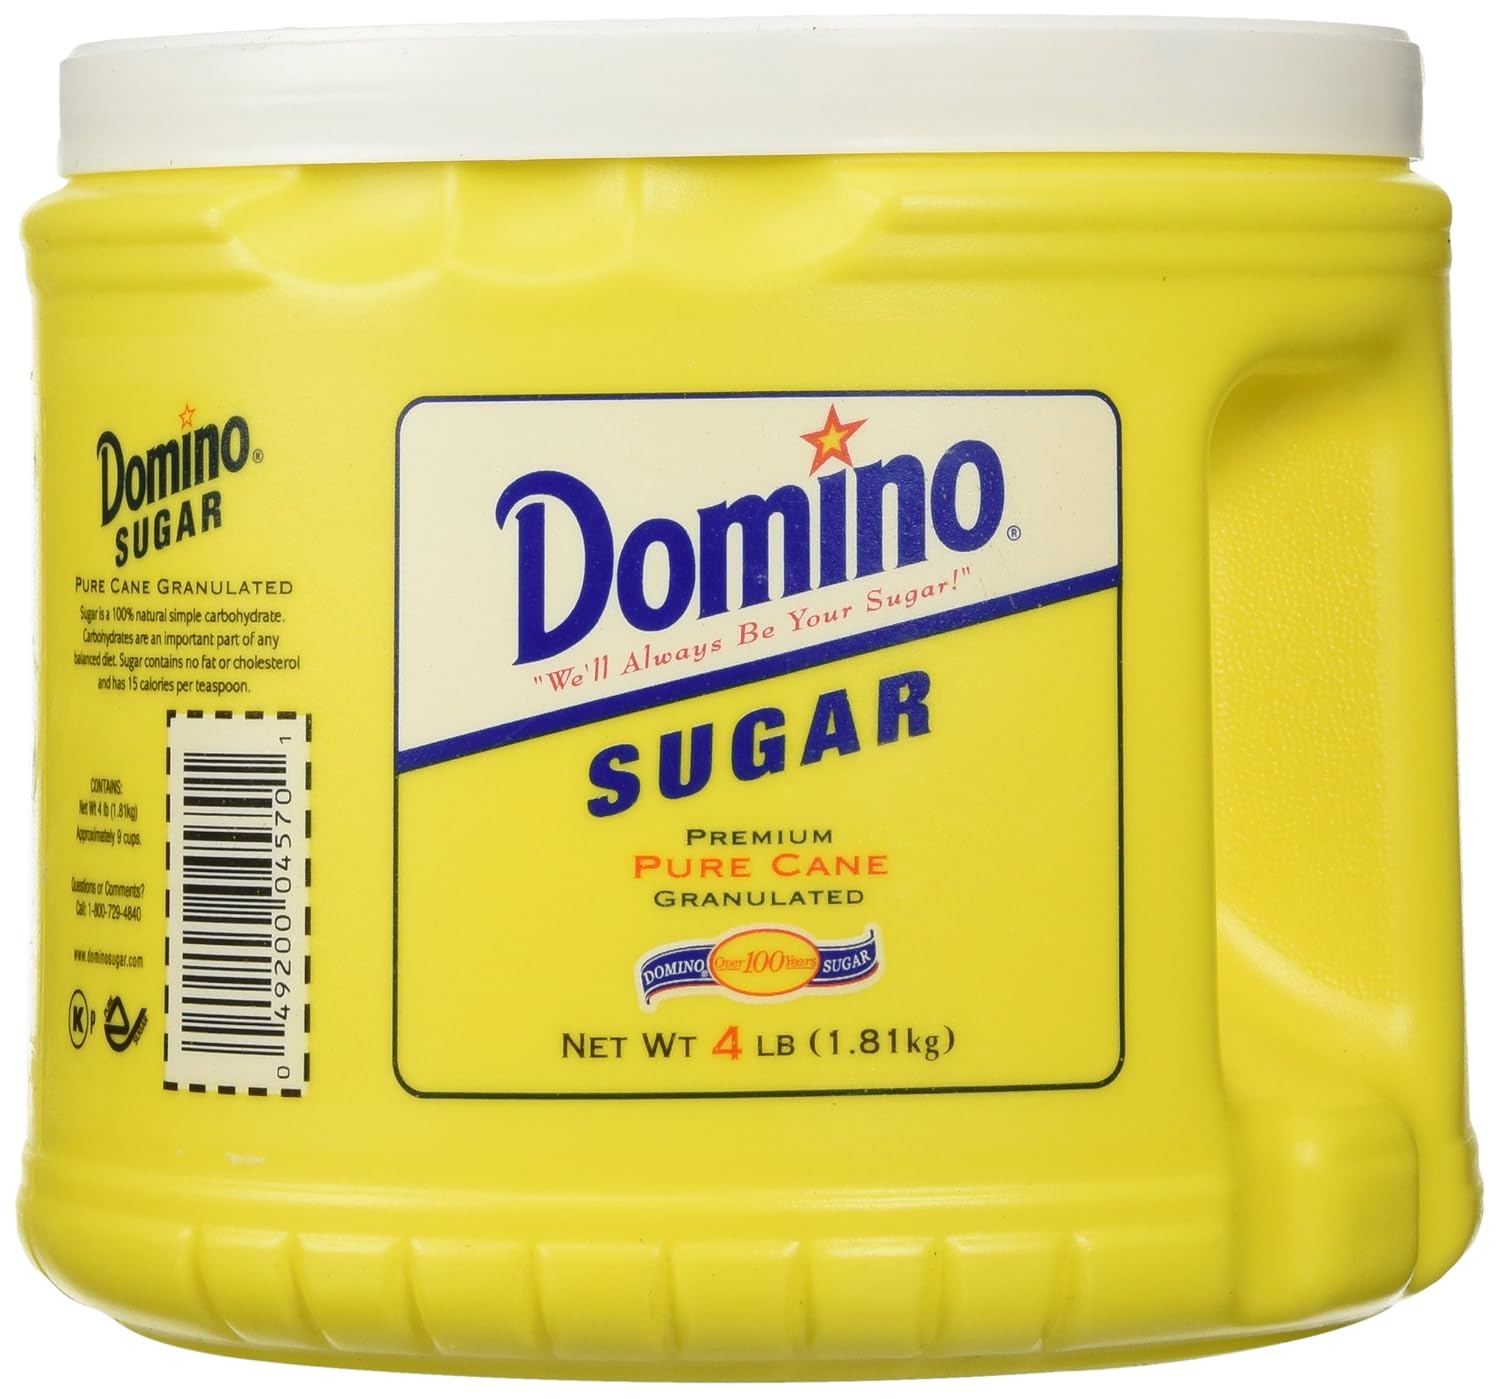
2 cups
white sugar
1 cup
unsweetened cocoa powder
4 eggs
1/2 cup
vegetable oil
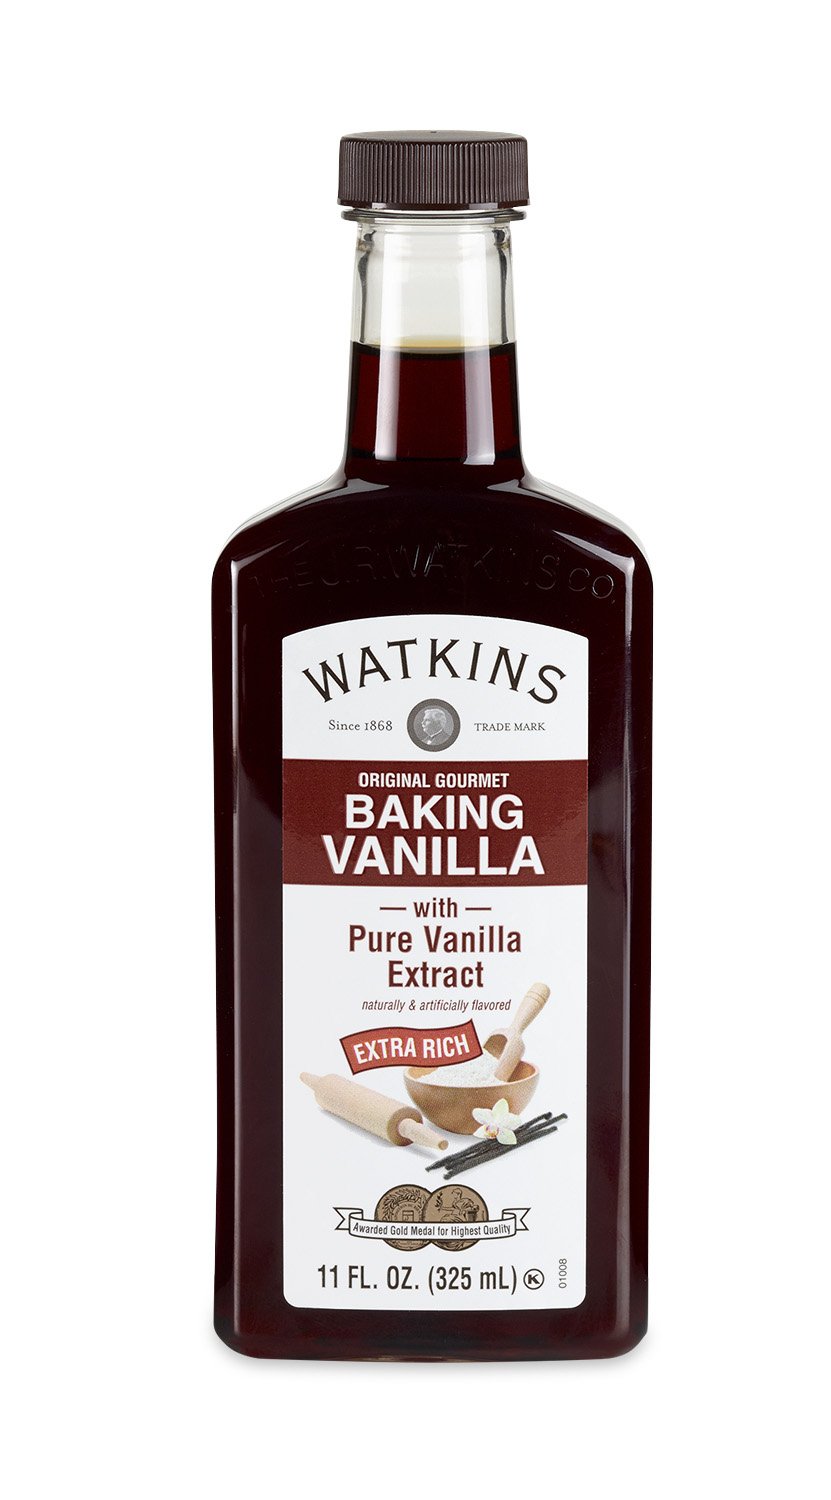
2 teaspoons
vanilla
2 teaspoons
baking powder
1/2 cup
powdered sugar
1/2 teaspoon salt
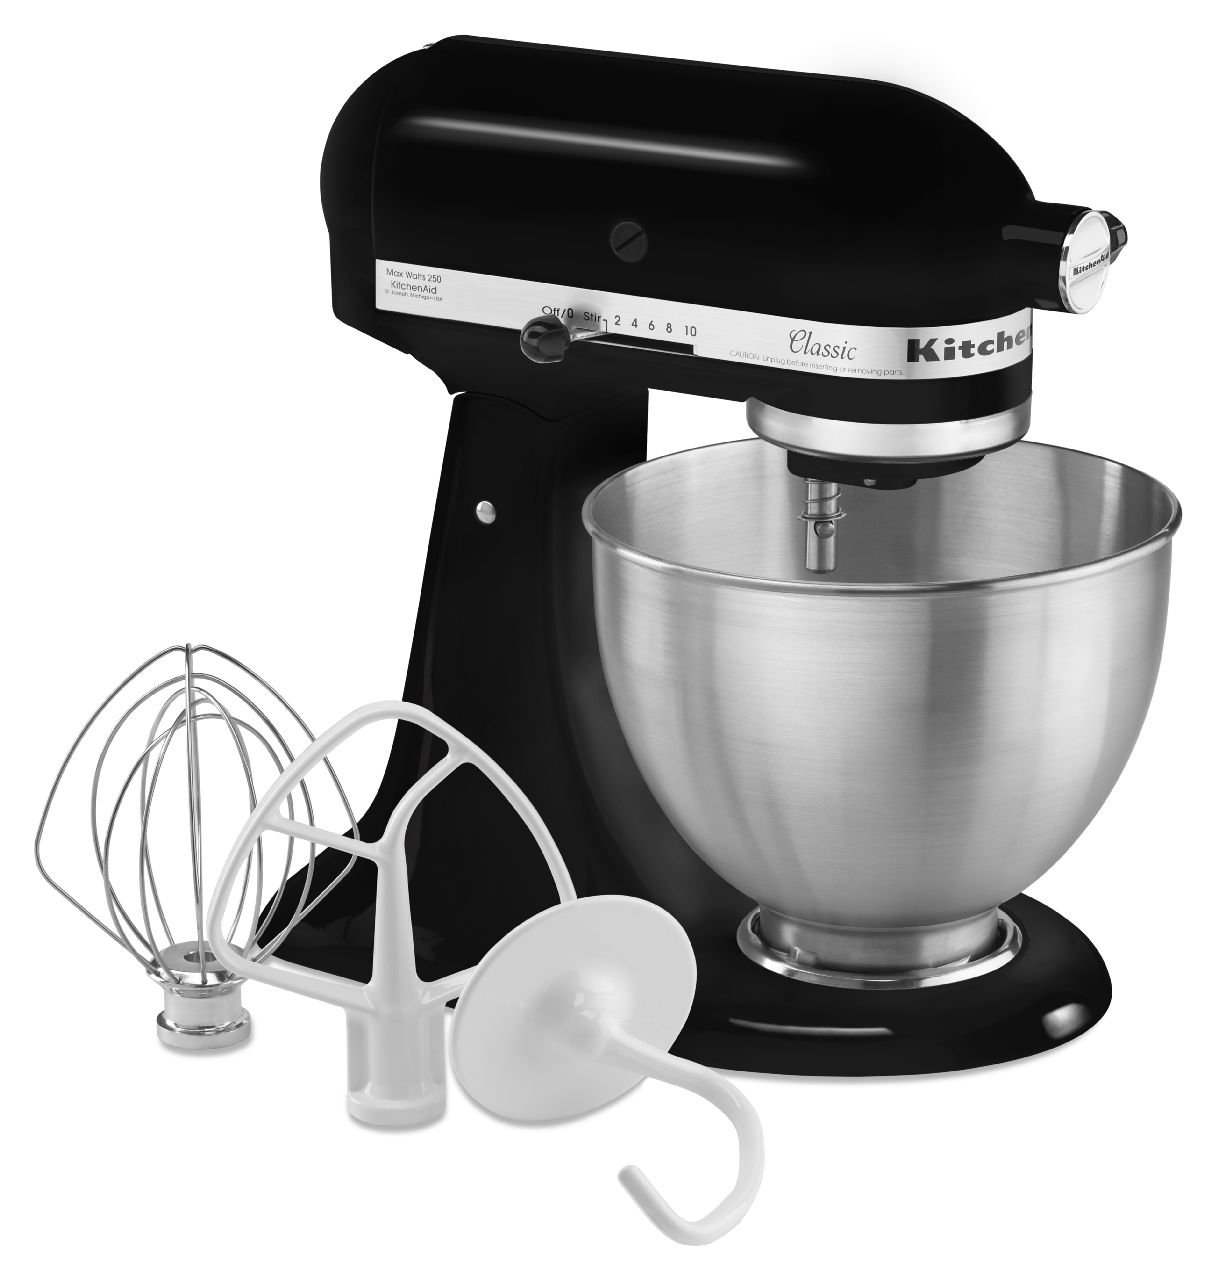
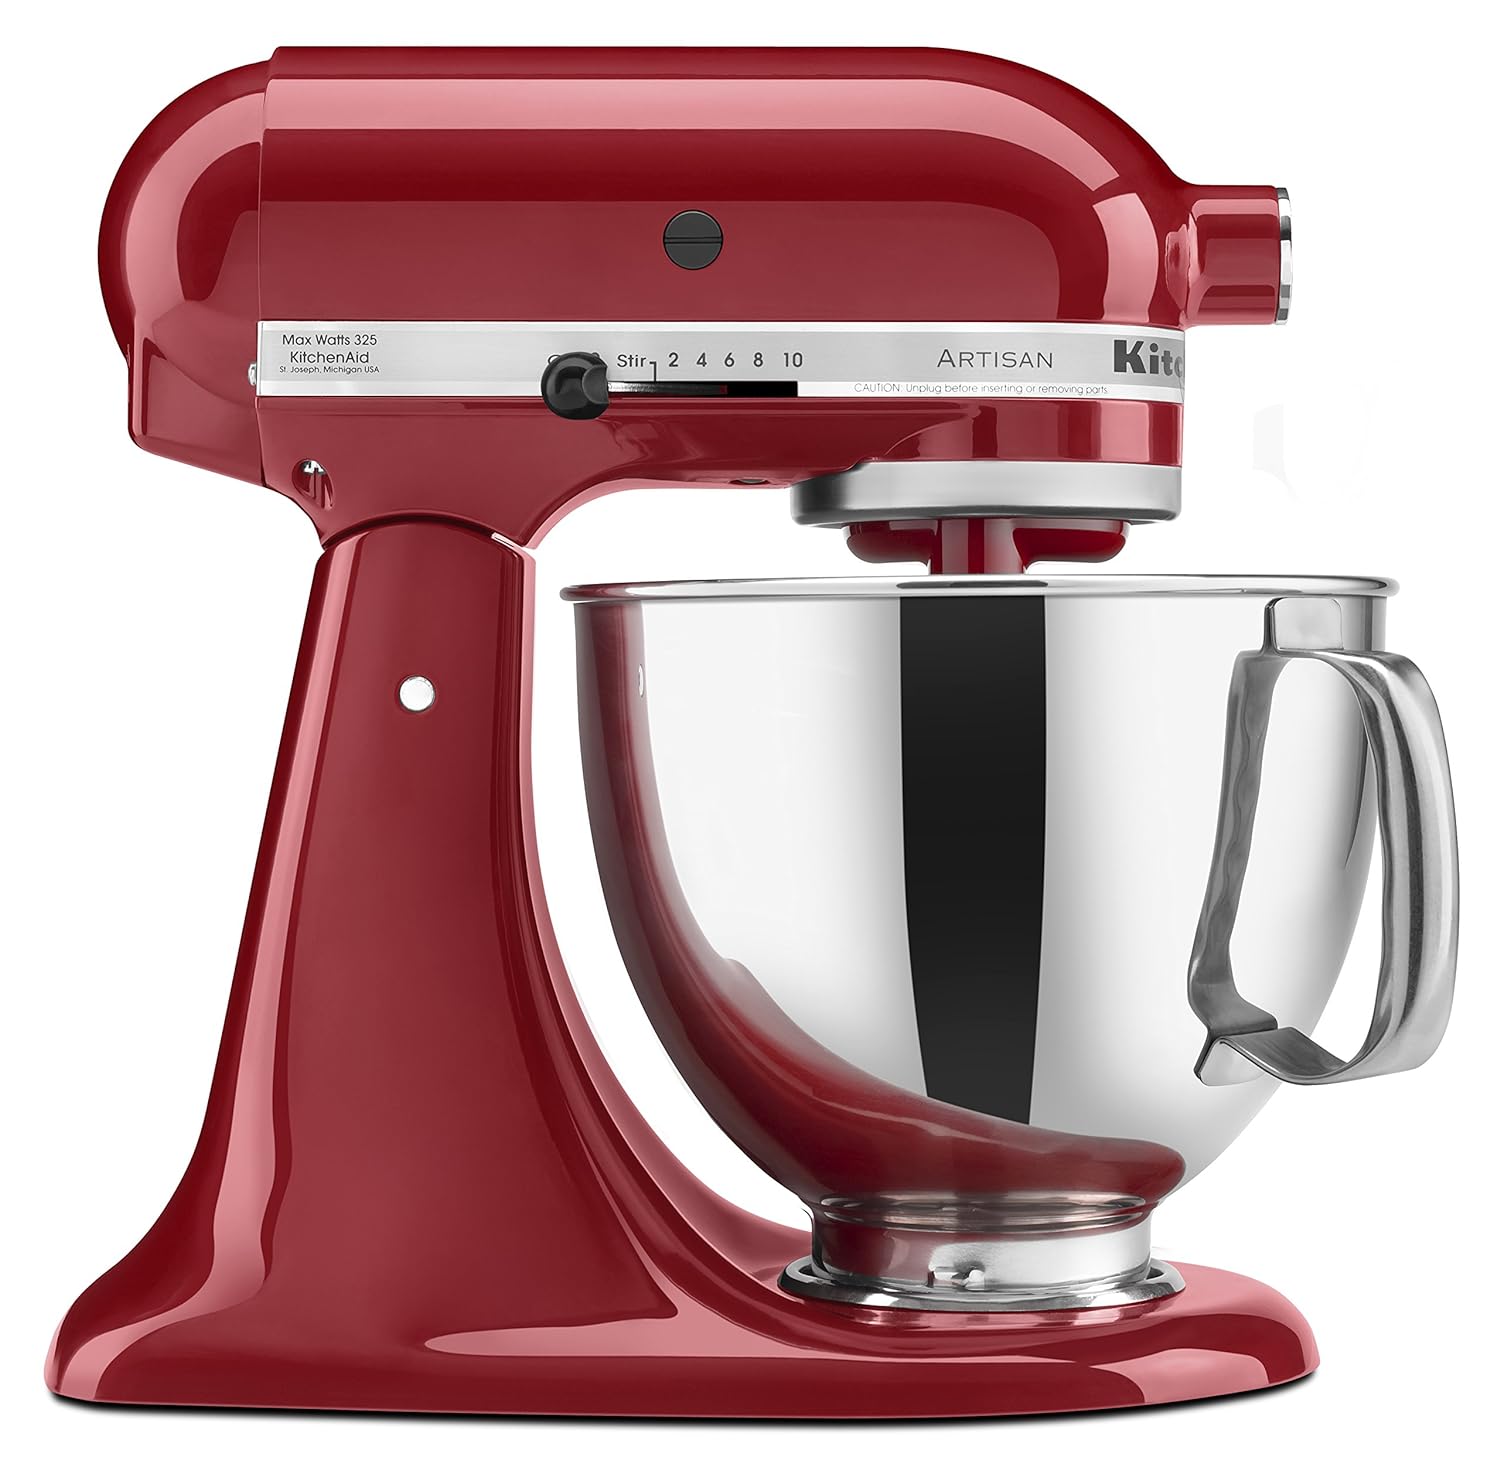
We always use our
KitchenAid Stand Mixer.
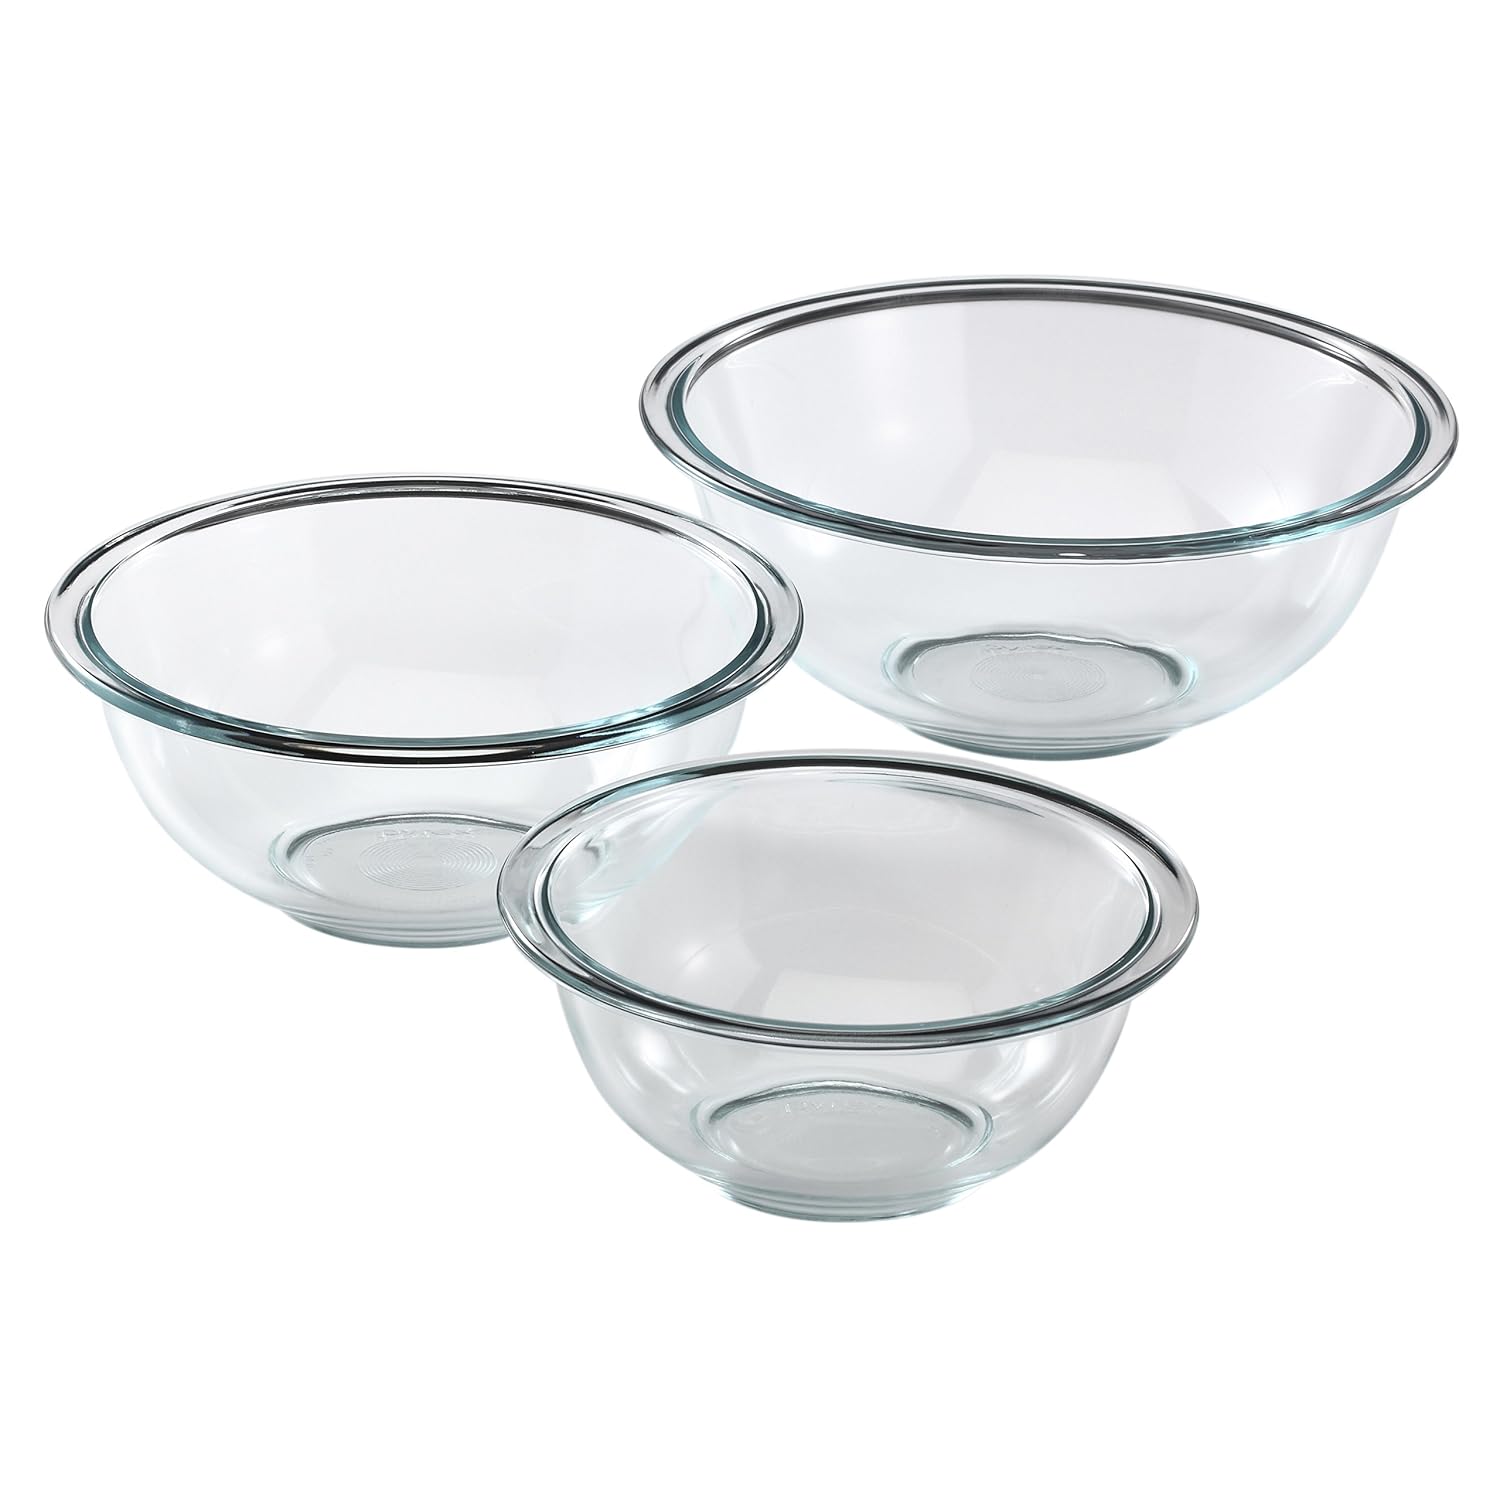
But, you can mix this in a medium bowl using a hand mixer.
First mix together the cocoa powder, white sugar, and vegetable oil. Then beat
in the eggs one at a time then, mix in the vanilla.
Add the flour, salt, and baking powder to the cocoa mixture. Mix this until
a dough is formed. Then cover and refrigerate for four hours.

Roll the dough into one-inch balls and coat with powdered sugar.
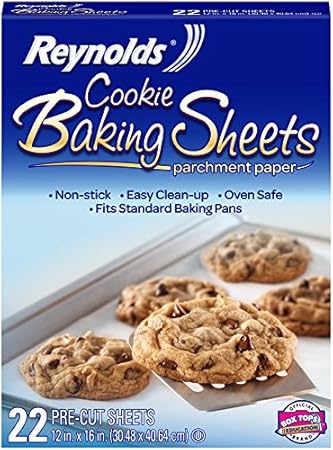
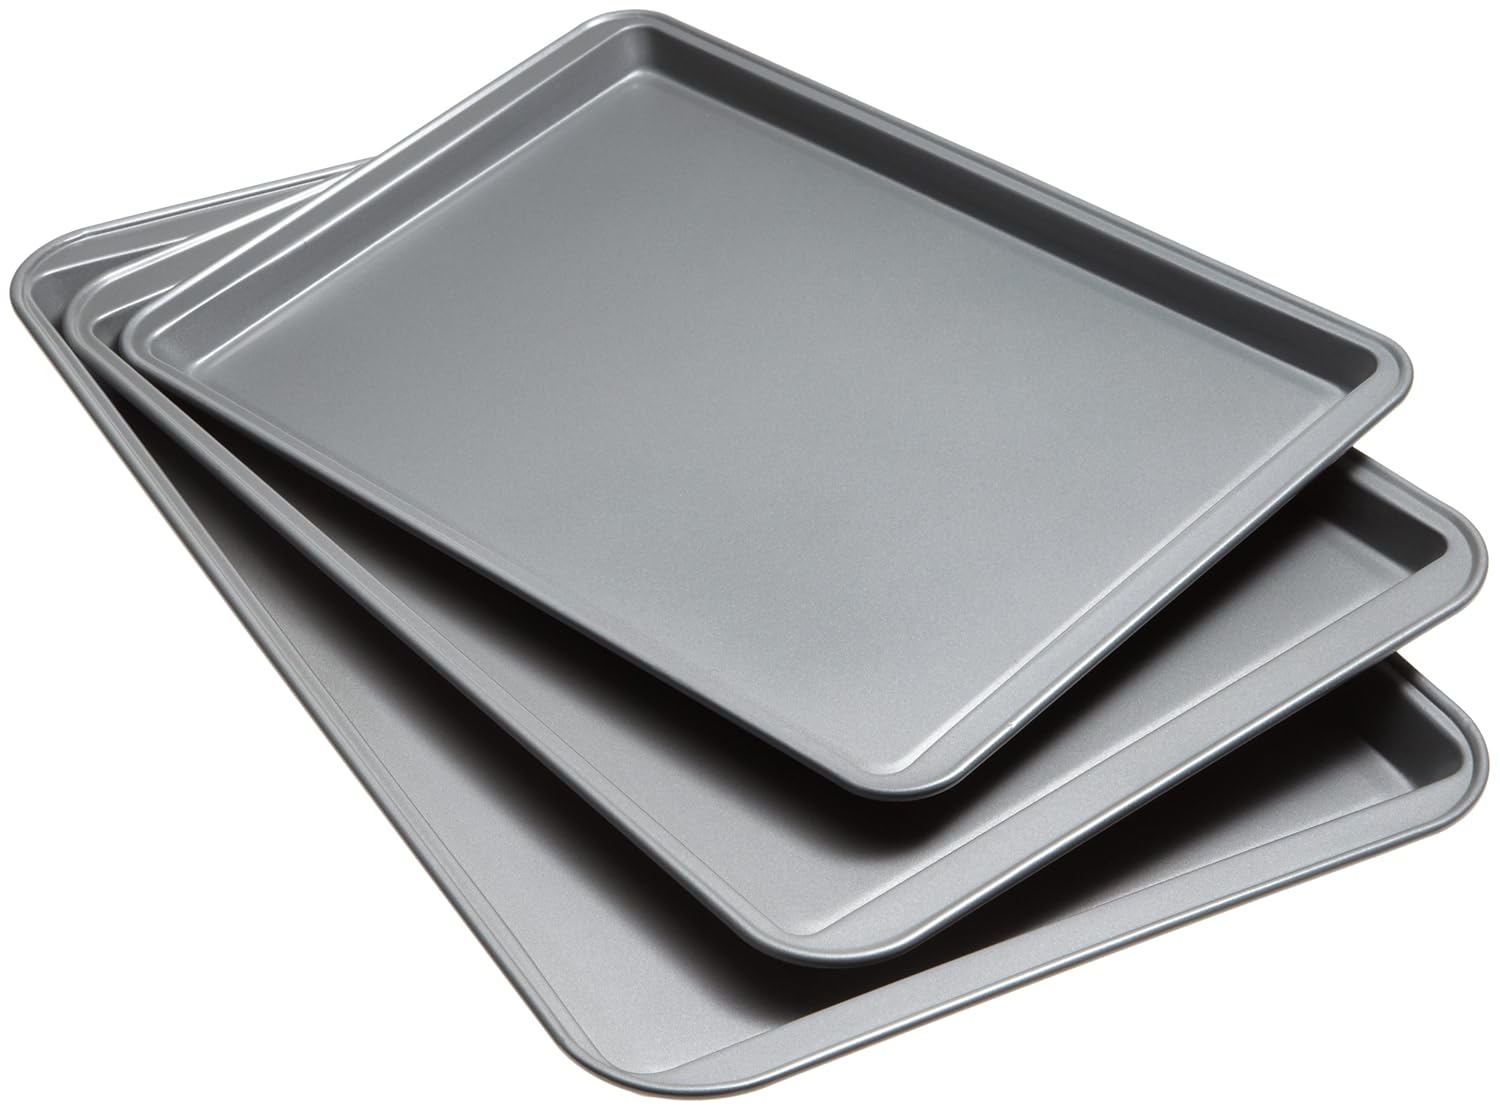
Place them on a cookie sheet lined with parchment paper. I'm not so perfect so
some of mine were a little bigger.
I preheated the oven to 350 degrees and placed them on the center rake.
Bake for 10 to 12 minutes.
Since I made some a little larger than one inch I baked for about 14 minutes.
Leave these on the cookie sheet for a minute or more then you can move them to
a rack to cool.
As always thanks for stopping by and I hope you enjoy it.
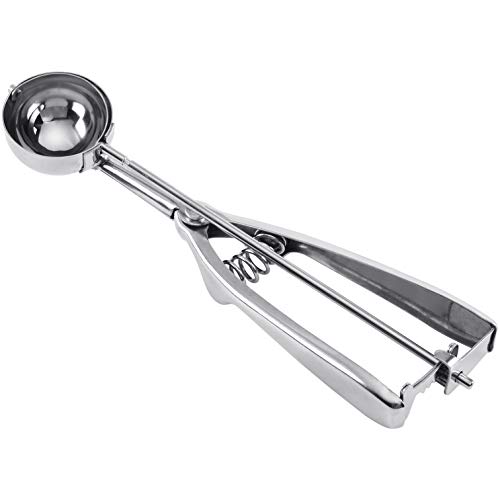
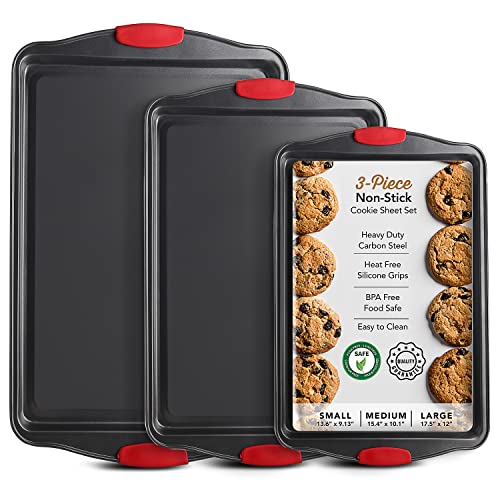
KitchenAid Artisan Series 5-Qt. Stand Mixer with Pouring Shield - Imperial Black Wilton Stainless Steel Small Cookie Scoop, SilverBaking Sheet Set, 3-Piece Cookie Sheet Set with Silicone Handles, Steel Baking Pans Set, Durable Baking Sheets for Oven, BPA Free Cookie Sheets for Baking Nonstick Set, Sheet Pan - Black Baking Pan