Last week Fran and I were waiting to see the doctor for one of her eye appointments. Fran started talking about some healthy recipes that we should try, then she said, you know, we have some fresh strawberries you should make some mini strawberry pies.
So, somehow we went from healthy recipes to desserts. I'm not one to argue because Farn always knows best. I wanted to make sure everything in this recipe was fresh all the way to the whipped cream.
I started by making this easy strawberry pie gelatin

9 fresh strawberries
1/2 teaspoon lemon juice
1 cup water
1-1/4 sugar
3 tablespoons corn starch
I put the 9 strawberries, lemon juice, and water into my NutriBullet to make a liquid base.
This yielded 2 cups of liquid. If you don't have a NutriBullet you can do this in a blender.
Using a saucepan on medium heat add the liquid and sugar. Bring this to a boil and add the cornstarch a little at a time, stir constantly until it becomes thick then remove it from the heat. I placed the gelatin in a bowl and put it in the refrigerator while I made the pie crust.
Easy Pie Crust Dough:

1 cup cold butter (cut into small pieces)
1 teaspoon sugar
1/2 teaspoon salt
4 to 5 tablespoons ice cold water
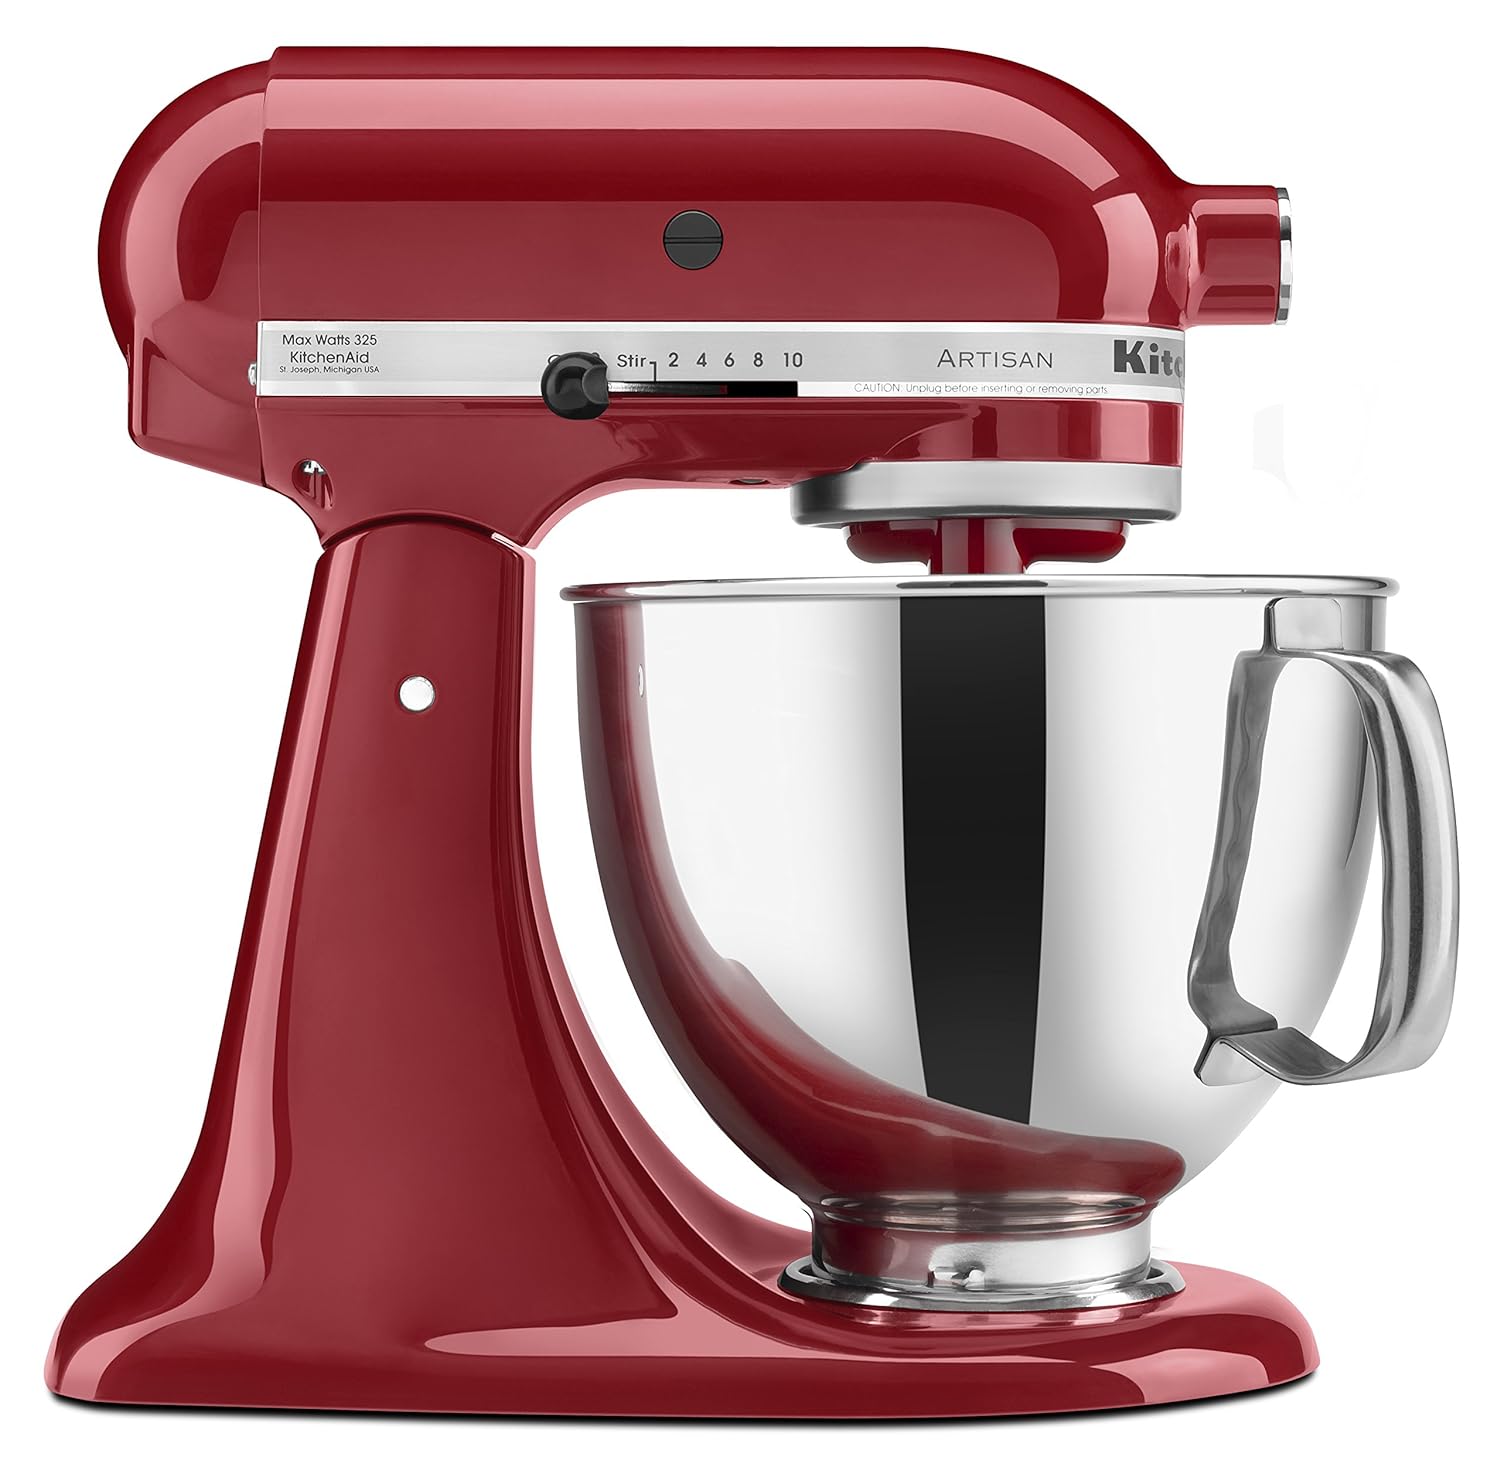
I added the flour, butter, sugar, and salt into my KitchenAid mixing bowl. Using the batter attachment I mixed until crumbs formed and the butter was cut in.
Then add the ice water one tablespoon at a time until the dough forms.
I rolled the dough into a log and cut it in half, wrapped it in plastic and put it in the refrigerator.
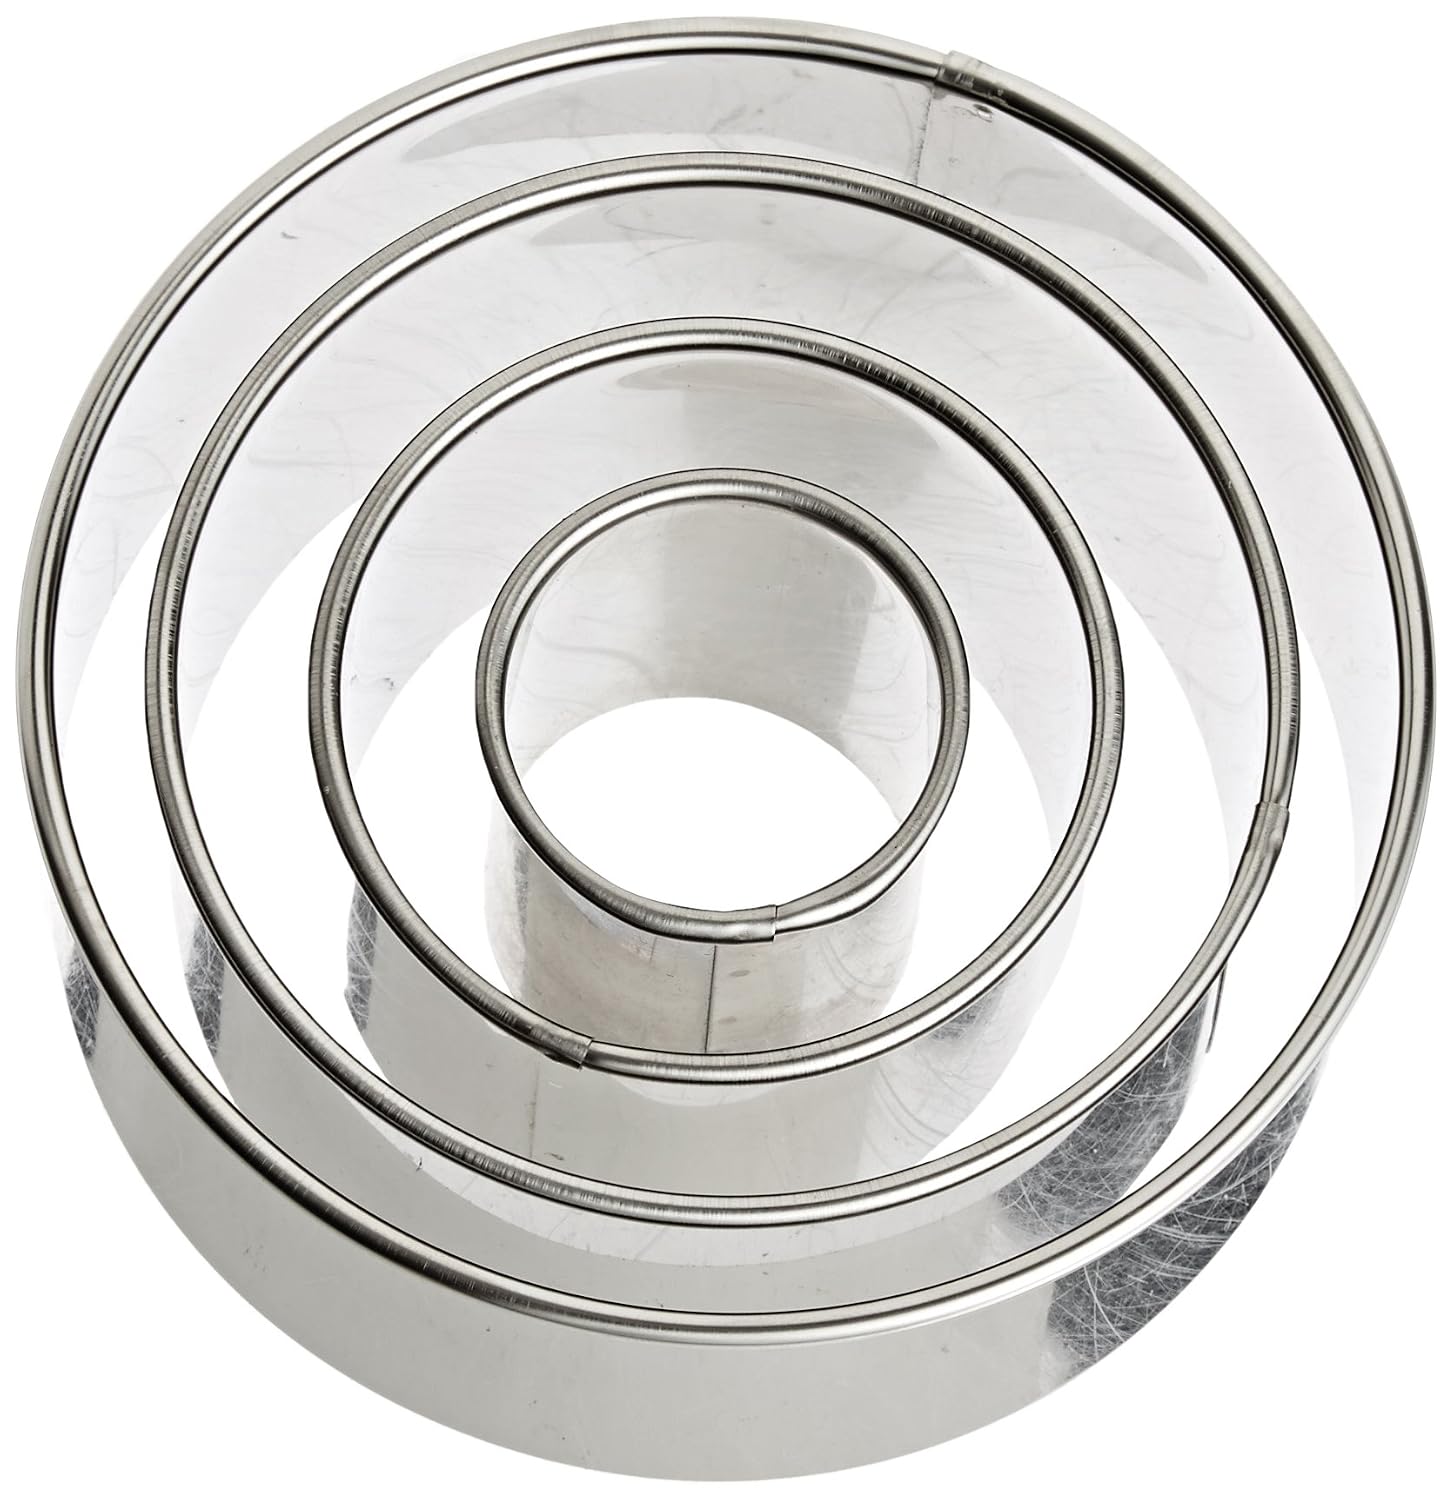
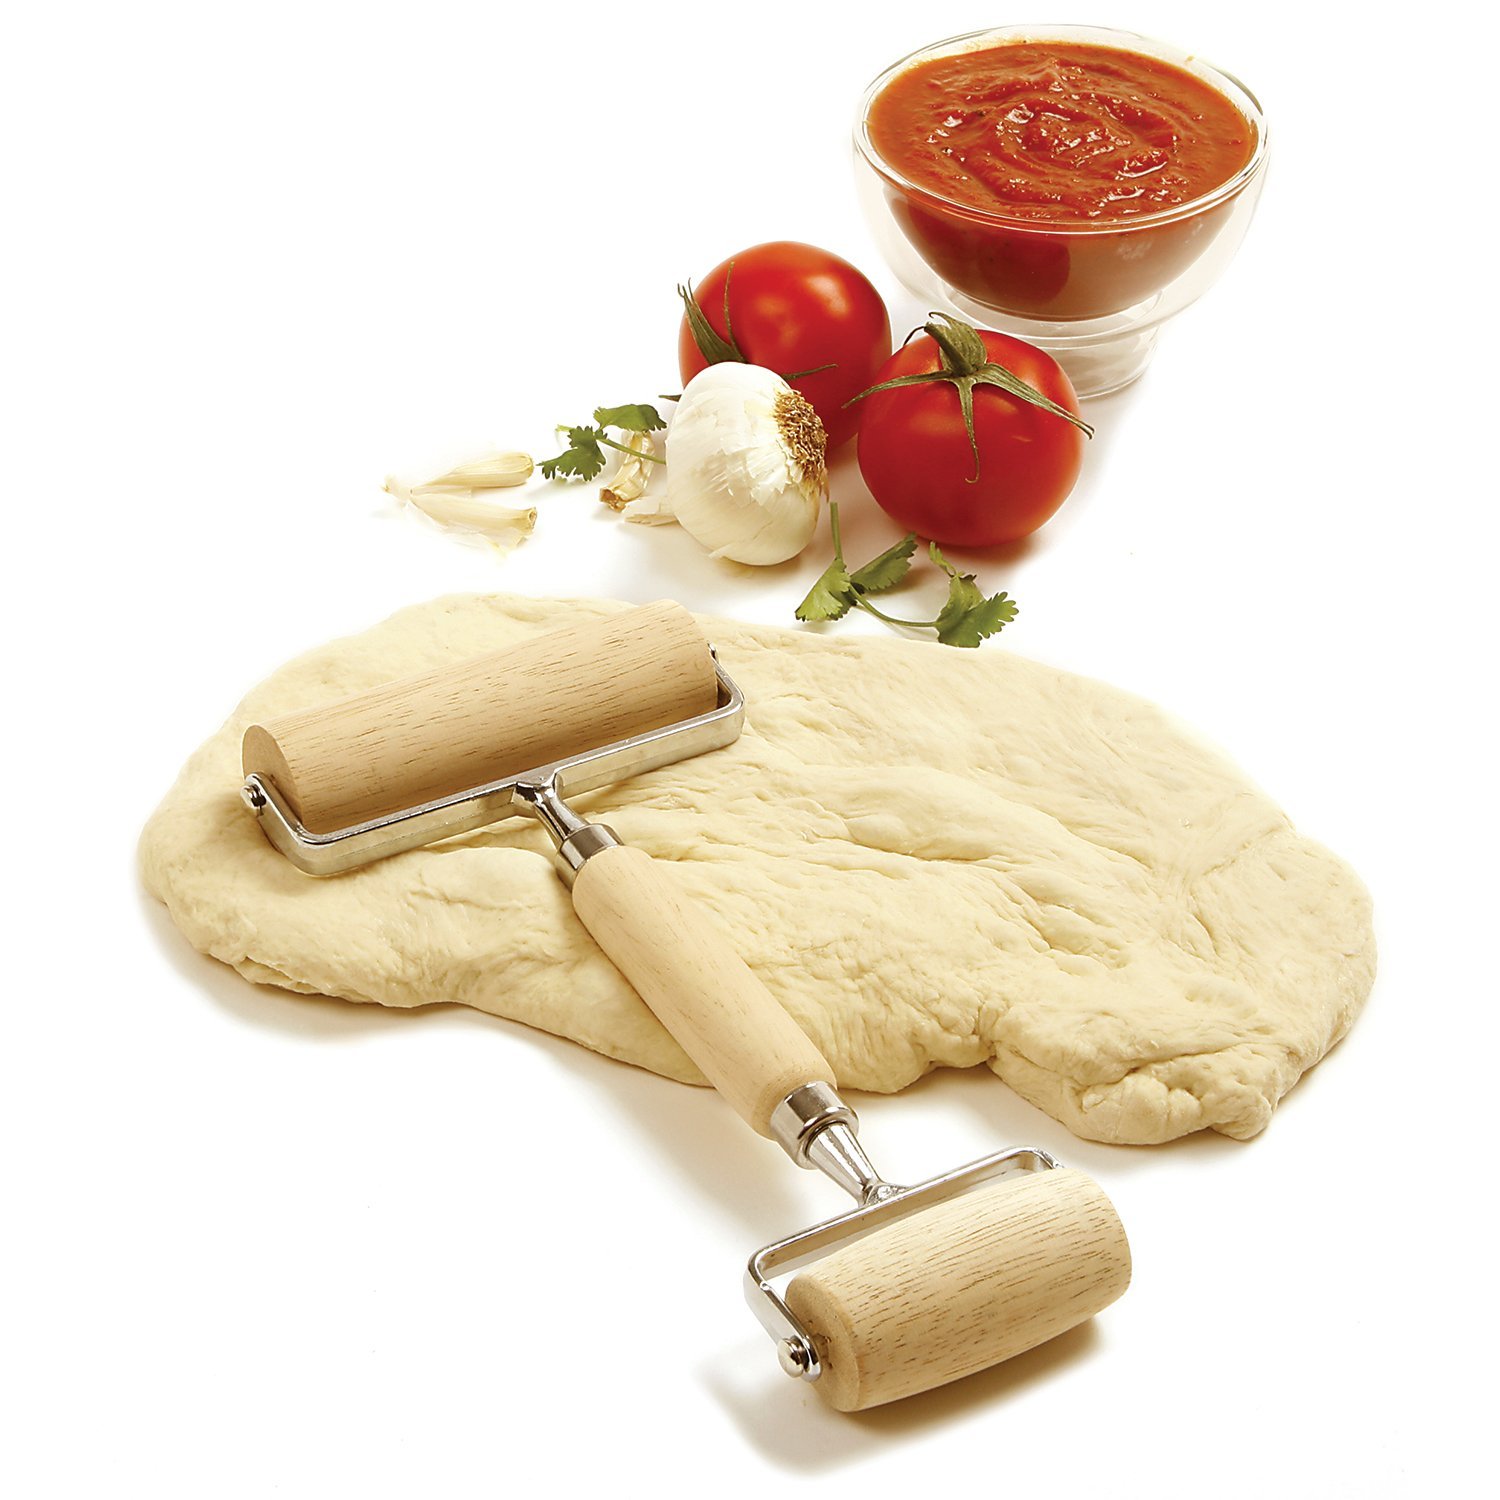
After 30 minutes I rolled the dough out on a floured surface to 1/8-inch thick. I cut circles a little less than 4-inches. You can use a cookie cutter or whatever you have on hand.
To roll out my dough I use this handy Norpro Pastry/Pizza dough roller. I think this handy tool gives you much more control than using a rolling pin.
&

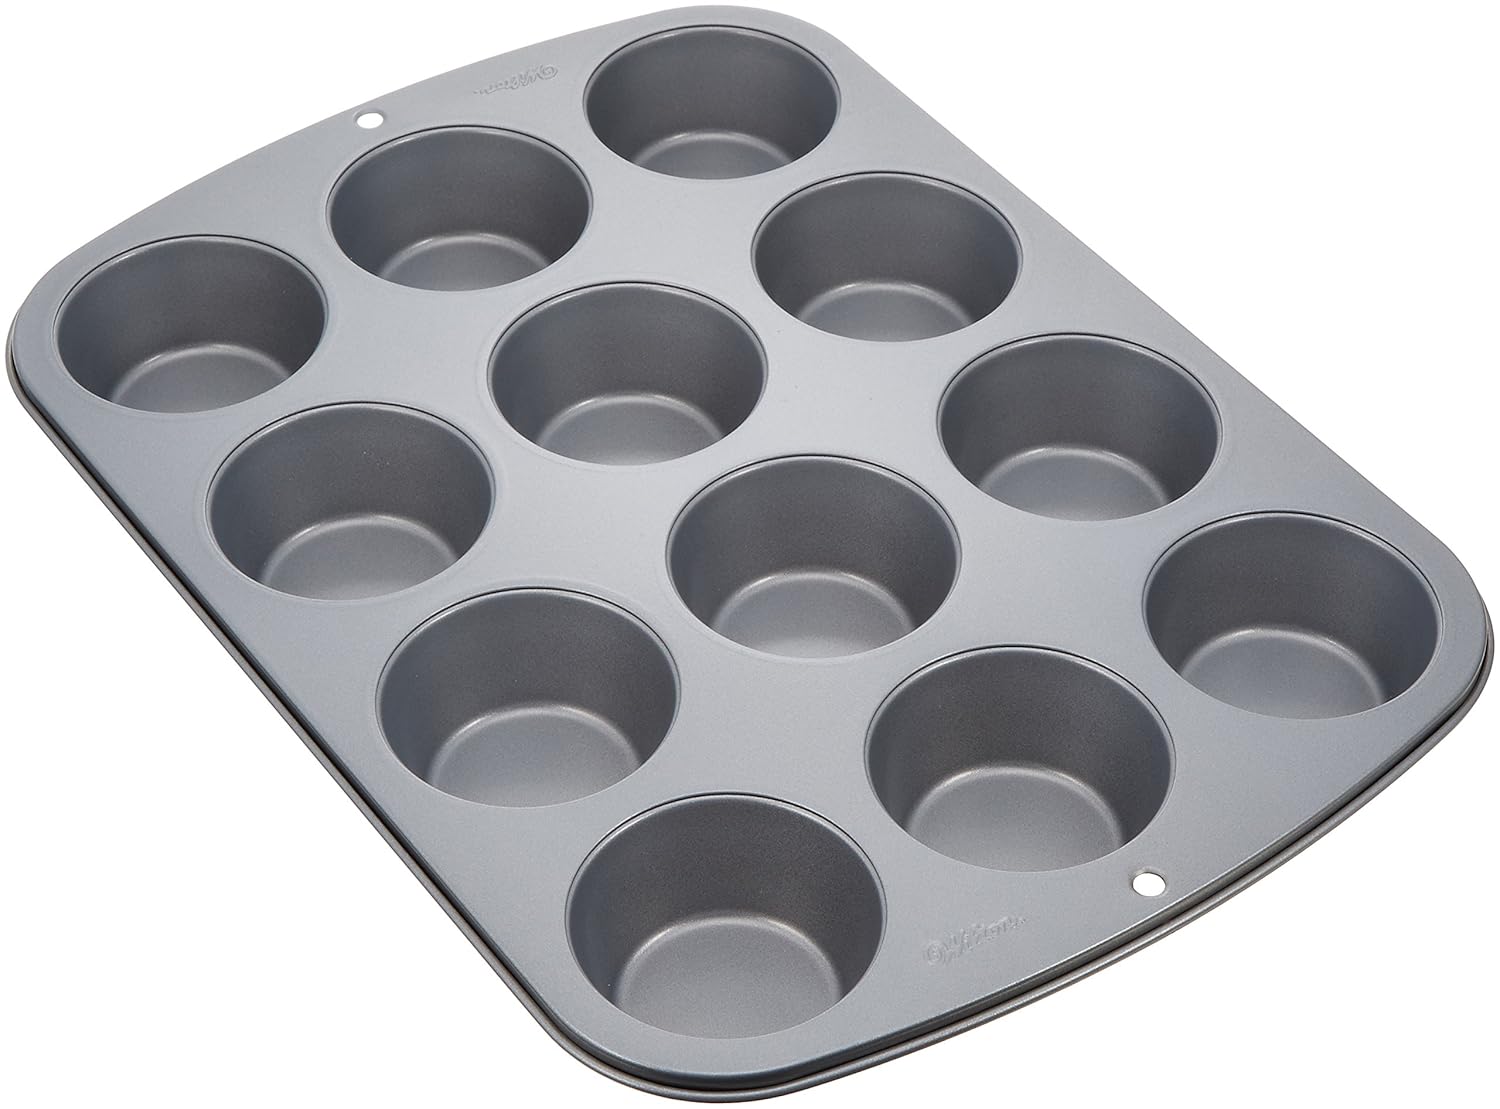
I sprayed a muffin tin with Baker's Joy No-Stick Baking Spray and carefully formed the crust in the tins. Then baked these at 350 degrees for 15 minutes.

Fill each mini crust with a tablespoon or more of the gelatin.

I cut strawberries in half and placed them on top of the gelatin. This recipe
yielded 18 nice little mini strawberry pies. I used 9 more strawberries
for this plus whatever Tyler was eating while we finished these.
I topped these tasty sweet treats off with homemade whipped cream using
this simple and quick recipe from
Berly's Kitchen. Click the link to get this absolutely easy and creamy whipped cream recipe.
While you're on their site take a look at more of their amazing recipes.
I had to hurry with this, as Tyler was eating the whipped cream by the spoon full as we topped them off.
I had to hurry with this, as Tyler was eating the whipped cream by the spoon full as we topped them off.
As always thanks for stopping by and I hope you enjoy.
Magic Bullet NutriBullet 12-Piece High-Speed Blender/Mixer System![]() KitchenAid KSM150PSER Artisan Tilt-Head Stand Mixer with Pouring Shield,
5-Quart,
KitchenAid KSM150PSER Artisan Tilt-Head Stand Mixer with Pouring Shield,
5-Quart,![]() Wilton Recipe Right Nonstick 12-Cup Regular Muffin Pan
Wilton Recipe Right Nonstick 12-Cup Regular Muffin Pan![]() Bakers Joy Cake Pan Spray 2 Pack
Bakers Joy Cake Pan Spray 2 Pack![]() Ateco 1440 Plain Edge Round Cutters in Graduated Sizes, Stainless
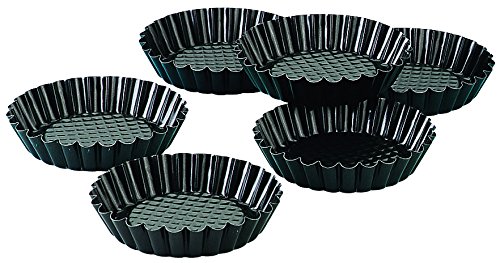
Ateco 1440 Plain Edge Round Cutters in Graduated Sizes, Stainless![]() Zenker Non-Stick Carbon Steel Mini Tart Pans, 4-Inch Diameter, Set
Zenker Non-Stick Carbon Steel Mini Tart Pans, 4-Inch Diameter, Set![]()