These cake mix pumpkin squares are another one of our Holiday favorites. You really don't have to wait for a Holiday to make this bite-size dessert.
Fran makes these a few times a year mostly for Thanksgiving and Christmas. This year I wanted to post and share the pumpkin squares dessert with you. So, I made them under Fran's direction using the recipe that she has been using for years.
I have to tell you, these are so easy to make and so delicious. Bobby just can't get enough of them when we make them.
Cake Mix Pumpkin Squares are made in 3 easy steps
Step 1: Make the Bottom Layer


Step 3: Make the Topping

Bottom Layer Ingredients:
1 Box Lemon Cake mix (Remove 1-1/2 cups for topping)
1 stick melted butter (I used salted but you can use unsalted)
1 egg beaten
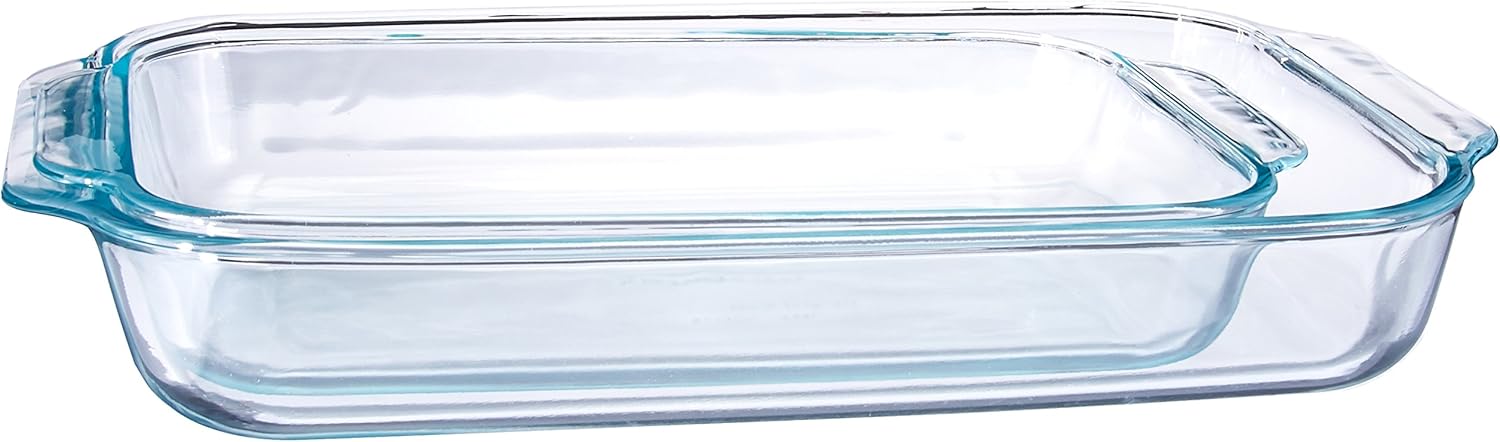
In a medium mixing bowl, mix together using a fork. Then press and spread into a 9-inch x 13-inch greased glass baking dish. Bake the bottom layer for 10 minutes at 350 degrees, then let cool.
Ingredients for the Filing:
1 can pumpkin (29oz.)
3 eggs
1/2 cup brown sugar
1/4 cup white sugar
2/3 cup milk
3 tablespoons cinnamon
I mixed all of this together using our hand mixer. Then spread this over the top of the cooled bottom layer.
Ingredients for the Topping:
1-1/2 cup Lemon cake mix
1/2 cup white sugar
3 tablespoons melted butter
1/2 cup chopped nuts (optional) I didn't use chopped nuts
Mix together with a fork until it is crumbly. Then spread the topping over the pumpkin filling. Bake this at 350 degrees for 50 to 55 minutes or until a knife comes out of the center clean.

Here are your cake mix pumpkin squares right out of the oven. Set this on a rack and let cool completely before placing in the refrigerator.
We cut these into 1-1/2 inch across the 9-inch width and 2-inches by the length of the baking dish, yielding 36 pumpkin squares.
As always thanks for stopping by and I hope you enjoy
Pyrex 1107101 Basics Clear Oblong Glass Baking Dishes, 2 Piece Value Plus Pack Set KitchenAid KHM512ER 5-Speed Ultra Power Hand Mixer, Empire RedLibby's, 100% Pure Pumpkin, 15oz Can (Pack of 6)
 KitchenAid KHM512ER 5-Speed Ultra Power Hand Mixer, Empire Red
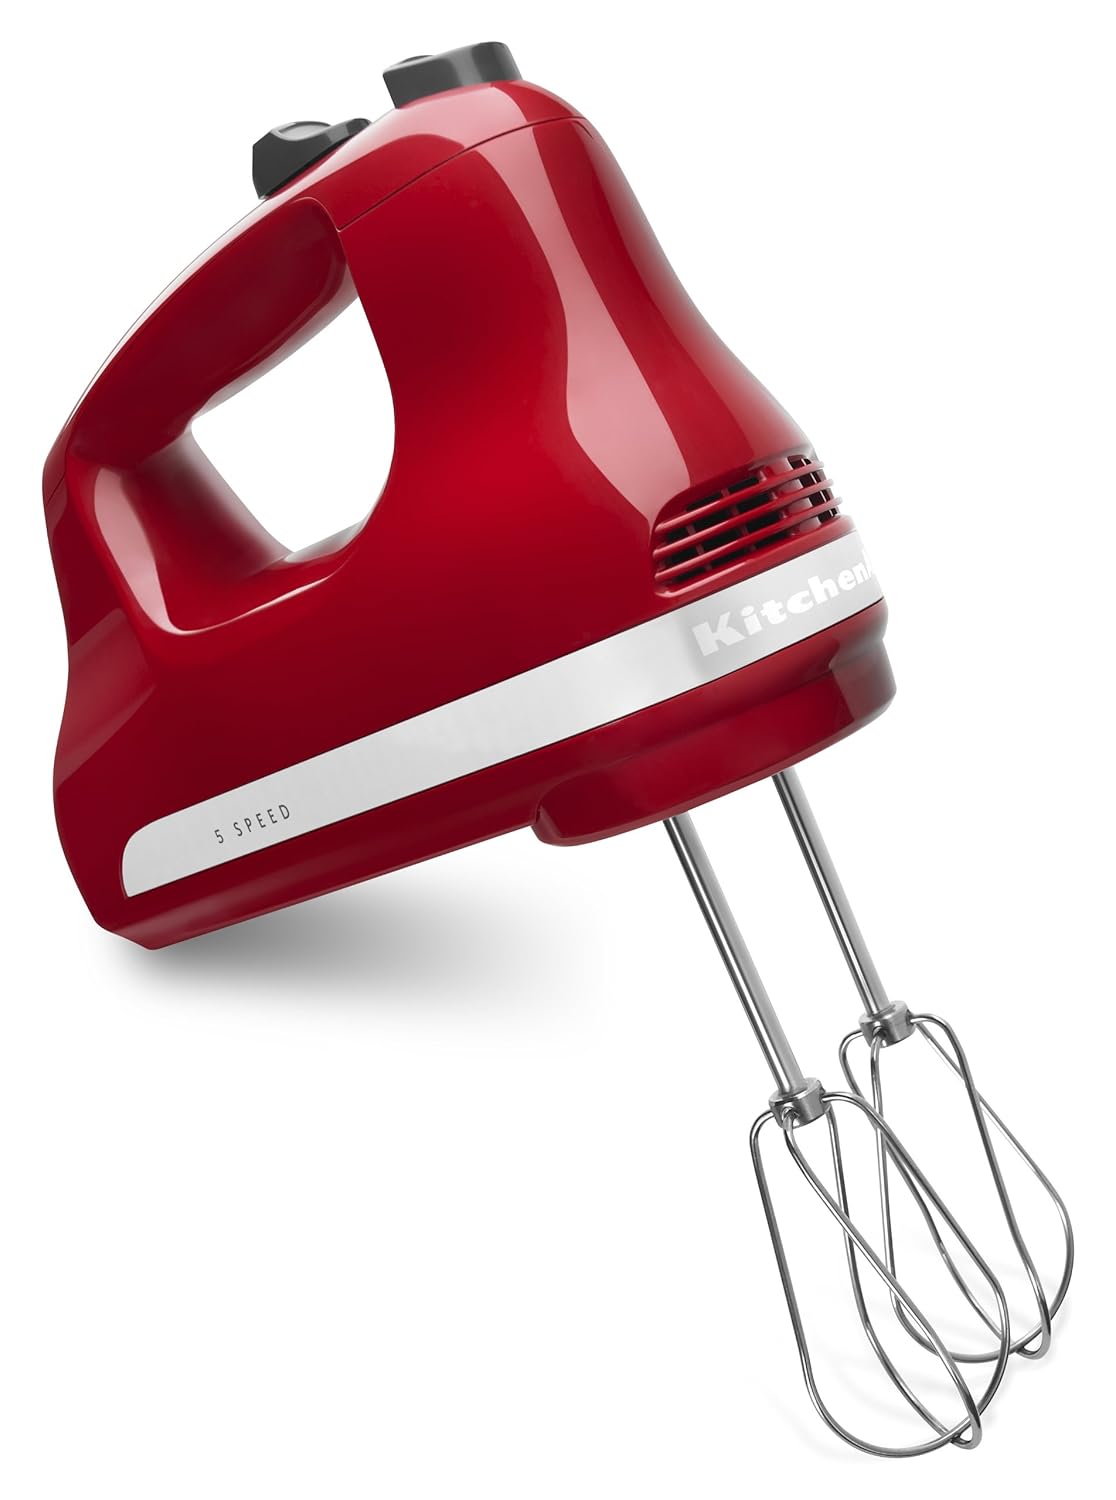 Libby's, 100% Pure Pumpkin, 15oz Can (Pack of 6)