Well, I don’t have a great recipe to share with you today, but don’t worry another one will be coming soon. This one is my love for coffee.
The very first thing that I do in the morning is pour myself a fresh hot cup of coffee, I just can’t do without it, and I’m sure many of you do the same. Oh, that very first cup of coffee that gets us kick started in the morning is just great.
Black & Decker DLX1050B 12-Cup Programmable Coffeemaker with Glass Carafe,
Black & Decker DLX1050B 12-Cup Programmable Coffeemaker with Glass Carafe,
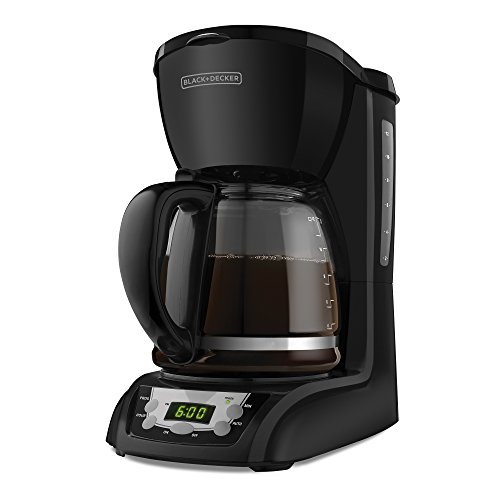
My Black and Decker 12 cup Coffee Maker:
Most nights before I go to bed I program my Black and Decker12 cup coffee maker. So that first cup of liquid gold is ready and waiting.
I have had great luck with the Black and Decker coffee makers. When this one quits working I'll buy another one.
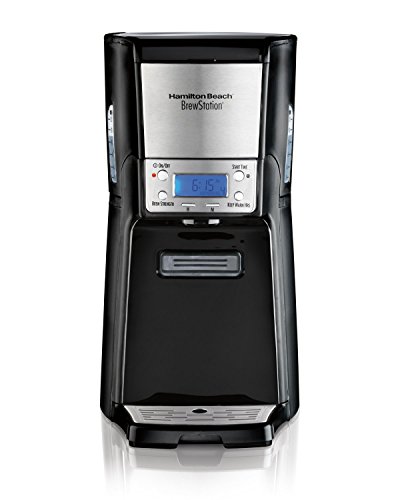
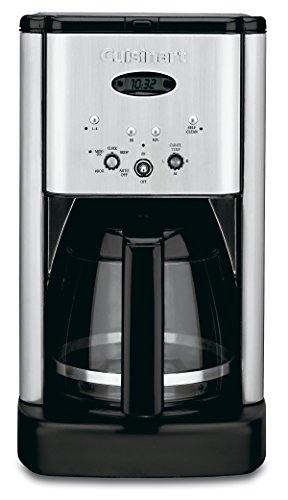
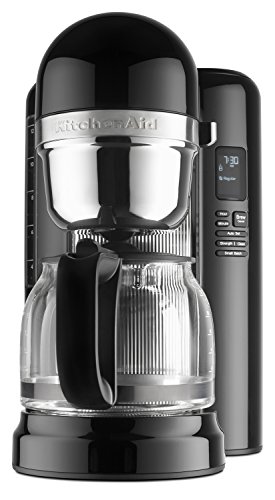
Although there are many popular brands on the market to choose from below are just a few.
Best 12 Cup Coffee Makers
I have had great luck with the Black and Decker coffee makers. When this one quits working I'll buy another one.
Although there are many popular brands on the market to choose from below are just a few.
Best 12 Cup Coffee Makers

When I forget to program my 12 cup brewer for the morning it's not a problem. I just pop a K-cup into my Keurig one cup brewer. In about 30 seconds I have a nice hot cup of coffee.
Keurig k cup brewers are a perfect option for that quick cup of coffee any time of the day.
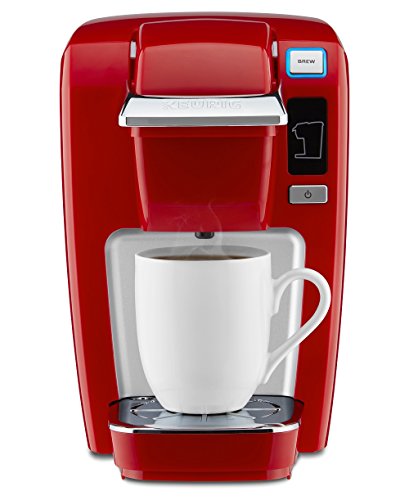
Keurig one Cup Brewers
Keurig K15 Single Serve Compact K-Cup Pod Coffee Maker, ChiliHamilton Beach 49970 Personal Cup One Cup Pod BrewerKeurig K55 Single Serve Programmable K-Cup Pod Coffee Maker, BlackKeurig K10 Mini Plus Brewing System, Black
 Hamilton Beach 49970 Personal Cup One Cup Pod Brewer
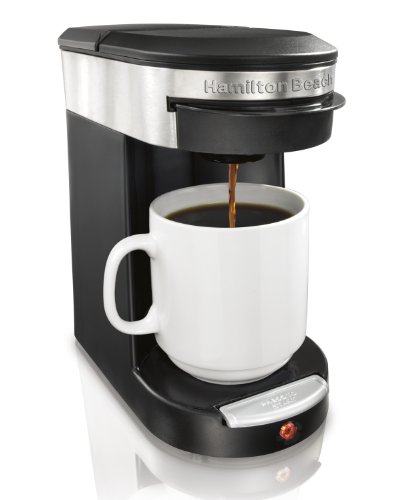 Keurig K55 Single Serve Programmable K-Cup Pod Coffee Maker, Black
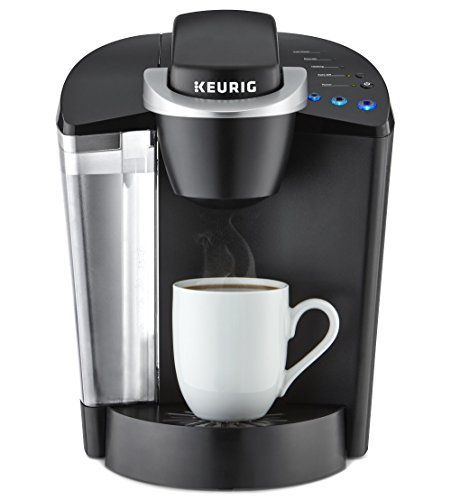 Keurig K10 Mini Plus Brewing System, Black
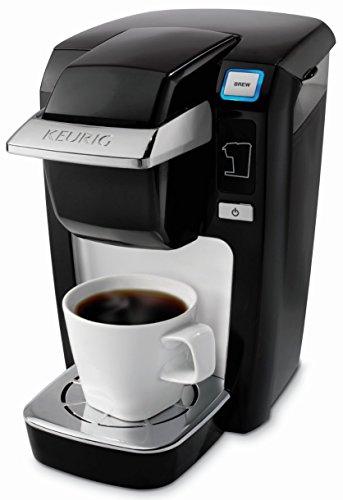
Coffee Variety Sampler Pack for Keurig K-Cup Brewers, 40The Original Donut Shop Keurig Single-Serve K-Cup Pods, Regular MediumGreen Mountain Coffee Breakfast Blend, Light Roast, K-Cup Portion Pack96 Count Variety (10 Amazing Blends), Single-serve Cups for Keurig
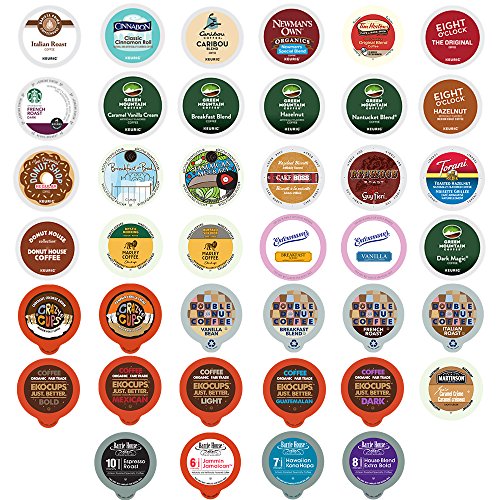 The Original Donut Shop Keurig Single-Serve K-Cup Pods, Regular Medium
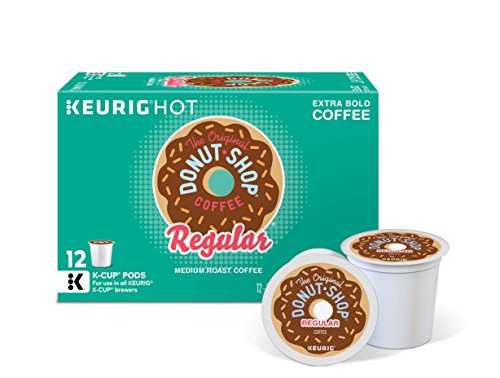 Green Mountain Coffee Breakfast Blend, Light Roast, K-Cup Portion Pack
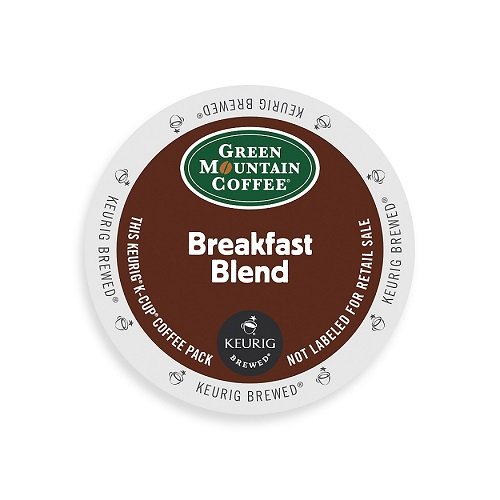 96 Count Variety (10 Amazing Blends), Single-serve Cups for Keurig
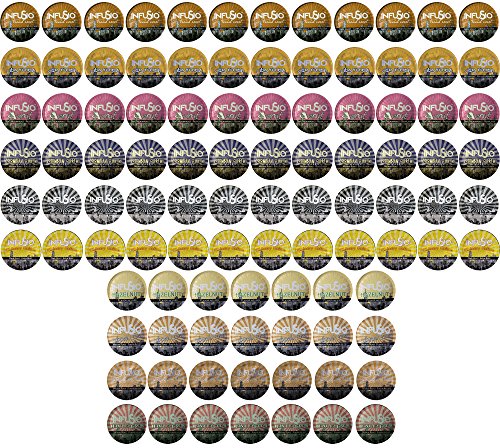
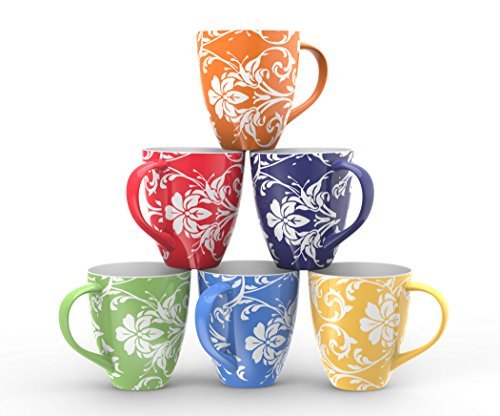
Coffee Mug Gift Ideas
Francois et Mimi Set of 6 Large-sized 16 Ounce CeramicHome Basic MS44647 6 Piece 11 oz Diamond Mug SetCulver 16-Ounce Bistro Ceramic Mug, Black, Set of 4Best funny gift - 11OZ Coffee Mug - Don't be
 Home Basic MS44647 6 Piece 11 oz Diamond Mug Set
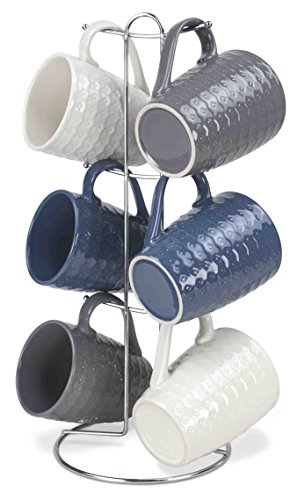 Culver 16-Ounce Bistro Ceramic Mug, Black, Set of 4
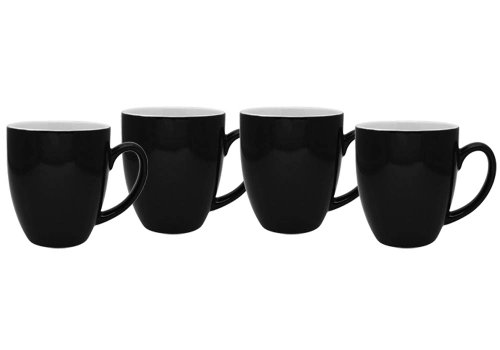 Best funny gift - 11OZ Coffee Mug - Don't be
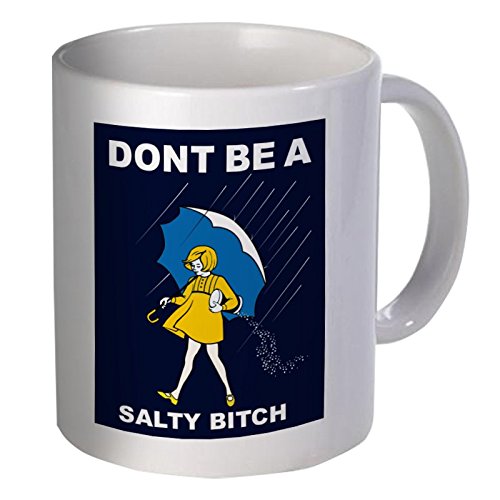
Click here for the health benefits of drinking coffee daily.
You can also personalize a coffee Mug for you, or as a gift.