Texas sheet cake is a timeless favorite. Your family and friends are going to love this. This recipe is moist, rich, and covered in creamy fudge frosting.

Ingredients:
- 1 cup of unsalted butter, cut into 8 pieces
- 1 cup water
- 1/3 cup Hershey's cocoa powder
- 1/2 sour cream
- 2 large eggs
- 1 teaspoon vanilla
- 2 cups all-purpose flour
- 1 1/2 cup sugar
- 1/2 cup light brown sugar
- 1 teaspoon baking soda
Creamy Frosting:
- 6 tablespoons of milk
- 1/2 cup salted butter, room temperature
- 6 tablespoons Hershey's cocoa powder
- 4 cups powdered sugar, sifted
- 3/4 teaspoons vanilla
- Combine butter, water, and cocoa powder in a saucepan. Cook over low heat, stirring occasionally. When the butter is melted, increase the heat to medium and bring to a boil. Remove from heat and let cool for 20 minutes.
- In a bowl, whisk together flour, sugar, brown sugar, baking soda, and salt.
- In another bowl, mix together sour cream, eggs, and vanilla until combined. Stir this into the dry ingredients and mix well.
- Stir the cooled chocolate mixture into the flour/sour cream mixture, then mix until the batter is smooth.
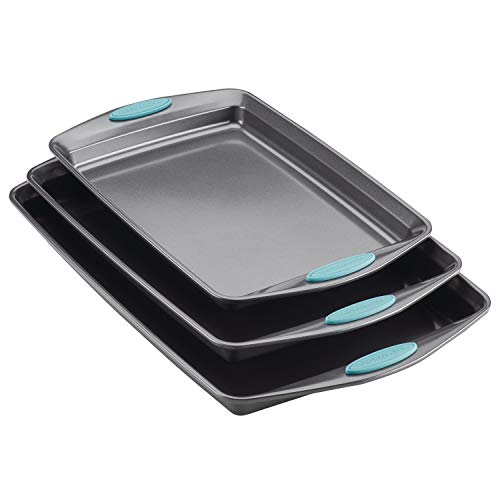
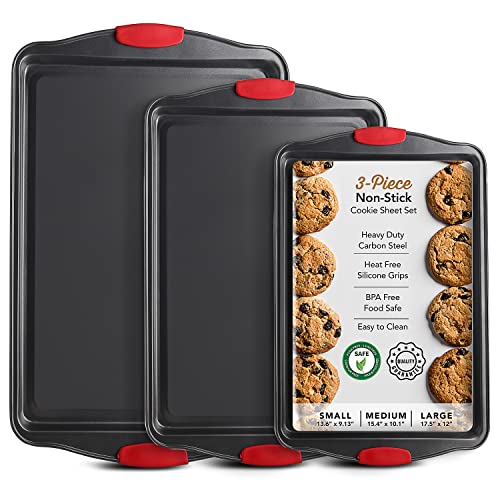
- Preheat the oven to 350 degrees, and grease a 10 x 15 jelly roll pan. Pour and spread the batter into the jelly roll pan, bake at 350 degrees for 20 minutes until a toothpick in the center comes out clean.
Prepare the Frosting:
- In a medium saucepan, combine the milk and butter, and cook over medium heat until the butter is melted.
- Remove from heat and whisk in the cocoa powder until combined.
- Add powdered sugar and vanilla, stir until all is combined.
- Pour this over the warm cake and let it cool for about an hour before serving.
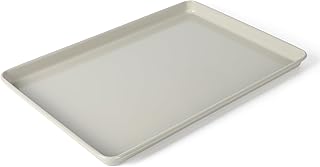
Hersheys, Cocoa 100% Cacao Natural Unsweetened, 6 Ounce Martha Stewart Gallen 15 x 10 Inch Nonstick Carbon Steel Cookie Sheet – Cool Grey, Durable Bakeware for Even Baking and Easy Cleanup