Grilled White Potatoes

Grilled white potatoes

The other day, Fran came home from the grocery store with a really nice Rib-eye steak for the grill. There is nothing that I like better than steak and fries, or sometimes a baked potato.

This time, I decided to try something a little different. I made these grilled white potatoes with butter, garlic, parmesan cheese, and served them with sour cream and fresh chives.

These turned out to be the best-grilled potatoes that I ever made, and they were a perfect side for my Rib-eye steak.

First, I washed the potato, then sliced it to about 1/2 to 3/4 inch thick. I cut the slices in half and skewered them on my flat metal skewers.

Then, I melted 3 tablespoons of butter and brushed it on both sides of the potatoes. I fired up the grill on medium.

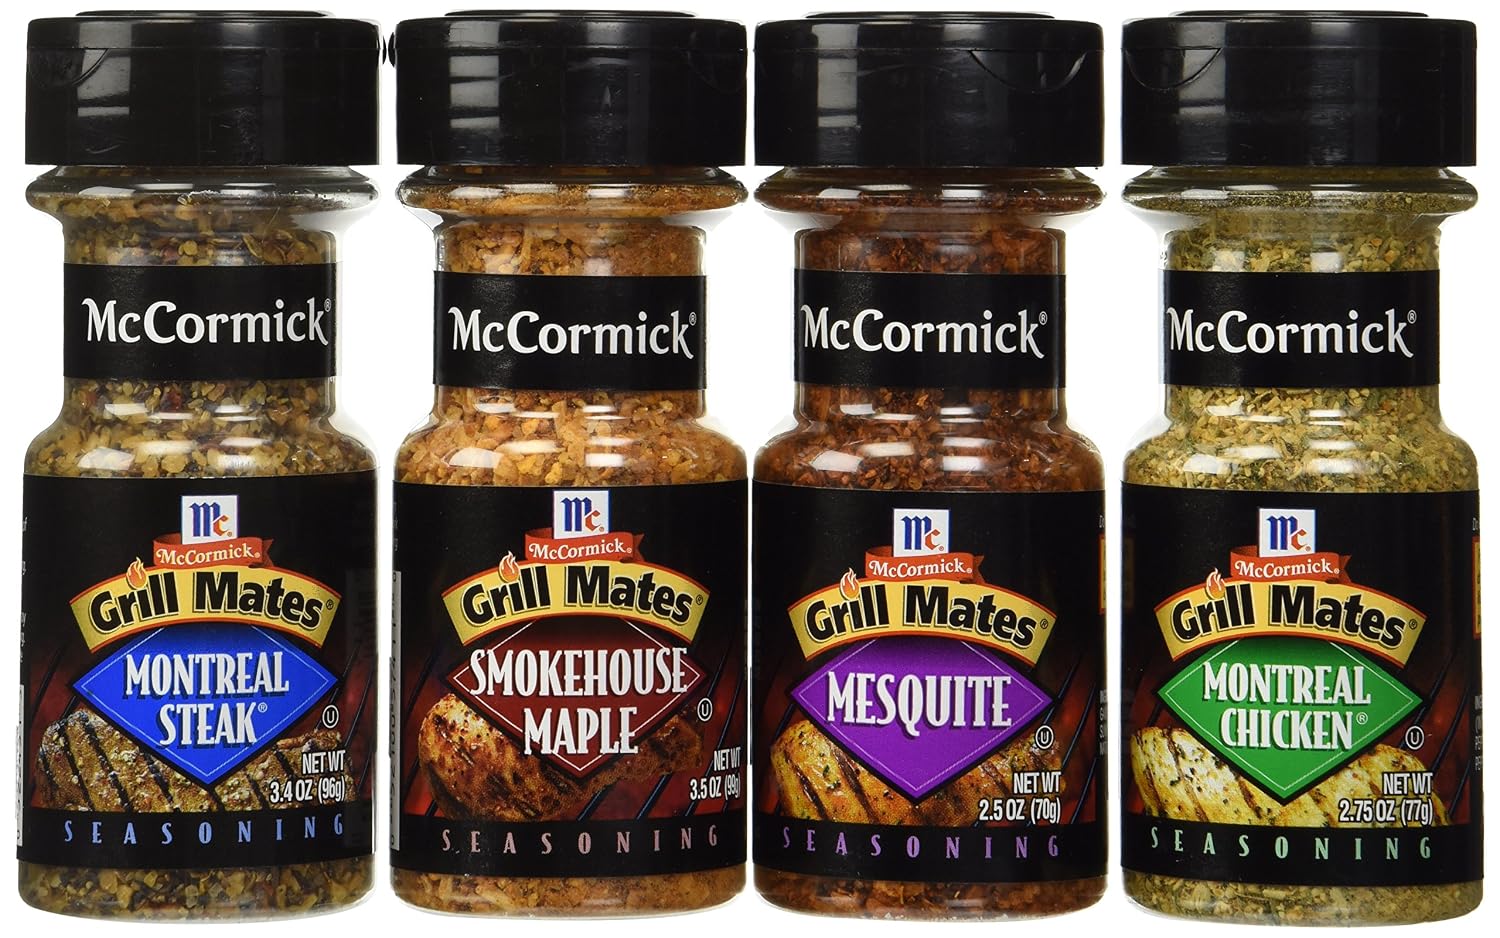
I sprinkled both sides with Parmesan cheese, garlic powder, McCormick Montreal Steak Seasoning, salt, and pepper.

Grilled potato wedges recipe

I grilled these for 15 minutes on one side, then turned them over and grilled for another 10 minutes. After they came off the grill, I brushed on the remaining melted butter and served them with sour cream and fresh chives. The result was that the outside was nice and crispy, and the inside was tender and so delicious.


As always, thanks for stopping by, and I hope you enjoy


How to Cook Corn on a Campfire

how to cook corn on a campfire

We live in a small village in Western New York, and every year the village shuts down for its Independence Day Celebration. The main street is lined with food and craft vendors, the tennis court is turned into a fun zone for the kids with bouncy houses and slides, and in the gazebo, a live band plays all day.

In the morning, there is a 5K walk/run for those in shape, and later in the day, a parade for the kids. Of course, the evening finishes off with a fantastic fireworks display.


Since we live only two blocks from the park in the village, our house is a hub of activity on the 4th of July. This year, we kept it simple with hot dogs, hamburgers, fruit, desserts, and one more thing, corn on the cob cooked on a campfire.

It sure was a fun day, and this was the first time I ever cooked corn over a campfire, so I thought I would explain how I mastered it.

How to cook corn on a campfire:

First, I soaked the corn with the husks on for 5 hours in my large stock pot. Two hours before we wanted to eat, I started a fire in my Firepit. I needed to let it burn down so there were almost no flames, just hot wood.

My fire pit came with a grill top, so this made it easy for me. I set the ears of corn on the grill top and turned them every 10 minutes for 30 minutes. I used my Grilling Gloves to turn the corn. Then I peeled the husks off some hot, juicy, delicious corn.

This method will also work very well on a gas or charcoal grill. I think the key is to keep turning them every 10 minutes.

You might also like my: Campfire Mountain Pies

As always, thanks for stopping by, and I hope you enjoy.

Baked Stuffed Portobello Mushroom Caps

Baked stuffed portobello mushroom caps

We have been making this baked portobello mushroom recipe for years. This is perfect if you have a meatless day in your menu as a complete meal served with a vegetable, and these are oh! so healthy. Or, these make a great starter to any meal.

Cheese-stuffed portobello mushroom caps with goat cheese, topped with chopped nuts, mozzarella cheese, and served with a tasty tomato sauce.

So, the other day Fran picked up 3 nice portobello mushrooms and an 8 oz. package of goat cheese. We had everything else we needed to make these.

baked portobella mushroom recipe

First, we cleaned and rinsed the mushrooms. I poured 1/2 cup of tomato sauce into the bottom of a 9-inch x 9-inch baking pan. Then sprinkled some Italian seasoning in the sauce.

mini food processor

I chopped the nuts for the topping in my mini food processor. You can use any kind of nuts that you like. I used walnuts, sunflower seeds, and pine nuts. I just pulsed them a few times so the nuts were still coarse. You can also chop them finely if you prefer.

baked portobello mushrooms goat cheese

Next, I placed them in the pan and added the goat cheese; I used a little more than a tablespoon for each mushroom. Then I sprinkled shredded mozzarella and topped them off with the chopped nuts. Bake these at 350 degrees for 30 to 40 minutes.

The ingredients that we used here would be enough to make 4 or 5 of these; any more than that, you will need more goat cheese, sauce, and nuts.

Baked Stuffed Portobello Mushrooms:

3 or 4 Portobello Mushrooms
1/2 cup tomato sauce
Italian Seasoning
3 tablespoons shredded mozzarella cheese
2 tablespoons walnuts (Chopped)
2 tablespoons pine nuts (Chopped)
1 tablespoon sunflower seeds (Chopped)

As always, thanks for stopping by, and I hope you enjoy.

KitchenAid 3.5 Cup Food Chopper KFC3516CU, Contour SilverKitchenAid 3.5 Cup Food Chopper KFC3516CU, Contour SilverKitchenAid 3.5 Cup Food Chopper KFC3516CU, Contour Silver


Quick Easy Blueberry Muffins

Quick easy blueberry muffins

Friday morning, Fran and Jamie had some errands to run. So, that left Bobby, Tyler, and me the whole morning on a rainy day.

I made some scrambled eggs for Bobby, and all Tyler wanted was chocolate milk. I remembered Fran telling me that we had some blueberries in the refrigerator that needed to be used.

Since it was raining out, I thought the guys would like to help me make some blueberry muffins. Tyler was more interested in building things with his Tinker Toys, so Bobby and I got to work on these quick, easy blueberry muffins.

To make easy blueberry muffins from scratch, you only need a few simple ingredients and, of course, fresh or frozen blueberries. Our blueberries were fresh, and we had everything else we needed. The ingredients and instructions are below to make these quick and easy blueberry muffins.

make easy blueberry muffins

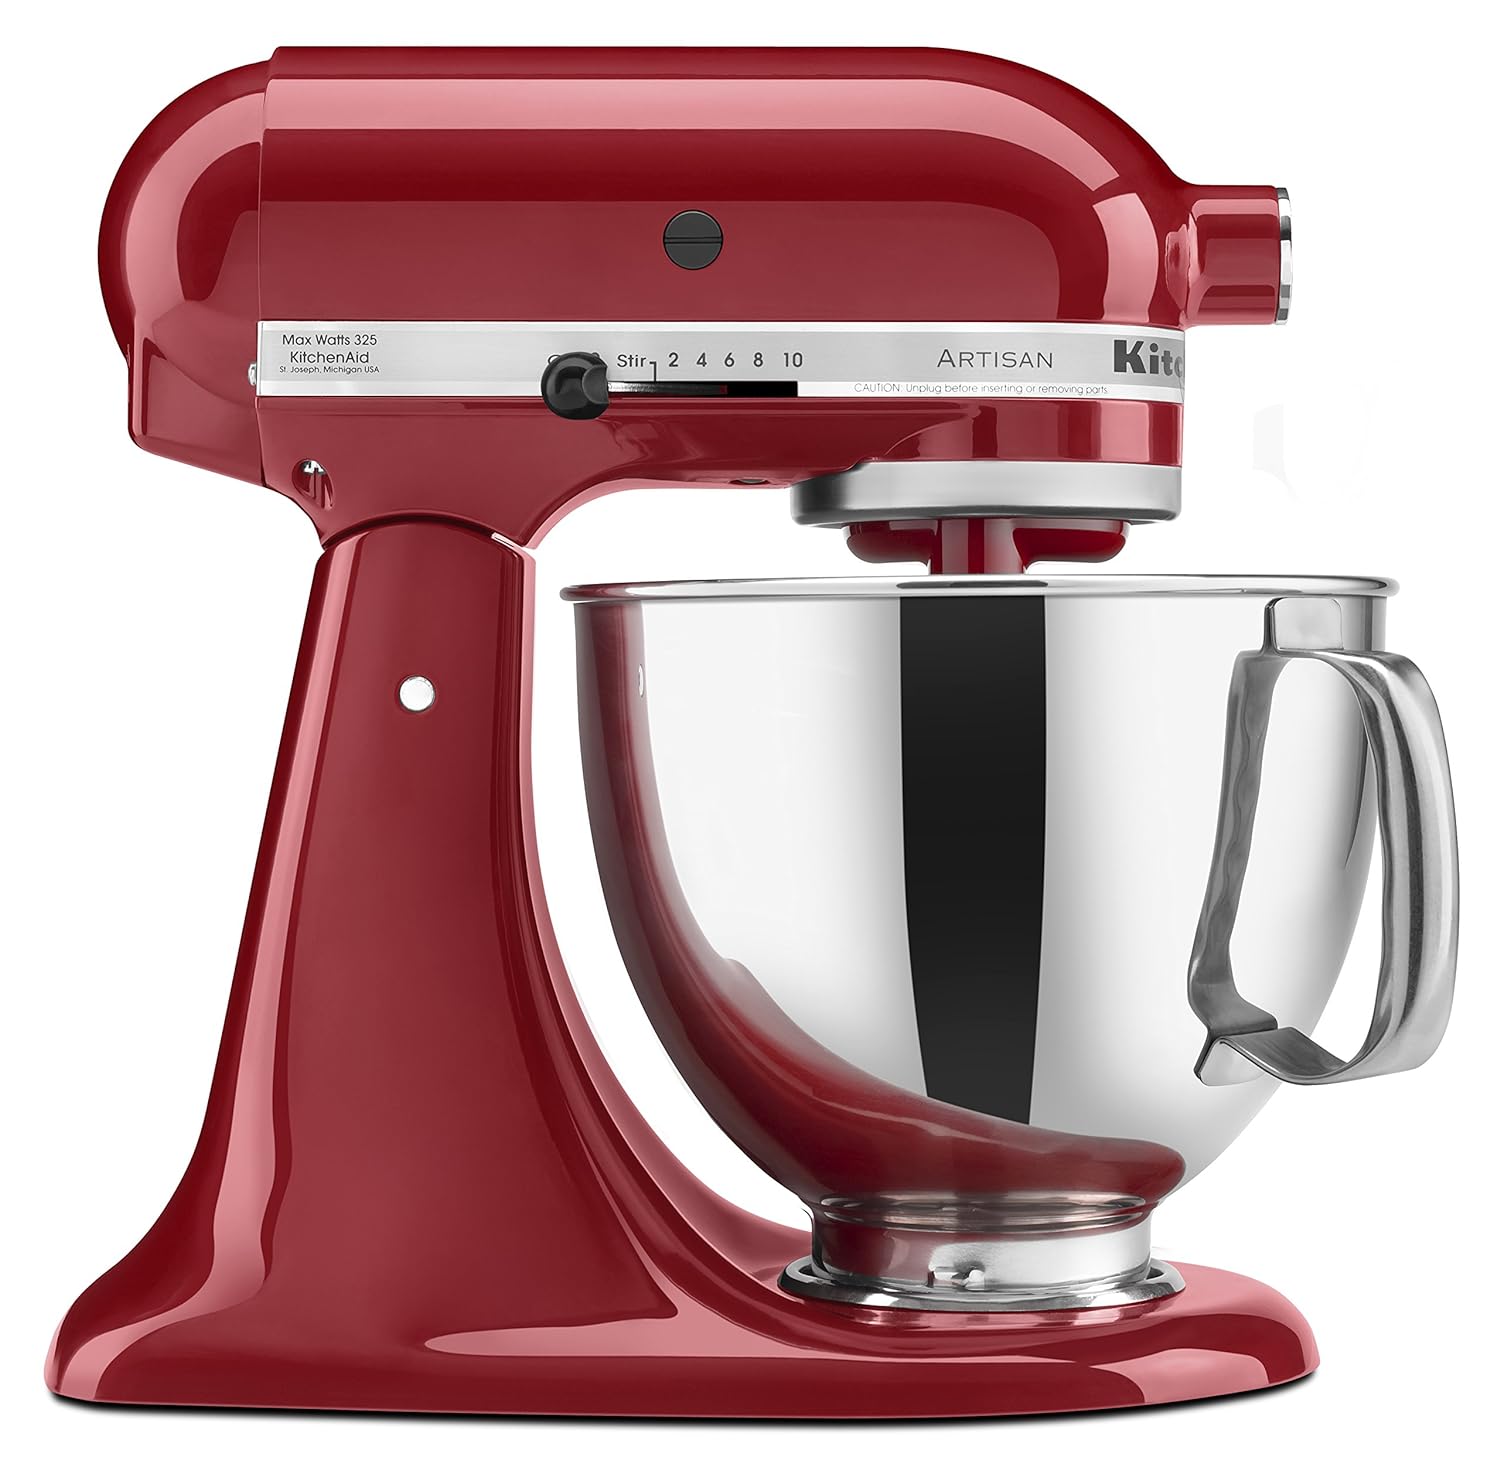
First, we made the batter using my KitchenAid Stand Mixer. Then we folded in the fresh blueberries by hand using a spatula.

easy make blueberry muffins

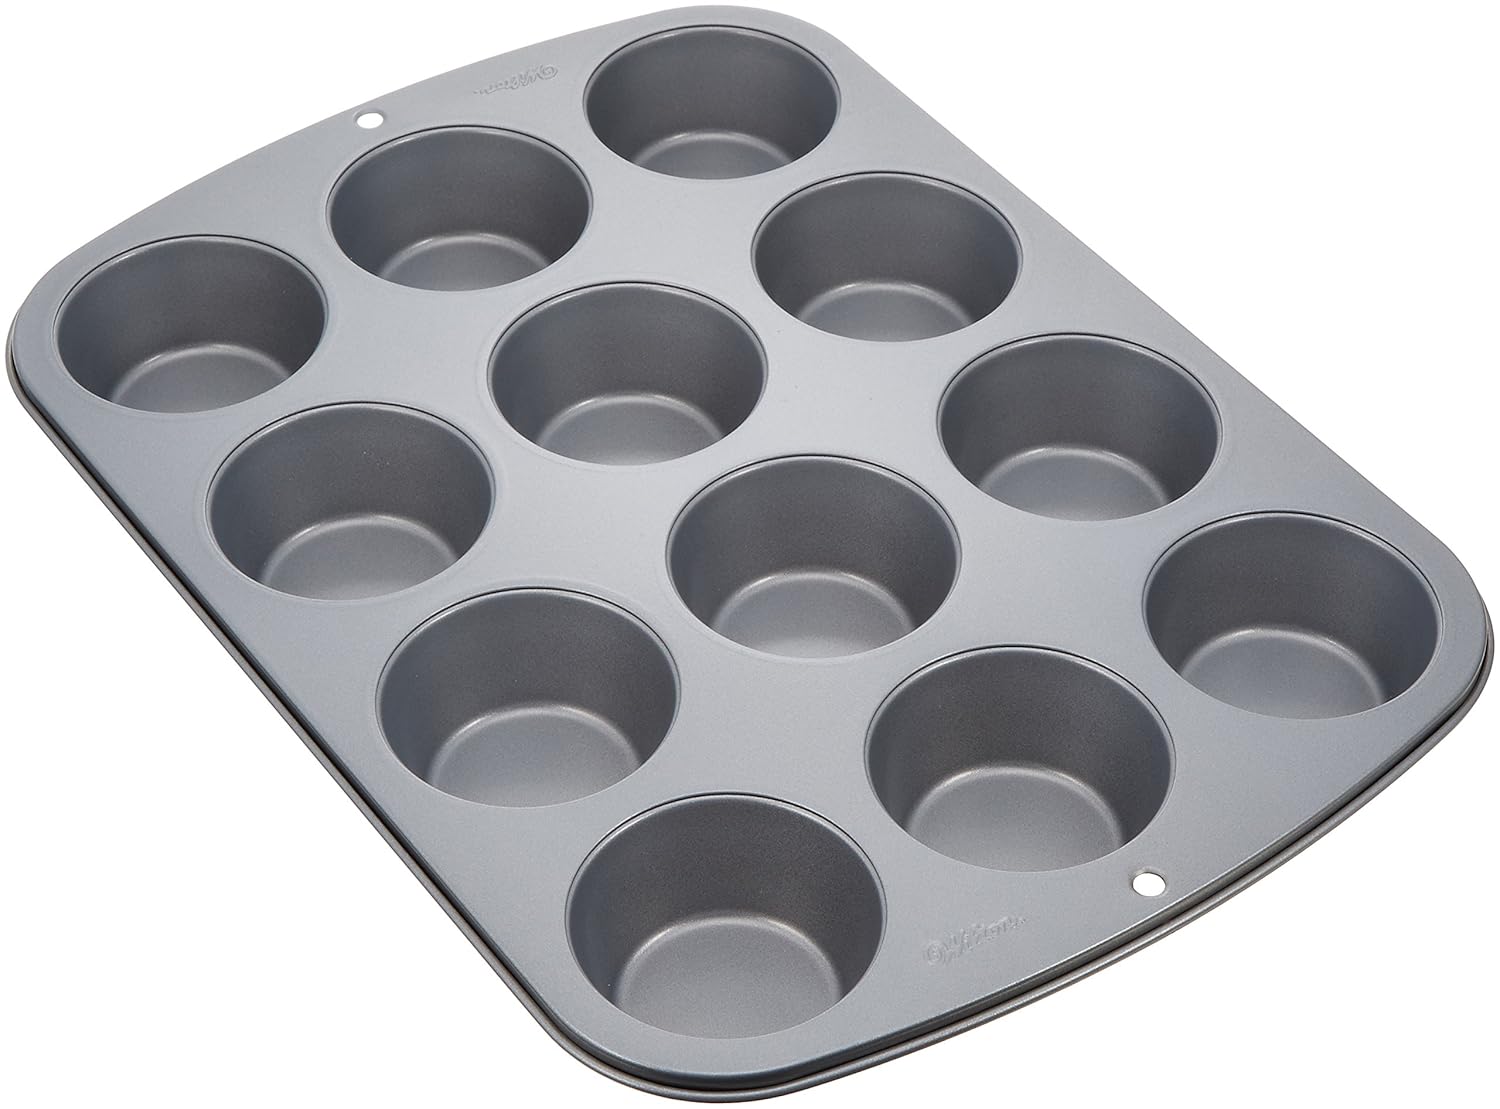
We sprayed a large muffin tin with Baker's Joy Non-Stick Spray and filled each muffin cup with 1/4 cup of batter.

homemade blueberry muffins scratch

We mixed some light brown sugar with white sugar and sprinkled it on top. Then, into the oven to bake for about 20 minutes at 375 degrees. We yielded 12 easy, moist blueberry muffins from this recipe.

Here is what we used to make our blueberry muffins: 

1/2 cup vegetable oil
1 cup white sugar
2 large eggs
1 teaspoon vanilla
1 teaspoon honey
1/2 teaspoon salt
1 tablespoon baking powder
2 cups all-purpose flour
1/2 cup milk
1-1/2 cup fresh blueberries

Instructions:

  1. Add the oil and sugar together and begin mixing on low speed.
  2. Then add the eggs, vanilla, honey, baking powder, and salt. Continue on low speed.
  3. Add the milk and one cup of flour, and continue mixing for about one minute.
  4. Lastly, add the second cup of flour and continue on low speed until you have a nice batter.
  5. Then fold in the blueberries by hand with a spatula.
  6. Fill the muffin tins, then sprinkle the light brown sugar and sugar mixture over the tops.
  7. Bake on the center rack at 375 degrees for 20 minutes until golden brown.
These easy-to-make blueberry muffins are perfect for breakfast or just a snack. I have to tell you, these didn't last long after coming out of the oven.

As always, thanks for stopping by, and I hope you enjoy.

Mini Strawberry Pies Recipe

Mini Strawberry pies recipe

Last week, Fran and I were waiting to see the doctor for one of her eye appointments. Fran started talking about some healthy recipes that we should try, then she said, " You know, we have some fresh strawberries, you should make some mini strawberry pies.

So, somehow we went from healthy recipes to desserts. I'm not one to argue because Farn always knows best. I wanted to make sure everything in this recipe was fresh, right down to the whipped cream.


I started by making this easy strawberry pie gelatin


easy strawberry pie gelatin
Here is what I used:

9 fresh strawberries
1/2 teaspoon lemon juice
1 cup water
1-1/4 sugar
3 tablespoons corn starch

I put the 9 strawberries, lemon juice, and water into my NutriBullet to make a liquid base.

This yielded 2 cups of liquid. If you don't have a NutriBullet, you can do this in a blender.


Using a saucepan on medium heat, add the liquid and sugar. Bring this to a boil, add the cornstarch a little at a time, stirring constantly until it thickens, then remove it from the heat. I placed the gelatin in a bowl and refrigerated it while I made the pie crust.

Easy Pie Crust Dough: 


easy pie crust dough
2-1/2 cups flour
1 cup cold butter (cut into small pieces)
1 teaspoon sugar
1/2 teaspoon salt
4 to 5 tablespoons ice-cold water

I added the flour, butter, sugar, and salt into my KitchenAid mixing bowl. Using the batter attachment, I mixed until crumbs formed and the butter was cut in.

Then add the ice water, 1 tablespoon at a time, until the dough forms.

I rolled the dough into a log, cut it in half, wrapped it in plastic, and refrigerated it.
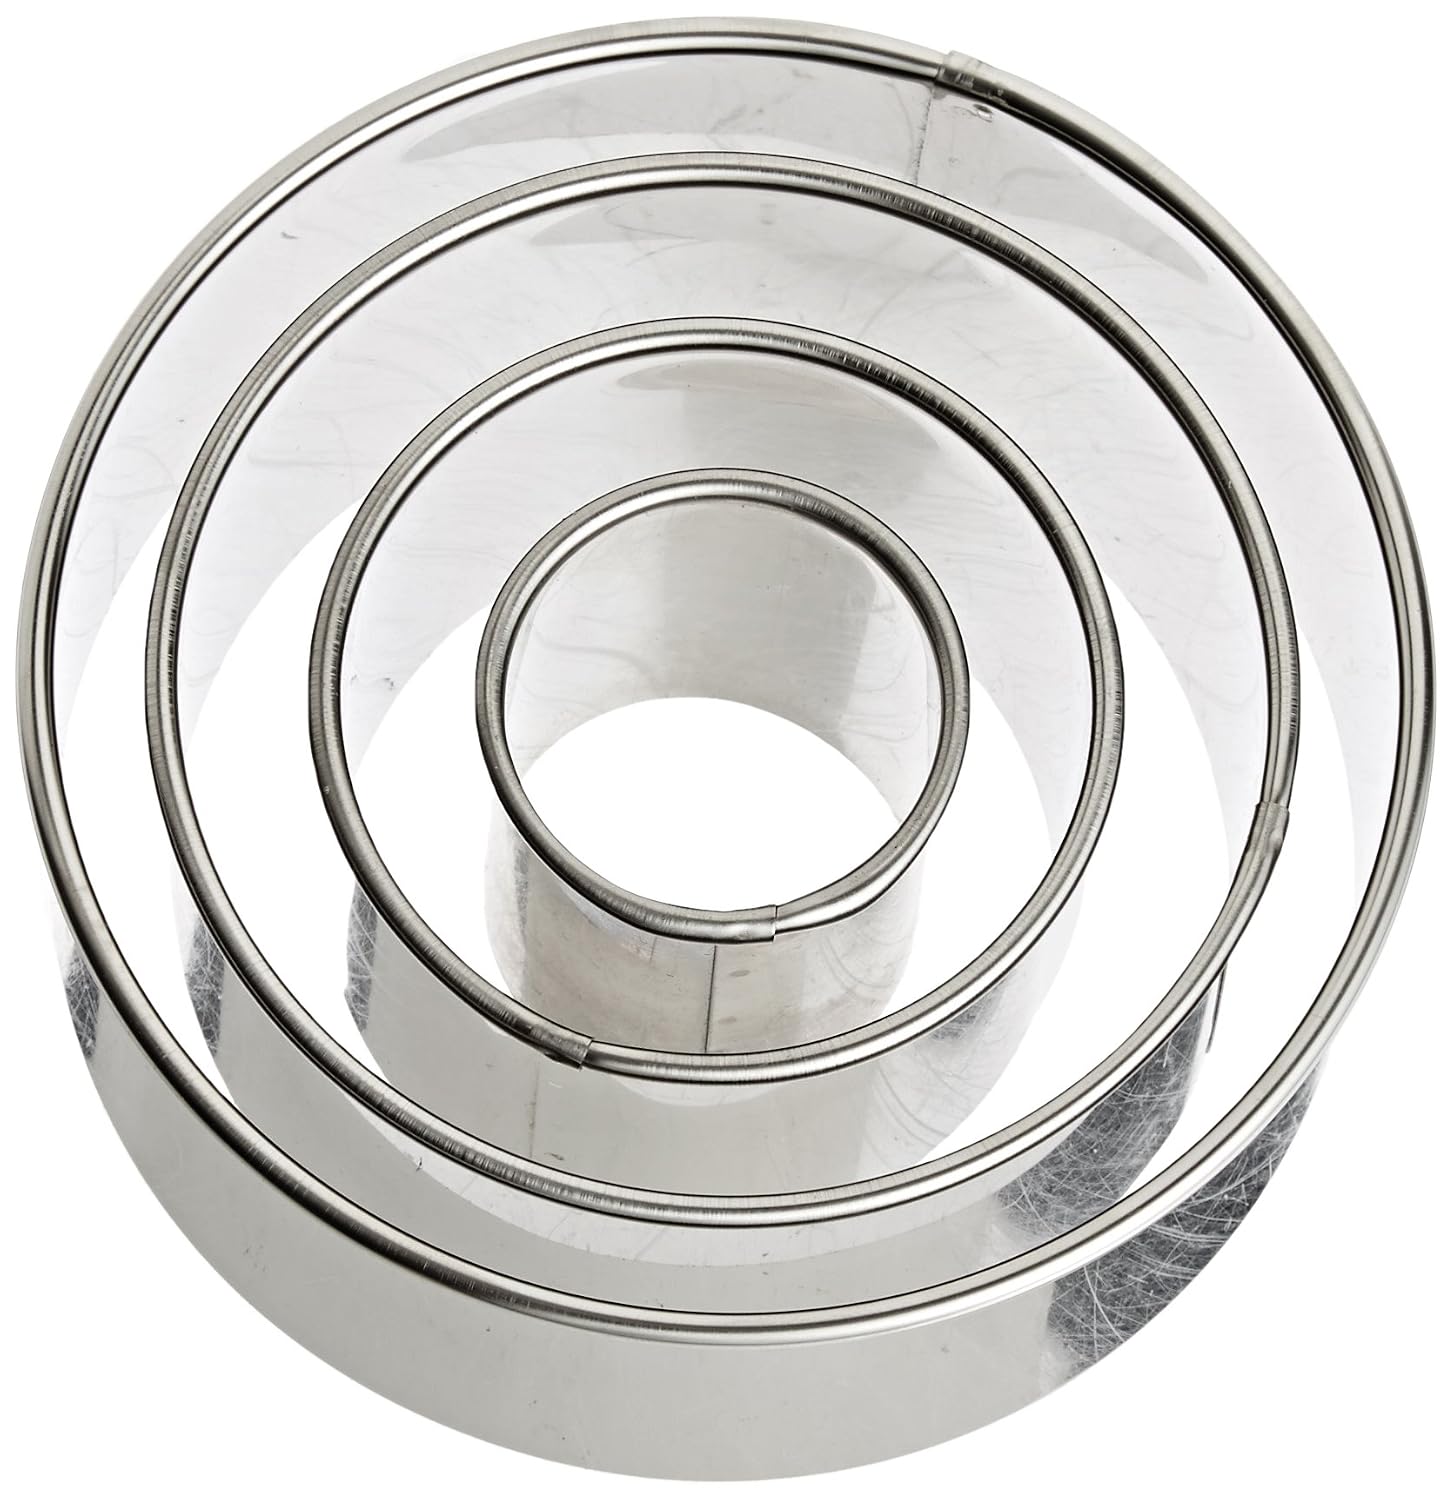
After 30 minutes, I rolled the dough out on a floured surface to 1/8-inch thick. I cut circles about 3.5 inches in diameter. You can use a cookie cutter or whatever you have on hand.

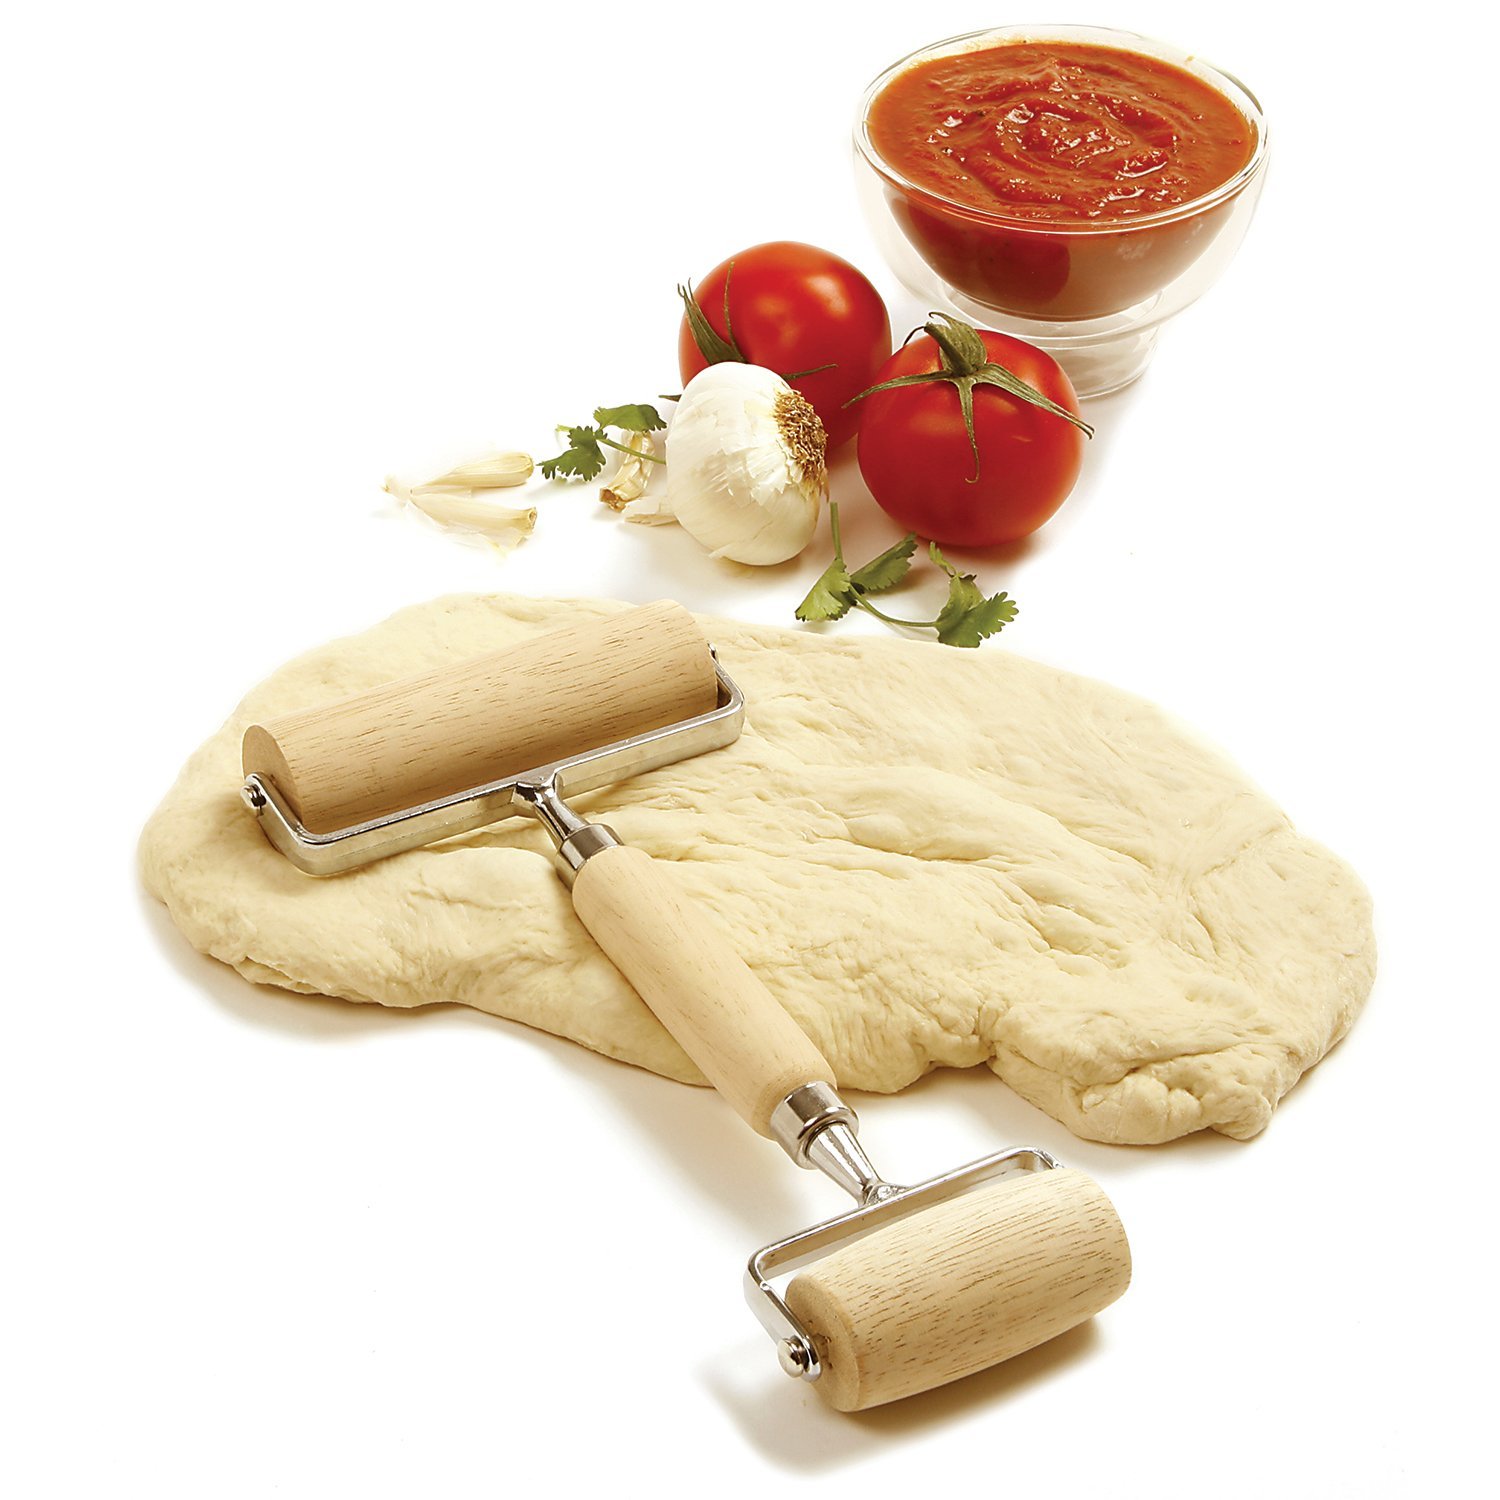
To roll out my dough, I use this handy Norpro Pastry/Pizza dough roller. I think this handy tool gives you much more control than using a rolling pin.

easy pie crust dough

I sprayed a muffin tin with Baker's Joy No-Stick Baking Spray and carefully formed the crust in the tins. Then baked these at 350 degrees for 15 minutes.

strawberry pie gelatin recipe

Fill each mini crust with 1 to 2 tablespoons of the gelatin.


I cut strawberries in half and placed them on top of the gelatin. This recipe yielded 18 nice little mini strawberry pies. I used 9 more strawberries for this, plus whatever Tyler was eating while we finished these.

I topped these tasty, sweet treats with homemade whipped cream using this simple, quick recipe from Berly's Kitchen. Click the link to get this easy, creamy whipped cream recipe. While you're on their site, take a look at more of their amazing recipes.

I had to hurry with this, as Tyler was eating the whipped cream by the spoonful as we topped them off.  

As always, thanks for stopping by, and I hope you enjoy.


“ I earn money from purchases on affiliate links at no additionl cost to you.” Disclosure Statement

X