Here are a couple of easy Halloween treat ideas that the kids and even the adults will love. These Reese cup bats and chocolate mini donut spiders are not only fun but also so easy to make.
Every Halloween, our grandsons go trick-or-treating in our neighborhood. So, we always try to have some fun treats. There is no recipe or cooking involved; you just need the treats and some time to assemble them.
Fun, easy Halloween Treats: Here is what you need:
Reese Cups (Full size)
Oreo Cookies
Pretzels (Large Thin)
Chocolate mini donuts
Edible candy eyes
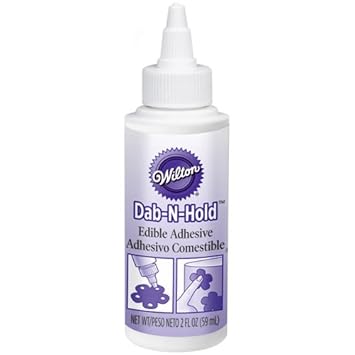
Edible dab-n-hold adhesive
Let us make the spiders first:
With a sharp knife, cut the large loops of the pretzels where they meet the middle. This is not a perfect process, so you're going to waste some of them.
Now, press four pretzel loops on each side into the mini donuts. Ten glue on the candy eyes using Wilton Dab-N-Hold Edible Adhesive. And that is it, you've made a mini donut spider.
Now for the Reese Cup Bats:
First, separate the Oreo cookies, scrape the icing off one side, or you can eat that one and keep on going.
Again, use a sharp knife to cut the Oreos in half. These will be your bat wings. This is also not perfect; you're going to waste some, which is great because you get to eat them.
Use the edible adhesive to attach the Oreo halves to the Reese Cups, and do the same for the eyes. Oh!! How easy these are to make and how much fun they are. I'm sure they will disappear quickly.
As always, thanks for stopping by, and I hope you enjoy.
REESE'S Peanut Butter Cups, 1 Pound (Halloween Candy)![]() Oreo Chocolate Sandwich Cookies, Family Size, 19.1 Ounce
Oreo Chocolate Sandwich Cookies, Family Size, 19.1 Ounce![]() Hostess Donettes Frosted Mini Donuts, Chocolate, 1 Count (Pack of
Hostess Donettes Frosted Mini Donuts, Chocolate, 1 Count (Pack of![]() Wilton Mini Candy Eyeballs
Wilton Mini Candy Eyeballs![]() Wilton Dab-N-Hold Edible Adhesive, 2 fl. oz.
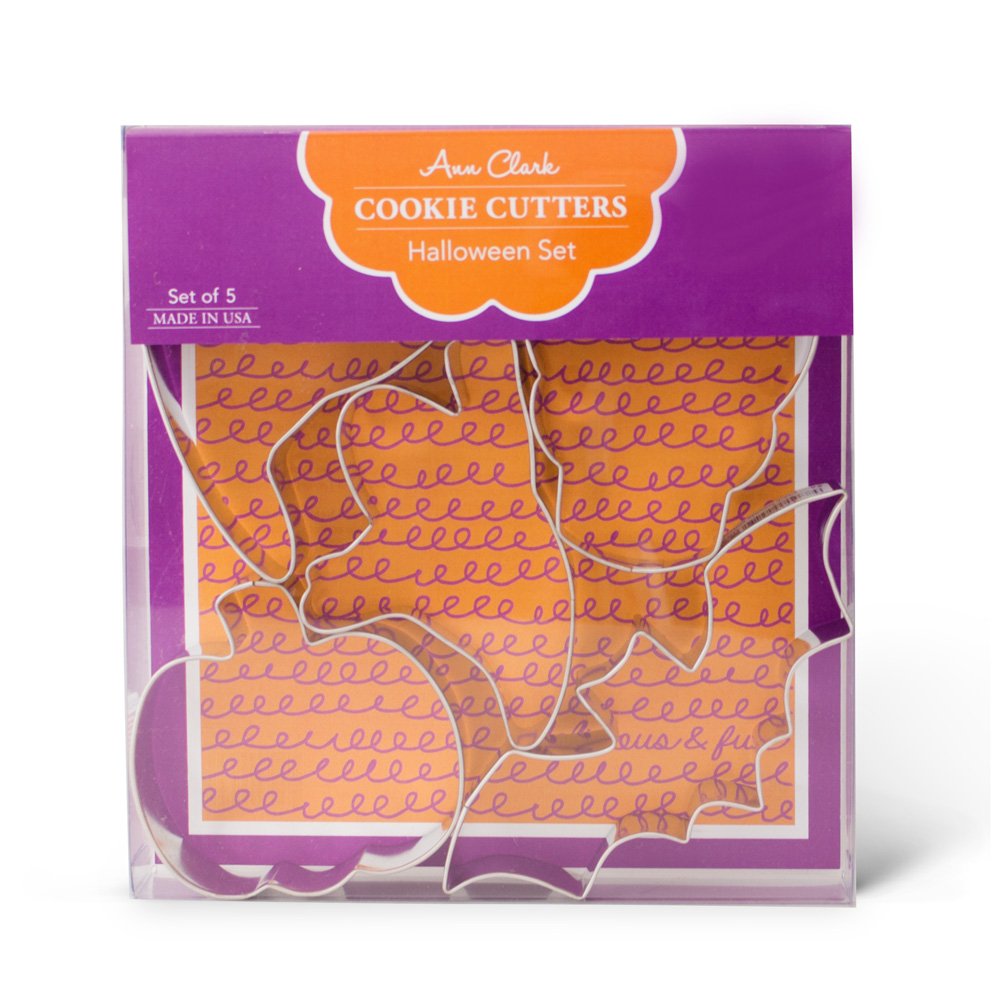
Wilton Dab-N-Hold Edible Adhesive, 2 fl. oz.![]() Halloween Cookie Cutters - 5 Piece Boxed Set - Pumpkin,
Halloween Cookie Cutters - 5 Piece Boxed Set - Pumpkin,![]()