Cast Iron Fried Potatoes

Cast Iron Fried Potatoes

I love cooking with my cast iron skillet. These cast-iron fried potatoes will make a perfect side dish for any meal. These little baby yellow potatoes are very versatile. You can use them for just about anything, baked, sauteed, mashed, roasted, I choose the fry them.

Cast Iron Skillet Potatoes


These little baby yellow potatoes are firm white potatoes with thin skin. They're perfect for my cast iron skillet.

I first rinsed them in cold water and then dried them. Leaving the skin on, I sliced the potatoes about 1/4 to 1/2 inch thick. You can cut them any way that you like, sliced or quartered.

I covered the bottom of my 10-inch cast-iron skillet with olive oil, then added 2 tablespoons of butter. Let this heat up over medium heat. I cut the potatoes while waiting for the pan to heat up.

I love cooking with garlic, so, I chopped a clove of garlic and added it to the skillet. Let this heat up until the garlic becomes fragrant. Now add the potatoes and begin to stir.

As they cook, add a generous amount of Italian seasoning.  Add sea salt and black pepper to your taste. Continue to move and toss the potatoes as they cook. This will prevent them from sticking and cooking too much on one side. Cook until the potatoes are golden brown.

 Now, you have a quick, easy, and perfect side dish for any meal. Try these delicious little potatoes with my Perfect Cast Iron Skillet Steak.


As always thanks for stopping by and I hope you enjoy it!


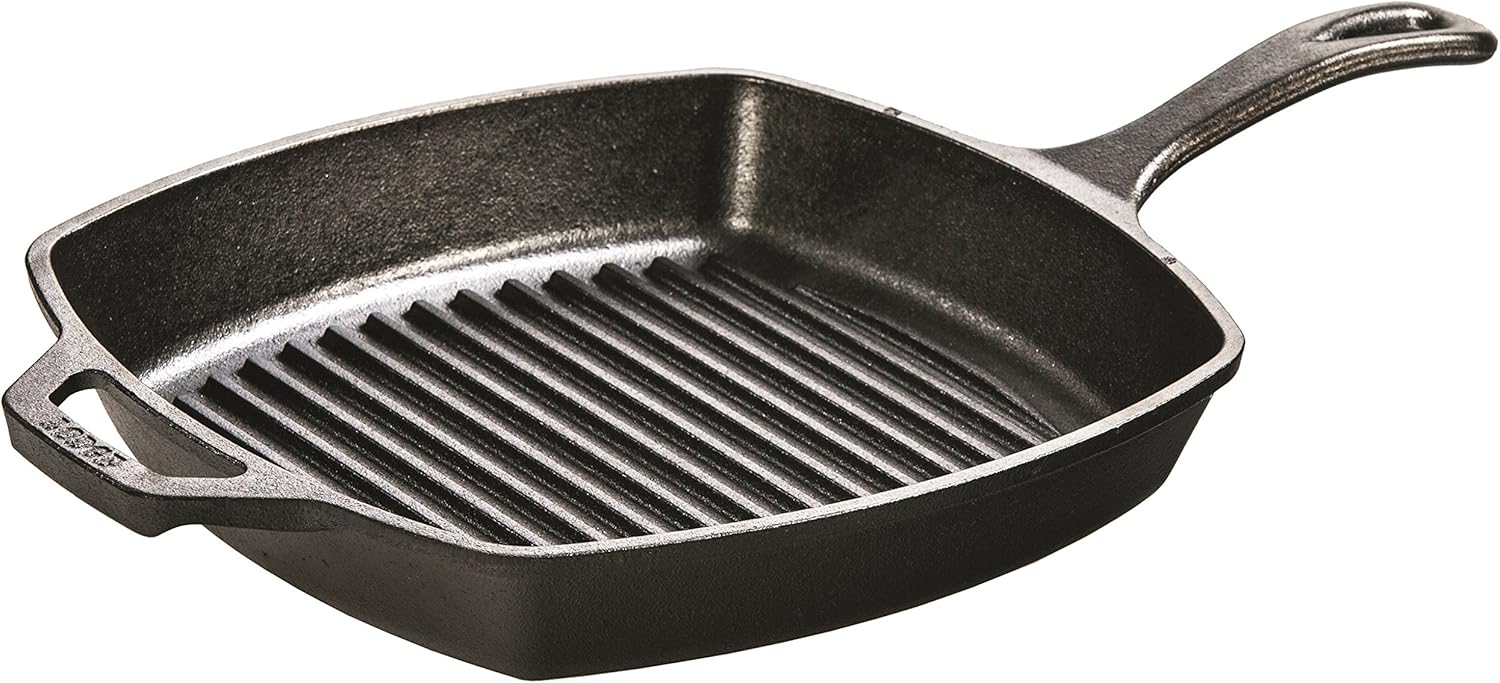
The Lodge Brand is my go-to cast iron skillet


Instant Pot Beef Ribs

Instant Pot Beef Ribs

These instant pot beef ribs are both, melt-in-your-mouth delicious and oh so juicy. Fran picked up a couple of packages of bone-in beef short ribs.

We debated the cooking options, either, braised in a cast-iron skillet or use the instant pot. We choose the instant pot.

Instant Pot Beef Short Ribs Recipe


The very first thing was to get these seasoned and ready to cook. So, I used a rub that I made last summer for this Long Smoked Pulled Pork recipe we did in our smoker.

Ingredients for the Rub:

1/4 cup brown sugar
1/4 cup paprika
2 tablespoons Sea Salt
2 tablespoons black pepper
2 tablespoons garlic powder
2 tablespoons onion powder
1 teaspoon cayenne
1 tablespoon smoked paprika
3 tablespoons Carolina Seasoning (Rub Some Butt)

I rubbed all sides of the beef ribs with this rub, and let them set in the refrigerator for about an hour. I make this rub ahead and keep it in a jar. It's great to use on beef, pork, or chicken. So, it's perfect to always have it on hand.


Instant Pot Short Rib Recipe

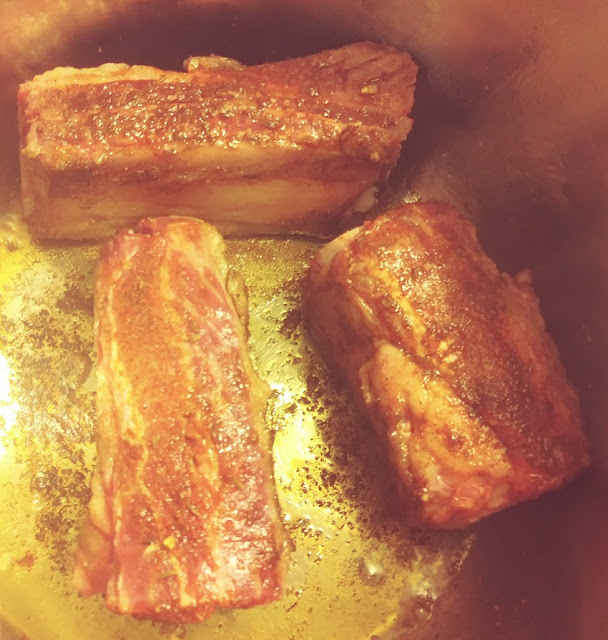
Browning the short ribs. Add about 2 tablespoons of oil in the bottom of the instant pot. Set it on saute until it reaches hot.

Set the ribs in, and brown them on all sides, about 3 to 4 minutes per side should do it. Remove them from the instant pot to a plate.

Instant Pot Beef Ribs Recipe

Now add a thickly sliced medium onion and one clove of minced garlic into the instant pot. Add 1/2 cup of bourbon or red wine to De-Glaze the bottom of the instant pot.

You want all of the caramelized bits to blend with the bourbon or wine, use a wooden spoon to do this by gently scraping the bottom.  By the way, we used bourbon.

Add the short ribs back into the pot. Pour in 1/2 cup of beef broth, add a teaspoon of dried thyme, 2 tablespoons of brown sugar, and 5 cloves of chopped garlic.

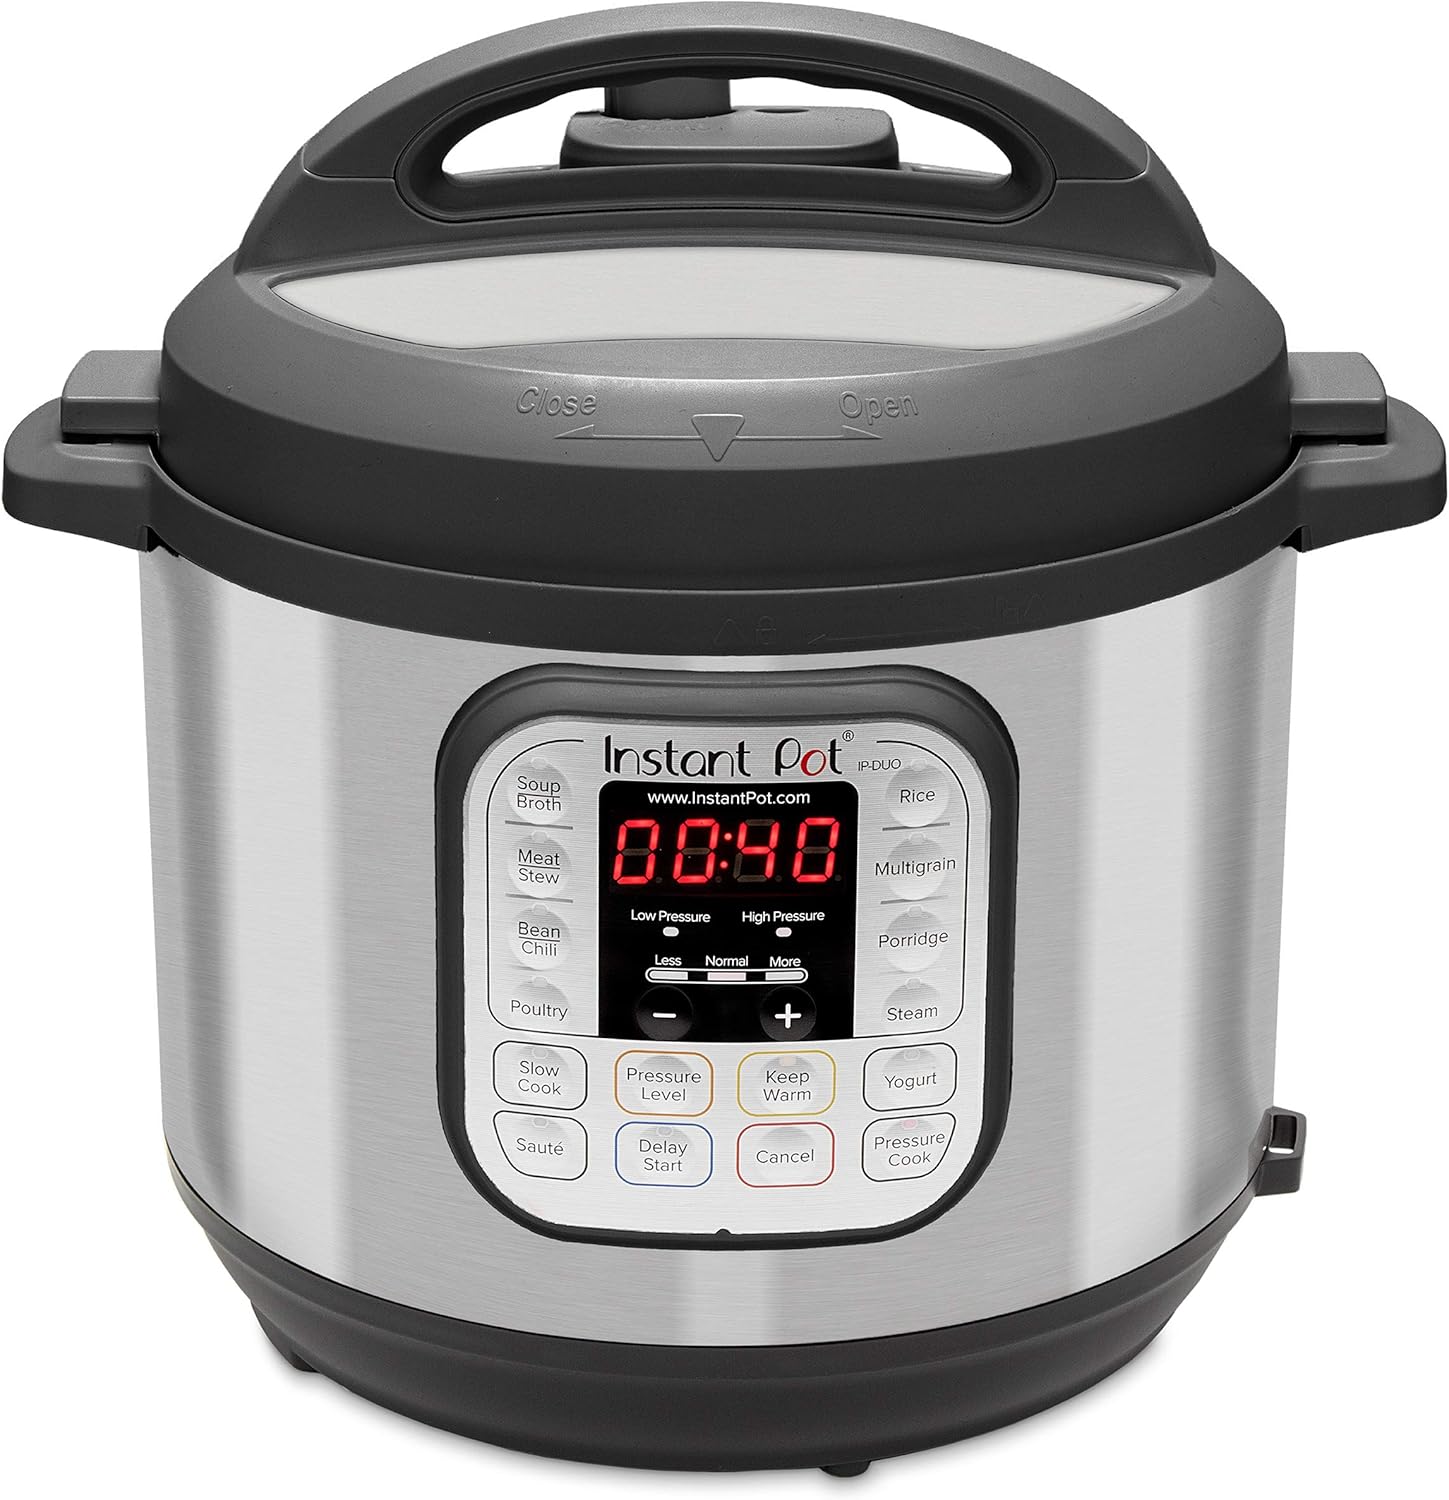
 Set the instant pot to High Pressure for 45 minutes, and let release naturally for 15 minutes.

This method will produce juicy, tender and fall of the bone beef short ribs. We served ours with mashed potatoes.

Ingredients:

4 or 5 bone-in beef short ribs
6 cloves of Chopped garlic (use one for De-glaze)
1 medium onion sliced
1/2 cup of bourbon or red wine
1/2 cup beef broth
2 tablespoons brown sugar
2 tablespoons oil
1 teaspoon dried thyme

If you don't use the dry rub that I have above, you can season the short ribs with salt, pepper, paprika, and some cayenne pepper.

As always thanks for stopping by and I hope you enjoy it.


Alfredo Cheese Pizza Recipe

Alfredo Cheese Pizza Recipe

Our grandson Bobby came over with this delicious alfredo cheese pizza recipe. Bobby loves to cook and is turning into quite the chef.

But first, let me tell you about another use for a cast-iron skillet. We needed a pizza stone for this recipe and didn't have one.

So, Bobby found out that you can use a cast-iron skillet in place of a pizza stone. Just place the cast iron skillet in the oven upside down at 500 degrees for 20 minutes.

After the pizza dough was made, it was divided into four equal pieces. If you need a pizza dough recipe try my All-Purpose Dough Recipe here. Or you can pick up the fresh dough at your local grocery store.

Alfredo Pizza Recipe

Take one part of your dough and spread it out on a floured 10-inch plate.  Use a spatula to spread half of the alfredo sauce on top, then add shredded mozzarella cheese.

Using oven mitts to take the skillet out of the oven and place it on a wooden cutting board. Carefully transfer the pizza from the plate to the bottom of the cast-skillet.

 Place it back in the oven for only five minutes, then slide the pizza onto a rack to cool slightly before cutting.

Cast Iron Pizza Stone


Bobby made four pizzas, two with alfredo sauce, and two tomato sauce, cheese, and pepperoni. The outcome was amazing, these pizzas were delicious with a nice crunch.

Oh, I almost forgot, here is the recipe for the alfredo sauce.

Ingredients

6 or 7 cloves of garlic (diced)
3 tablespoons Olive Oil
1/4 cup grated Romano Cheese 
Heavy Cream (enough to cover the bottom of the pan)

Directions
  1. In a 10-inch skillet, add olive oil and garlic.
  2. Cook over medium heat until the garlic begins to sweat.
  3. Add the heavy cream, enough to cover the bottom of the pan.
  4.  Add the Romano cheese and stir.
  5. Continue stirring until the sauce is smooth.
As always thanks for stopping by and I hope you enjoy it.


You might like to try some of my other pizza recipes

Thin Crisp Italian Pizzelles

Thin Crisp Italian Pizzelles

Thin crisp Italian pizzelles, just the way that I like them. Growing up I thought that my grandmother invented the pizzelle. Truth be known the pizzelle originated in the Southern Region of Italy many years ago.

 These were always on the table for the Christmas and Easter Holidays. And, if you've ever been to an Italian wedding I'm sure you saw these on the cookie table.

There are so many different variations of pizzelles. You can make them, thin and crispy, soft and chewy, and in many different flavors. You can also shape them like a cone, or cannoli, or a bowl and fill them with your favorite filling.

Thin Crisp Italian Pizzelles: My Ingredients

6 large eggs
1 teaspoon Anise extract
4 teaspoons baking powder
2 teaspoons Vanilla
1 teaspoon Lemon extract
3-1/2 cups all-purpose flour
1 cup butter, oil or margarine (melted) (We use butter.)
1-1/2 cups sugar

Directions

  1. Beat the eggs and sugar together, we use our KitchenAid Stand Mixer.
  2. Add the cooled butter, margarine, or oil.
  3. Now add the vanilla, lemon, and anise.
  4. Last, add the flour and baking powder to the egg mixture.
  5. Mix until the batter is stiff enough to be dropped by a spoon.

recipe pizzelles Italian cookies

Here is the batter all ready to go. This recipe will make about 50 to 60 pizzelles depending on how many you eat while you're making them. If you don't want that many just cut the recipe in half. But trust me these won't last long.

Some people don't like the Anise flavoring. So, you can substitute lemon for the Anise, or any other flavor you like.  Such as, Almond, Vanilla, Orange, Rum, and the list goes on.

Pizzelles Italian Cookie

Now, it's time to make the Pizzelles. You'll need a Pizzelle Baker or Iron. Before making your cookies spray the top and bottom of the iron with a non-stick spray, or brush lightly with vegetable oil.

After the iron is heated, drop the batter by tablespoons onto each side. Close and clamp the iron for about 30 seconds or less depending on how you like them, light or darker.

Remove the cookies with a spatula and place them on a flat surface to cool. We store them in an airtight container to keep them nice and crisp.

 Pizzelles will last up to 2 weeks stored like this. But, I'm going to bet they are not going to last that long.

Rolled and Filled Pizzelles by Carmie and Jimmy

Pizzelle Italian cookie

Carmie and Jimmy are my cousins, they also keep the old family traditions and recipes alive. Here they made one of the variations of pizzelles.

In their recipe, they used grated orange rind, orange juice, and vanilla as the flavoring. Carmie and Jimmy went one step further by rolling and filling the pizzelles.

Talk about a sweet treat. Don't those look mouth-watering? I assure you these too will not last long. You're family and friends will think you are a pastry chef.

Pizzelles Italian Cookies

Carmie used some 5/8 x 6-inch wood dowels to shape the pizzelles cannoli style. You'll want to do this while they're still hot off the iron. After rolled let them cool completely.

Carmie's Sweet Filling Ingredients

1 cup Crisco
2 cups of sugar
1-1/2 cups of warm water
1 cup butter softened
1 teaspoon of vanilla

Directions

  1. Beat together the Crisco and butter, add the sugar a little at a time, continue beating until dissolved.
  2. Add in the vanilla and continue mixing.
  3. Add the warm water 1/4 cup at a time (make sure water is really warm)
  4. Continue mixing until really smooth
  5. Use a pastry bag to fill the rolled pizzelles.
Tip: If you don't have a pastry bag use a zip lock bag and snip off one corner. 

Thank you Carmie and Jimmy for the recipe and pictures of your rolled and filled pizzelles.


As always thanks for stopping by and I hope you enjoy it.

 I would like the hear if you have any different variations of Pizzelles, please let me know in the comment section.


Sausage Cheese Ball Appetizers

Sausage cheese ball appetizers

I like quick and easy, and these sausage cheese ball appetizers are just that. Whenever your planning your next party add these to your appetizer list.

Or, Make these anytime just as a snack your family and friends will love them. These will disappear as fast as you get them out of the oven.

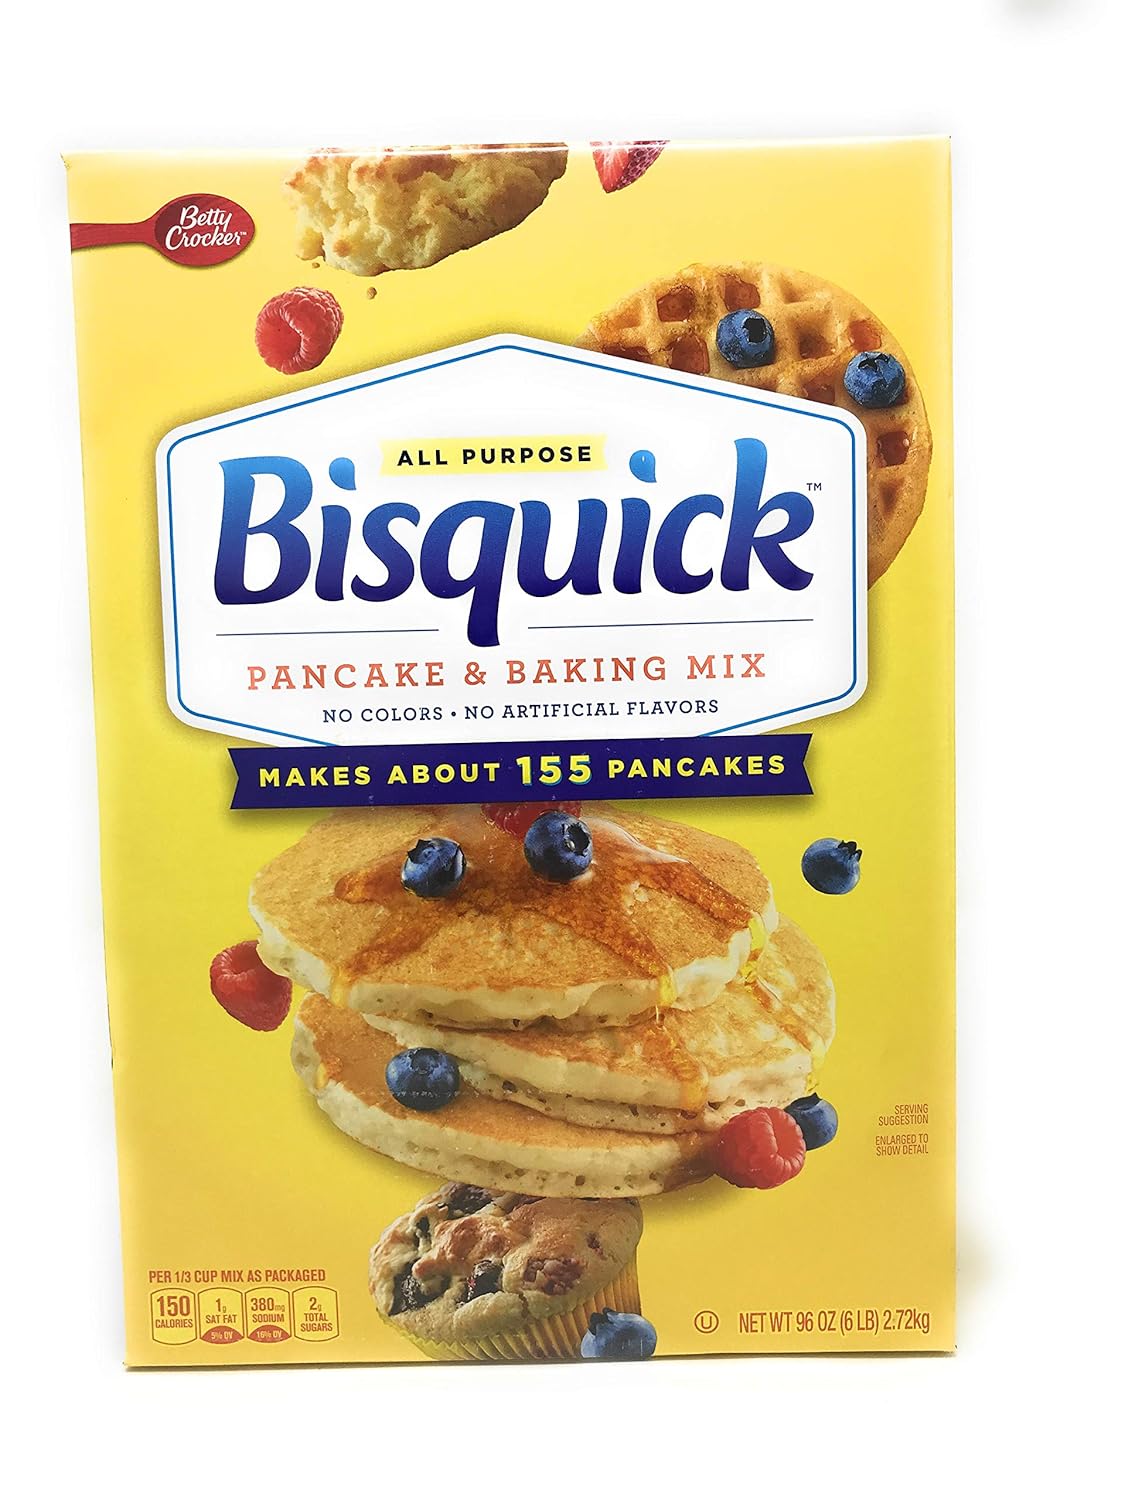
Made with a few simple ingredients, Bisquick, Sausage, and Cheddar Cheese. We always make these around the Holidays and make sure we make enough to freeze.

Did I mention that you can make these ahead and freeze them? Then just bake when you're ready for a snack. They make a perfect game day appetizer. We will be making these for the Super Bowl for sure.

Sausage Cheese Ball Appetizers Ingredients:

1 lb. bulk sausage
3 cups Original Bisquick
4 cups shredded cheddar
1/2 cup grated Parmesan Cheese
1 tsp. garlic powder
1/2 cup milk
1-1/2 tsp. chopped parsley (optional)

Directions:
  1. Cook the sausage in a 10-inch skillet over medium heat.
  2. You want the sausage to be crumbled, use a spatula or wooden spoon to break it up while cooking.
  3. Cook the sausage until browned.
  4. In a large bowl add the sausage and all other ingredients.
  5. Mix well and shape into 1-inch balls.
  6. Place them on a cookie sheet lined with parchment paper.
  7. Bake for 20 to 25 minutes at 350 degrees.


Use parchment paper or a greased cookie sheet. You can also freeze the sausage balls for a snack at any time. You should yield about 100 sausage balls. It depends on how big you roll them.

As always thanks for stopping by and I hope you enjoy it!


Slow Roasted Prime Rib Roast

Slow Roasted Prime Rib Roast

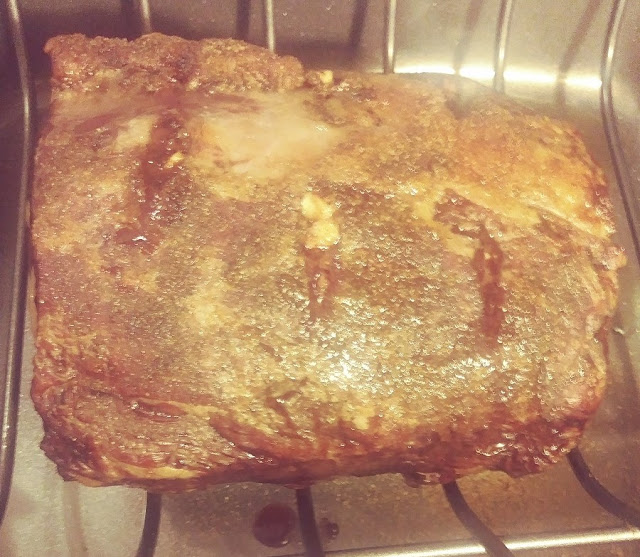
Slow roasted prime rib roast cooked to a perfect medium-rare. With simple seasonings of salt, pepper, fresh garlic, and Penzeys English Prime Rib Rub. This is all you need to make this a perfect feast for your family and friends.

Slow Roasted Prime Rib Roast Recipe

Oh, and of course you need to start with a nice prime rib roast.  I started with this 5.5-pound boneless prime rib roast. Prime rib is a very expensive cut of meat. Many people tell me that they don't attempt making prime rib roast in fear of ruining it. 

I'm here to tell you that making this is so easy, and you'll be so happy with the results. Once your family and friends taste this prime rib you'll be a hero.

I used 3 cloves of fresh garlic cut in half. I made six small cuts on both sides of the top and stuffed the garlic in. Then I seasoned the roast with salt, pepper, and Penzeys English Prime Rib Rub.

Slow Roast Prime Rib Roast

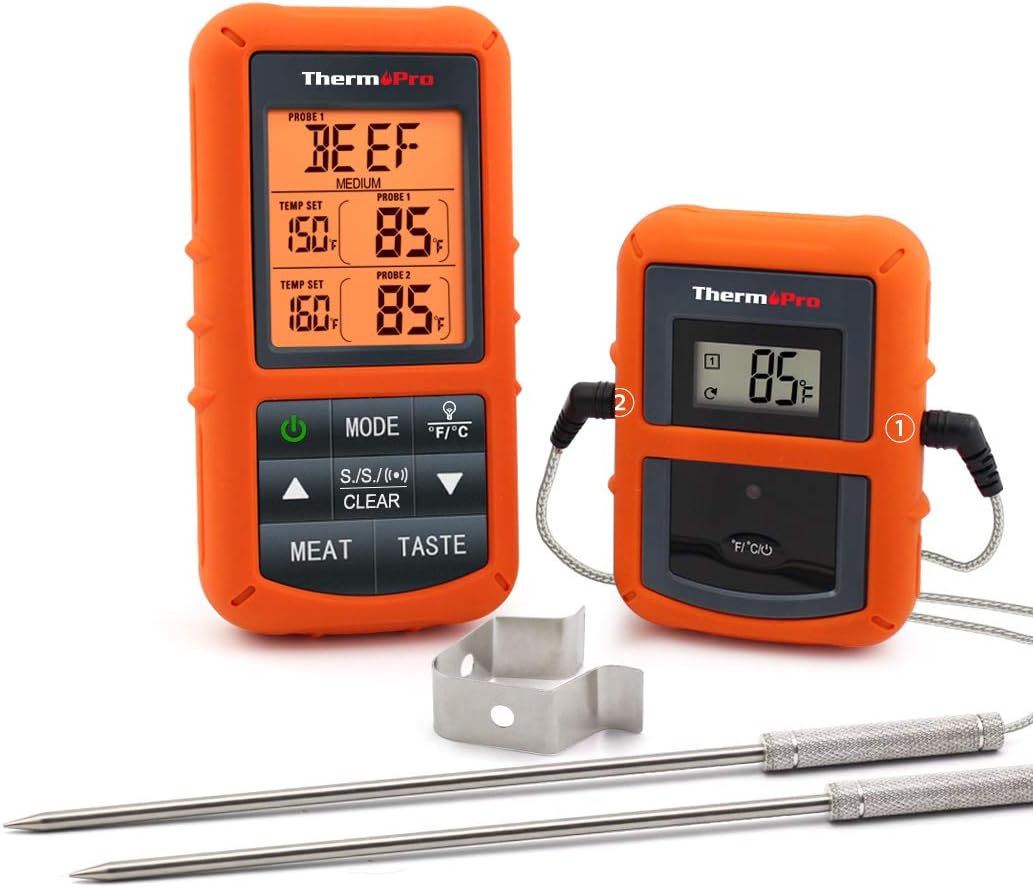
I  left the prime rib out for a couple of hours to reach room temperature.  I inserted the probe of my ThermoPro TP-20 Thermometer. Then, place it in the oven at 275 degrees until the internal temperature is 130 degrees, about 2.5 hours.

Out of the oven, I covered the roast to let it rest for 30 minutes before cutting. While resting the roast will continue to cook to 135  degrees, a perfect medium-rare. The outside was a nice dark tasty crust while the inside was a perfect medium-rare. 

The rule of thumb is about 15 minutes per pound. If you don't have a probe to monitor the internal temperature, use an instant-read thermometer and check the internal temperature after 2 hours.

As always thanks for stopping by and I hope you enjoy it.


“ I earn money from purchases on affiliate links at no additionl cost to you.” Disclosure Statement

X