Charcoal Grilled Chicken Breasts


Charcoal Grilled Chicken Breasts

I treasure the times when our whole family can get together. It has been a difficult year for gatherings. This year for Father's Day we had everybody together.

So, it was time to celebrate with some charcoal-grilled chicken breasts. There is no doubt that the best grilling is done over charcoal. Well, that's my opinion anyway.

I picked up 8 large bone-in chicken breasts at our local grocery store. The first step was to marinate the chicken. We marinated the chicken breasts overnight in Chiavetta's Barbeque Marinade. This is a great marinade for both flavor and tenderizing the meat. 

Charcoal Grilled Chicken Breasts

Seasoning chicken breasts

We fired up the charcoal in the Weber Charcoal Chimney. To me, using the chimney is the best way to fire up your charcoal. There is no chance of getting that charcoal fluid after taste on your food.

 While the charcoal was heating up I seasoned the chicken breasts with Penzeys Galena Street Rib and Chicken Rub. This is a traditional southern-style barbeque rub.

I seasoned the breast meat by lifting up the skin on the chicken breasts and pouring in the seasoning with a small spoon. Then I worked the seasoning onto the meat with my finger. 

Bone Grilled Chicken Breasts

Then, I rubbed the seasoning all over the top and bottom of the chicken breasts. As you can see these beauties are now ready for the grill.

I grilled these for 7 to 8 minutes per side flipping them twice in the process for a total of 30 minutes. The cooking time may vary based on the size of the chicken breasts. These were large breasts with the ribs.

 I grilled them until the internal temperature was 165 degrees. It's best to have an instant-read thermometer on hand so you know when they are cooked.

As always thanks for stopping by and I hope you enjoy it!

You might also like these chicken recipes

Smoked Bone in Chicken BreastsSmoked Bone-in Chicken BreastsGrilled Southwestern Chicken BreastsGrilled Southwestern Chicken Breasts


Grilling Snow Crab Legs


Grilling Snow Crab Legs
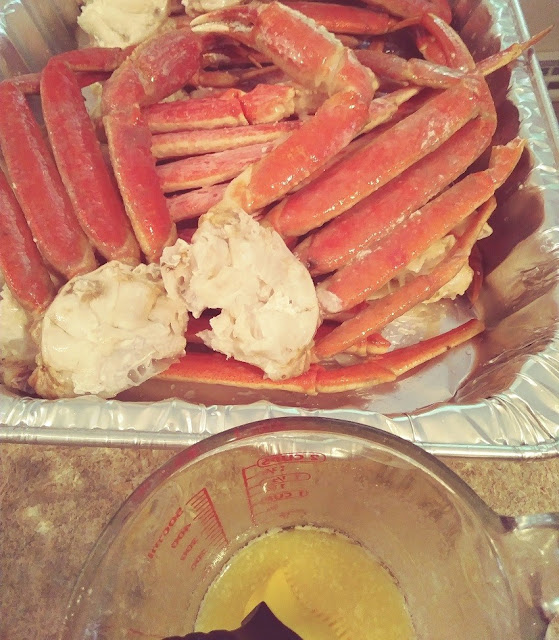
How to Grill Snow Crab Legs

There is no doubt about it, our family loves crab legs. If you like crab legs and give this method a try, you may never buy crab legs in a restaurant again.

Your local grocery store should have snow crab legs in the freezer section or seafood section of the store. Check to see if they are fully cooked, they should be, so all you really have to do is heat them up.

Grilled snow crab legs

We started off with 5.5 lbs. of snow crab legs and let them thaw. Fran melted 1/2 stick of butter and I mixed in 1 teaspoon of garlic powder and lightly brushed the crab legs on both sides.

I fired up the charcoal chimney to get the coals nice and hot. You can also do this on a gas grill. I would use the medium setting for a gas grill.

 I set the hot coals about 5 or 6-inches from the cooking grates. Set the crab legs on the grill and cook for about 3 to 4 minutes per side.

Caution: It's best to have a spray bottle handy for any flare-ups, you don't want to burn the crab legs. 

Grilling Snow Crab Legs:

4 tablespoons of butter melted.
1 teaspoon of garlic powder.
4 to 5 lbs. of crab legs (enough for 4 people) or you can adjust accordingly.
More melted butter for serving.

As always thanks for stopping by and I hope you enjoy it 

Weber 7429 Rapidfire Chimney StarterWeber 7429 Rapidfire Chimney StarterKingsford Original Charcoal Briquettes, Two 16.7 lb BagsKingsford Original Charcoal Briquettes, Two 16.7 lb Bags


Canning and Preserving Eggplants

If you follow my blog, then you know I have a passion for preserving old family recipes. These are the recipes our grandmother's and mother's made from scratch.

Food that when you make it today brings back the fondest childhood memories. Let's face it homemade is the best and nobody makes it like our grandmothers.

My cousins, Jimmy and Carmie share the same passion for preserving these cherished recipes. Here are the recipe and instructions that have been in my cousin Carmie's family for generations.

Eggplants prepared in this way are perfect on sandwiches, or as a snack with a nice slice of Italian bread. I'm so glad Carmie has this recipe because my mother also made these and I don't have her recipe. So, here is the recipe by Jimmy and Carmie.

EGGPLANTS 

A Marcella Family Recipe 

Canning and Preserving Eggplants


Carmie and I have been making this family favorite for as long as we have been married. (Basically, I cut the EGGPLANT and then make sure the jars are sealed). It is a recipe that her mother; ANNIE taught her. For years we have been saying that we should document this recipe and process so that it will be preserved for future generations. Anyone that we know that has tried this specialty really enjoys them. Whenever we go back east, we are always reminded to pack 3 or 4 jars. 

We have always made a bushel of Eggplants when making this recipe; however, you can make 2 or 3 individual EGGPLANTS if you like. As you will see there are no critical conversions for the ingredients no matter how many you decide to make. 

The first step is to trim both ends and then peel them with a potato peeler or a paring knife. Then you will slice the Eggplant into 1/8th to ¼” thick slices. (When we first started, I attempted to cut them by hand and trying to keep them uniform was next to impossible. So, after a few years I bought a RIVAL ELECTRIC FOOD SLICER). It is now well over 40 years old and still performing well). Now, the slices are uniform and the time for this step was cut by about 60% or more.

Peel and Slice


rival electric food slicer

 So, the ingredients for day one is EGGPLANTS and SALT. As indicated, we did a bushel of Eggplants. Twenty-three in all.

 Next, the Eggplant Slices are layered in a kitchen strainer and salted with Iodized Salt between each layer. Once the strainer is full of all of the slices that have been salted we then place the strainer in a place for them to drain overnight. (A sink or tub work well) 

We place a dish or flat bowl on top of the Eggplants and then place a weight on the dish or bowl to help press the moisture from the Eggplants. (We use a gallon of oil or vinegar) The next day the strainer; that was full to the top, will now only be-half full and the slices will now be half as thick as they were original.

Pressing the water out of the eggplants overnight


 On day two you will need the following ingredients: 

1-gallon HEINZ Apple Cider Vinegar
1 ½ -gallons CRISCO Canola Oil
1 Jar 2.12 ounces McCormick Red Crushed Pepper 
1 Jar 2.6 ounces McCormick Crushed Whole Oregano Leaves 
1 Jar 32 ounces Minced Garlic 
Wide Mouth Pint Mason Jars 

To start, fill a large frying pan about half full of vinegar and bring to a slow boil. On the counter next to the stove, layout several dish towels. Start by placing several slices of Eggplant in the boiling vinegar and blanch for 30 seconds or so. 

Remove from the vinegar and lay the individual slices flat on the dish towels to drain. Once drained, place the Eggplant slices in a large bowl. Continue until all of the slices have been blanched. The slices will have a very vinegary taste at this time. 


 At this time, we fill a large saucepan with enough water to cover two mason jars when laid on their sides. Bring the water to a boil and place two jars in the water. Also, in a small saucepan, we heat enough water to cover the Mason Jar inserts.

Boiling the jars and lids

 Now for the hard part. (Just kidding) Carmie sets up a workstation with a shallow bowl, oil, oregano, red crushed pepper, and garlic. One of the jars is removed from the boiling water and placed on the shallow bowl. (Remember to place another jar into the boiling water). First, a little oil is added to the bottom of the jar, then a little garlic, a little oregano, a little red crushed pepper and then a couple of Eggplant slices. 

This process is continued until the jar is full to within approximately ¾ to ½ inch from the top of the jar. A regular dinner fork is used to keep the slices layered and flat. It also helps eliminate any air pockets that may form. 

The top of the jar is then wiped with a clean dish rag and one of the Mason Jar Lids are placed on the jar and the lid ring is installed and tightened. The jar is then placed in a draft-free area to await that wonderful sound. POP! We have found that the FOOD SAVER VACUUM SEAL MACHINE is a lot more reliable. SO, I get to help again. Using the Food Saver and the Wide Mouth Jar Attachment, I seal the jars.


 As you can tell, this is not an easy process; however, if you start with two or three Eggplants, you should not be overwhelmed. Also keep in mind that if you start small, you can eliminate the mason jar and use a small Tupper Ware Container. The process is the same except the final assembly is in the Tupper Ware Container, not the Mason Jar. 

Once opened, the jars must be refrigerated. Unopened, and if sealed properly the jars will last about two years when stored in a cool dark place. Once opened and refrigerated they still have a shelf life of 6 months or so. Twenty-three Eggplants yielded twenty-three pints. 


You might like some of our other Canning Recipes

Thumbprint Cookies with Lemon Curd

Thumbprint Cookies with Lemon Curd

Well, I hope you guys aren't tired of lemon recipes yet. I had some lemon curd leftover from the Fresh Lemon Hand Pies I made the other day. I needed to use it up so I made these simple thumbprint cookies with lemon curd filling.

These buttery little shortbread cookies are a true delight. They're so easy to make and can really be filled with any fruit filling.

Thumbprint Cookies with Lemon Curd: Ingredients

1-1/2 cup butter (Softened)
1 cup of sugar
1 teaspoon Vanilla extract or (maple syrup)
3 large eggs beaten
3 cups all-purpose flour
1/2 teaspoon salt
1/4 cup lemon curd or any fruit filling
2 or 3 tablespoons sugar to sprinkle after baking

Instructions:
  1. With an electric or stand mixer, cream the butter, sugar, vanilla together.
  2. Add the salt and flour one cup at a time and continue mixing on low speed.
  3. Add the eggs one at a time, continue to mix until a dough forms.
  4. Line a cookie sheet with parchment paper, roll the dough into balls, about 1-1/2 tablespoons.
  5. Press the center of the ball to create a cavity, fill the cavity with the lemon curd or fruit. I used the tip of a teaspoon to fill them.
  6. Bake at 350 degrees for 18 to 20 minutes sprinkle sugar over top while still hot. Place the cookies on a rack and let cool.
Tip: Did you know that maple syrup is a substitute for vanilla extract? 

I was in the process of making these and found that I was out of the vanilla extract so, I used the maple syrup. They turned out perfect.

Lemon thumbprint cookies

    I used a 1-1/2 tablespoon cookie scoop and then rolled them into balls. Press the dough back together if it splits when pressing with your thumb.

    You can find the recipe for the lemon curd here:

    As always thanks for stopping by and I hope you enjoy it.

    Easy Lemon Brownies

    Easy Lemon Brownies

    Every year my cousin Jimmy sends me a box of fresh lemons from his back yard in Arizona. So, I'm always making something lemony this time of the year. The first lemon recipe this year are these easy lemon brownies.


    These are not your average store-bought lemons. The lemon on the right is store-bought and on the left is a lemon from Jimmy's back yard in Arizona.

    So, how do you use up all of these lemons on steroids before they go bad? Well, first, you make as many of your favorite lemon recipes as you can.

    You can squeeze fresh lemon juice and freeze it. I freeze about 1/2 cup at a time is a small freezer bag. It will last indefinitely in your freezer for any recipe or fresh lemonade all summer long.

    Easy Lemon Brownies Ingredients

    1 cup of sugar
    1/2 cup salted butter (Softened)
    2 large eggs
    3 tablespoons fresh lemon juice
    Zest of one lemon
    1 cup all-purpose flour
    1 teaspoon baking powder

    Easy Lemon Brownies Recipes
    Directions

    1. In a large bowl, beat together the sugar, butter, and lemon zest until it is fluffy.
    2. Add the eggs one at a time and continue mixing. Then add the 3 tablespoons of lemon juice.
    3. Add the flour and baking powder, and continue to mix until all ingredients are combined.
    4. Prepare an 8-inch x 8-inch baking pan with cooking spray.
    5. Pour the batter into the pan and spread evenly 
    6. Bake at 350 degrees for 20 to 25 minutes
    7. Remove from the oven and let cool for 15 minutes.
    While the brownies are cooling you can make the glaze for the top.

    Easy Lemon Brownies Glaze

    1 cup powdered sugar
    2 Tablespoons of fresh lemon juice
    zest of one lemon

    Whisk all these ingredients together in a bowl until you have a nice creamy glaze.

    Best Lemon Brownies

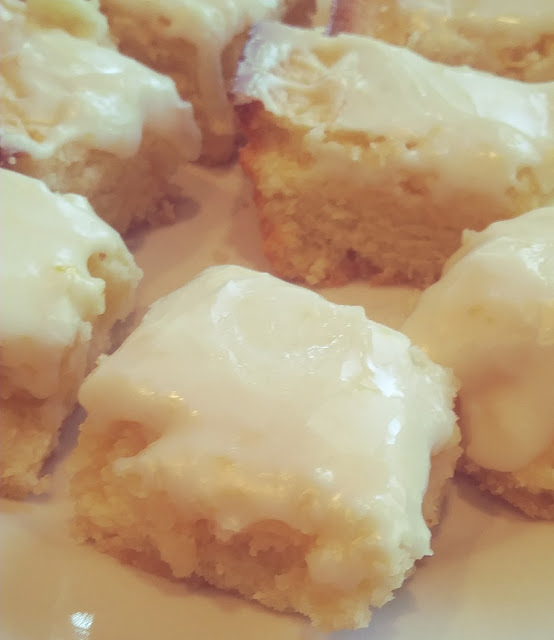
    Pour and spread the glaze over the top fo the brownies. Let these cool completely before cutting. These lemon brownies turned out to be nice and moist and oh! so lemony delicious, your family is going to love these for sure.

    As always thanks for stopping by and I hope you enjoy it!

    You may also like some of my other fresh lemon recipes:

    Baked Stuffed Portabella Mushrooms

    Baked Stuffed Portabella Mushrooms

    If you're looking for a great meal for any meatless day of the week, these baked stuffed portabella mushrooms will be a family delight.

    Portabella mushrooms or also spelled (Portobella) is a large cremini mushroom. These large mushrooms have a firm fleshy texture, which makes them perfect for stuffing.

    I started by, removing the stems, rinsing the mushrooms with cold water and patting them dry with a paper towel. I diced the stems and added them into the stuffing ingredients.

    recipe baked portabella mushrooms


    Baked Stuffed Portabella Mushrooms: Stuffing Ingredients


    1 cup seasoned breadcrumbs
    1 tablespoon Italian seasoning
    1 clove garlic minced
    1/4 cup Romano or Parmesan Cheese
    1 tablespoon olive oil
    2 eggs
    Diced mushroom stems
    Mozzarella Cheese for the topping

    This is so easy to make. Just combine all of the ingredients into a mixing bowl. Mix well until you have sort of a sticky ball of stuffing.

    baked portabella mushroom caps

    I had three portabella mushrooms I placed them on a cookie sheet lined with parchment paper. Then, filled each one with the stuffing.

    Bake these at 350 degrees for 15 minutes. Remove from the oven and top them off with the mozzarella cheese.

     Place them back in the oven for 10 more minutes until the cheese melts. And, That's all there is to it, now, you have a perfect meatless meal for you and your family.

    As always thanks for stopping by and I hope you enjoy it!

    You may also like some of our other mushroom recipes:


    Steak and Shrimp Salad

    Steak and Shrimp Salad

    If you're looking for something easy, quick, and delicious to serve your family for dinner, this steak and shrimp salad is it.

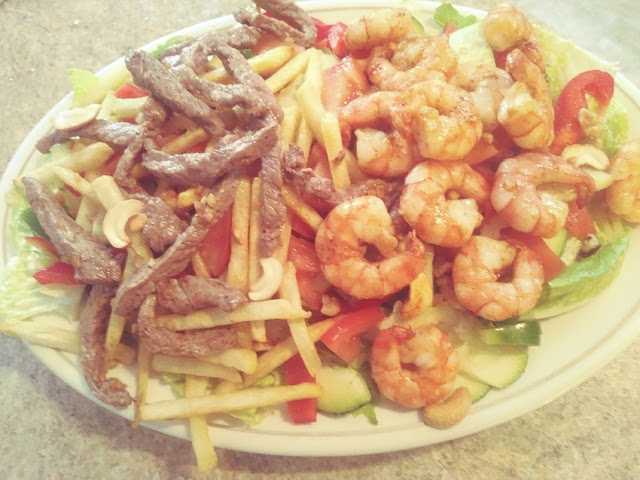
    Fresh crisp greens combined with tender strips of steak and hot french fries for the steak salad. On the other side, the greens are topped off with succulent shrimp.

    Fran and I were looking for something a little different for dinner the other night and this was it. We put this together with everything we had on hand.

    steak shrimp salad recipe

    We started off with a huge plate of fresh greens. Romaine lettuce, tomatoes, cucumbers, red, and green peppers.

    steak shrimp salad

    We cut a thin strip steak into small strips. then, covered the bottom of our 10-inch non-stick skillet with olive oil (about 2 tablespoons). Added a clove of diced garlic and cooked over medium heat.

    easy shrimp salad recipes

    We thawed the frozen shrimp by running it under cold water. Cooking this in the same skillet as the steak until it was done. (about 5 minutes turning once).

    While all of this was going on we had some shoestring french fries cooking in the oven. We assembled everything together and topped off with our favorite dressing.

    I used ranch dressing for the steak salad, and Fran used a vinegarette for the shrimp salad. This salad was quick, easy, and made the perfect dinner for both of us.

    As always thanks for stopping by and I hope you enjoy it!

    You might also like some of our other favorite salads

    Cast Iron Fried Potatoes

    Cast Iron Fried Potatoes

    I love cooking with my cast iron skillet. These cast-iron fried potatoes will make a perfect side dish for any meal. These little baby yellow potatoes are very versatile. You can use them for just about anything, baked, sauteed, mashed, roasted, I choose the fry them.

    Cast Iron Skillet Potatoes


    These little baby yellow potatoes are firm white potatoes with thin skin. They're perfect for my cast iron skillet.

    I first rinsed them in cold water and then dried them. Leaving the skin on, I sliced the potatoes about 1/4 to 1/2 inch thick. You can cut them any way that you like, sliced or quartered.

    I covered the bottom of my 10-inch cast-iron skillet with olive oil, then added 2 tablespoons of butter. Let this heat up over medium heat. I cut the potatoes while waiting for the pan to heat up.

    I love cooking with garlic, so, I chopped a clove of garlic and added it to the skillet. Let this heat up until the garlic becomes fragrant. Now add the potatoes and begin to stir.

    As they cook, add a generous amount of Italian seasoning.  Add sea salt and black pepper to your taste. Continue to move and toss the potatoes as they cook. This will prevent them from sticking and cooking too much on one side. Cook until the potatoes are golden brown.

     Now, you have a quick, easy, and perfect side dish for any meal. Try these delicious little potatoes with my Perfect Cast Iron Skillet Steak.


    As always thanks for stopping by and I hope you enjoy it!


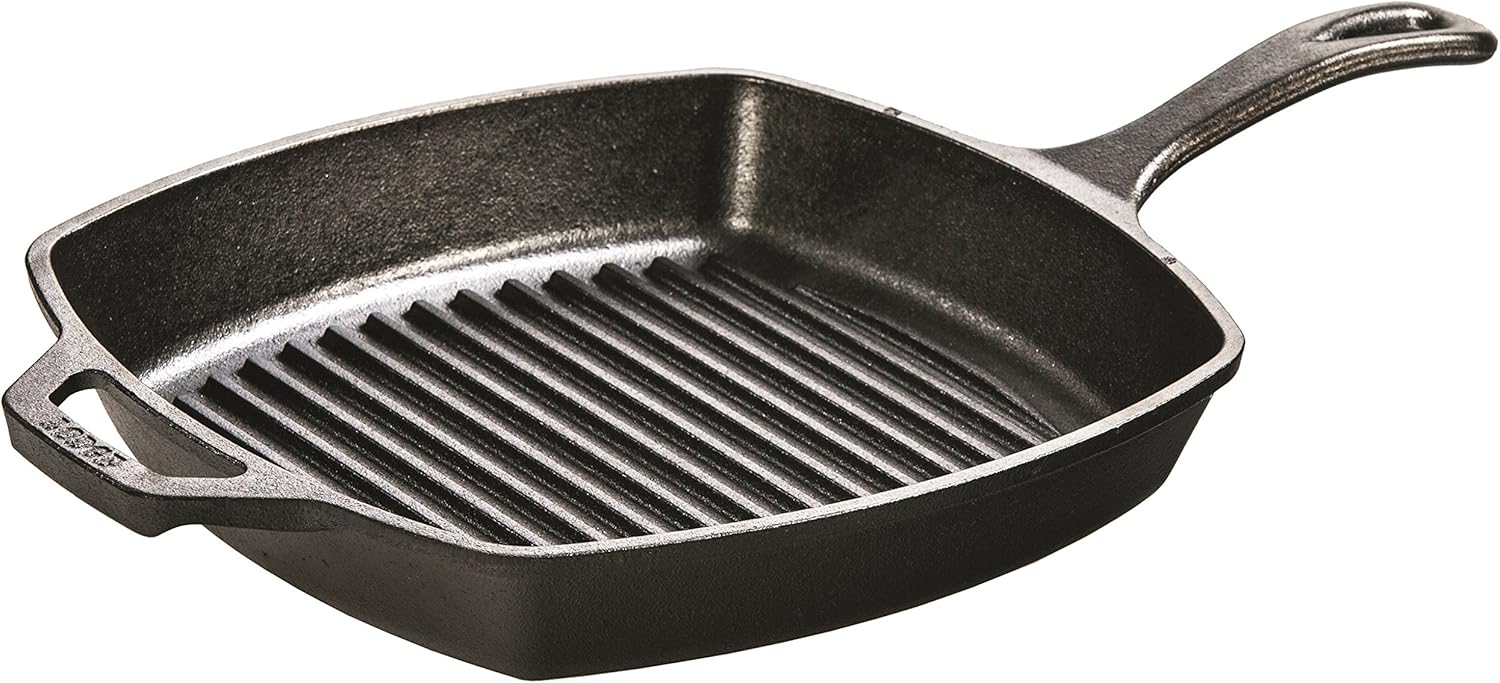
    The Lodge Brand is my go-to cast iron skillet


    Instant Pot Beef Ribs

    Instant Pot Beef Ribs

    These instant pot beef ribs are both, melt-in-your-mouth delicious and oh so juicy. Fran picked up a couple of packages of bone-in beef short ribs.

    We debated the cooking options, either, braised in a cast-iron skillet or use the instant pot. We choose the instant pot.

    Instant Pot Beef Short Ribs Recipe


    The very first thing was to get these seasoned and ready to cook. So, I used a rub that I made last summer for this Long Smoked Pulled Pork recipe we did in our smoker.

    Ingredients for the Rub:

    1/4 cup brown sugar
    1/4 cup paprika
    2 tablespoons Sea Salt
    2 tablespoons black pepper
    2 tablespoons garlic powder
    2 tablespoons onion powder
    1 teaspoon cayenne
    1 tablespoon smoked paprika
    3 tablespoons Carolina Seasoning (Rub Some Butt)

    I rubbed all sides of the beef ribs with this rub, and let them set in the refrigerator for about an hour. I make this rub ahead and keep it in a jar. It's great to use on beef, pork, or chicken. So, it's perfect to always have it on hand.


    Instant Pot Short Rib Recipe

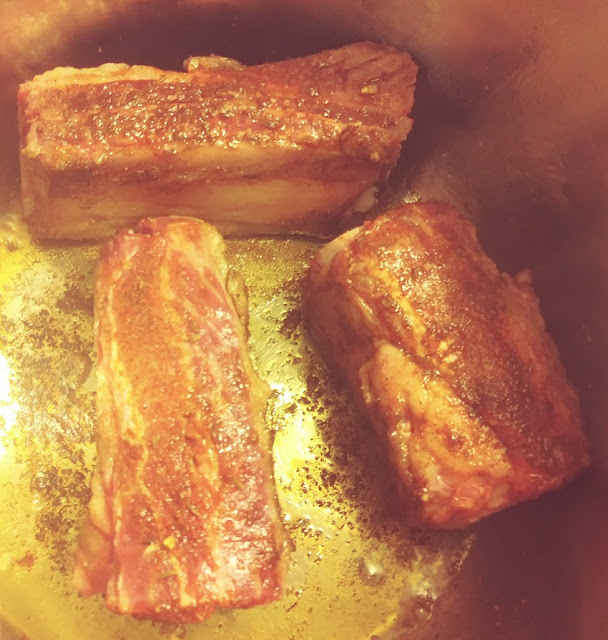
    Browning the short ribs. Add about 2 tablespoons of oil in the bottom of the instant pot. Set it on saute until it reaches hot.

    Set the ribs in, and brown them on all sides, about 3 to 4 minutes per side should do it. Remove them from the instant pot to a plate.

    Instant Pot Beef Ribs Recipe

    Now add a thickly sliced medium onion and one clove of minced garlic into the instant pot. Add 1/2 cup of bourbon or red wine to De-Glaze the bottom of the instant pot.

    You want all of the caramelized bits to blend with the bourbon or wine, use a wooden spoon to do this by gently scraping the bottom.  By the way, we used bourbon.

    Add the short ribs back into the pot. Pour in 1/2 cup of beef broth, add a teaspoon of dried thyme, 2 tablespoons of brown sugar, and 5 cloves of chopped garlic.

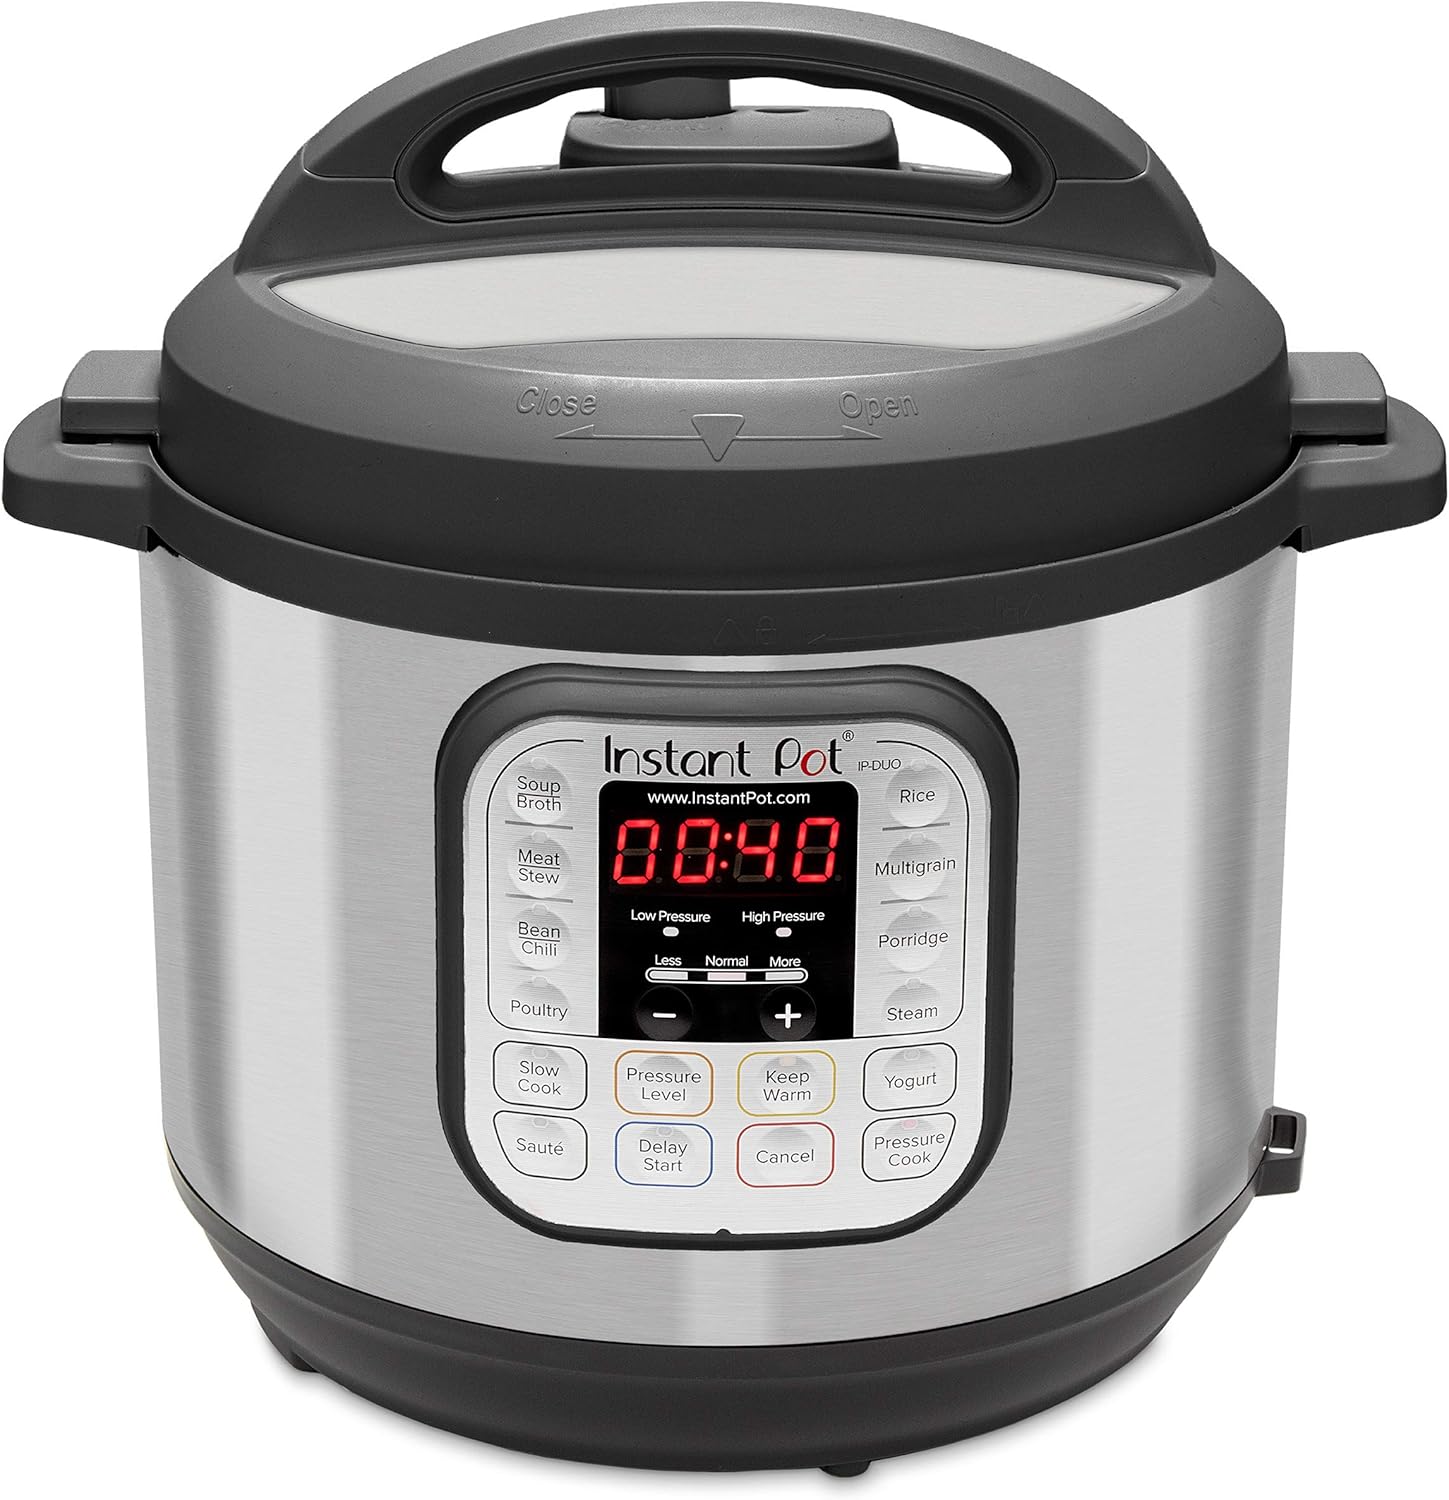
     Set the instant pot to High Pressure for 45 minutes, and let release naturally for 15 minutes.

    This method will produce juicy, tender and fall of the bone beef short ribs. We served ours with mashed potatoes.

    Ingredients:

    4 or 5 bone-in beef short ribs
    6 cloves of Chopped garlic (use one for De-glaze)
    1 medium onion sliced
    1/2 cup of bourbon or red wine
    1/2 cup beef broth
    2 tablespoons brown sugar
    2 tablespoons oil
    1 teaspoon dried thyme

    If you don't use the dry rub that I have above, you can season the short ribs with salt, pepper, paprika, and some cayenne pepper.

    As always thanks for stopping by and I hope you enjoy it.


    “ I earn money from purchases on affiliate links at no additionl cost to you.” Disclosure Statement

    X