Thin crisp Italian pizzelles, just the way that I like them. Growing up I thought that my grandmother invented the pizzelle. Truth be known the pizzelle originated in the Southern Region of Italy many years ago.
These were always on the table for the Christmas and Easter Holidays. And, if you've ever been to an Italian wedding I'm sure you saw these on the cookie table.
There are so many different variations of pizzelles. You can make them, thin and crispy, soft and chewy, and in many different flavors. You can also shape them like a cone, or cannoli, or a bowl and fill them with your favorite filling.
Thin Crisp Italian Pizzelles: My Ingredients
6 large eggs
1 teaspoon Anise extract
4 teaspoons baking powder
2 teaspoons Vanilla
1 teaspoon Lemon extract
3-1/2 cups all-purpose flour
1 cup butter, oil or margarine (melted) (We use butter.)
1-1/2 cups sugar
Directions
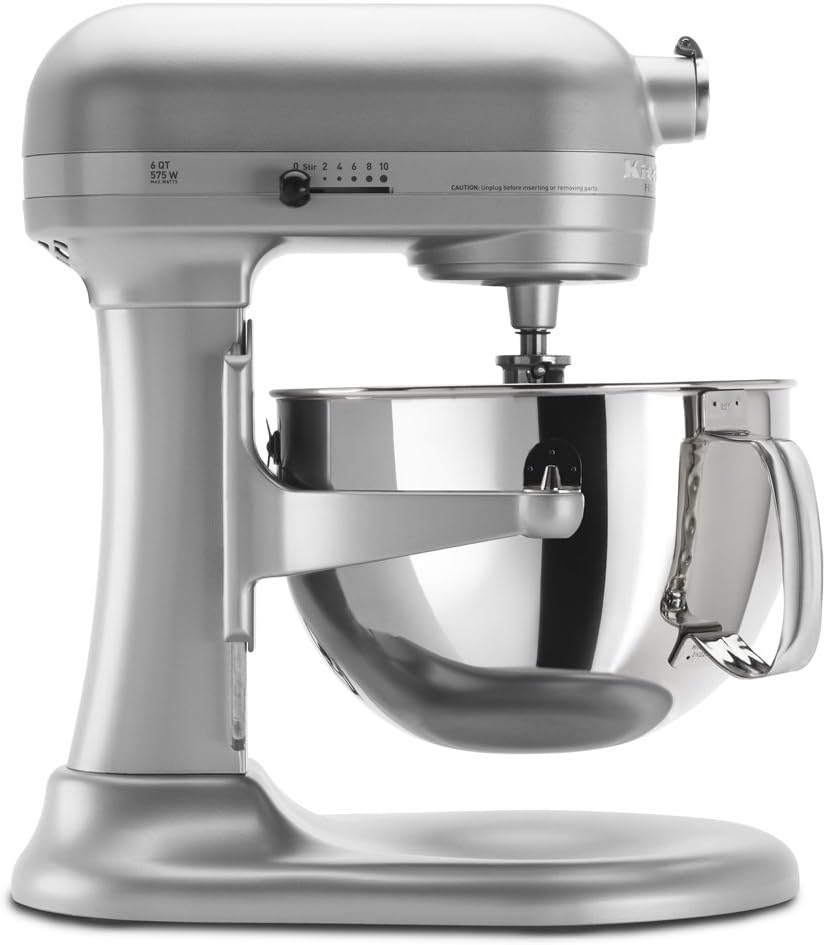
- Beat the eggs and sugar together, we use our KitchenAid Stand Mixer.
- Add the cooled butter, margarine, or oil.
- Now add the vanilla, lemon, and anise.
- Last, add the flour and baking powder to the egg mixture.
- Mix until the batter is stiff enough to be dropped by a spoon.

Here is the batter all ready to go. This recipe will make about 50 to 60 pizzelles depending on how many you eat while you're making them. If you don't want that many just cut the recipe in half. But trust me these won't last long.
Some people don't like the Anise flavoring. So, you can substitute lemon for the Anise, or any other flavor you like. Such as, Almond, Vanilla, Orange, Rum, and the list goes on.

Now, it's time to make the Pizzelles. You'll need a Pizzelle Baker or Iron. Before making your cookies spray the top and bottom of the iron with a non-stick spray, or brush lightly with vegetable oil.
After the iron is heated, drop the batter by tablespoons onto each side. Close and clamp the iron for about 30 seconds or less depending on how you like them, light or darker.
Remove the cookies with a spatula and place them on a flat surface to cool. We store them in an airtight container to keep them nice and crisp.
Pizzelles will last up to 2 weeks stored like this. But, I'm going to bet they are not going to last that long.
Rolled and Filled Pizzelles by Carmie and Jimmy

Carmie and Jimmy are my cousins, they also keep the old family traditions and recipes alive. Here they made one of the variations of pizzelles.
In their recipe, they used grated orange rind, orange juice, and vanilla as the flavoring. Carmie and Jimmy went one step further by rolling and filling the pizzelles.
Talk about a sweet treat. Don't those look mouth-watering? I assure you these too will not last long. You're family and friends will think you are a pastry chef.

Carmie's Sweet Filling Ingredients
1 cup Crisco
2 cups of sugar
1-1/2 cups of warm water
1 cup butter softened
1 teaspoon of vanilla
Directions
- Beat together the Crisco and butter, add the sugar a little at a time, continue beating until dissolved.
- Add in the vanilla and continue mixing.
- Add the warm water 1/4 cup at a time (make sure water is really warm)
- Continue mixing until really smooth
- Use a pastry bag to fill the rolled pizzelles.
Thank you Carmie and Jimmy for the recipe and pictures of your rolled and filled pizzelles.
As always thanks for stopping by and I hope you enjoy it.
I would like the hear if you have any different variations of Pizzelles, please let me know in the comment section.
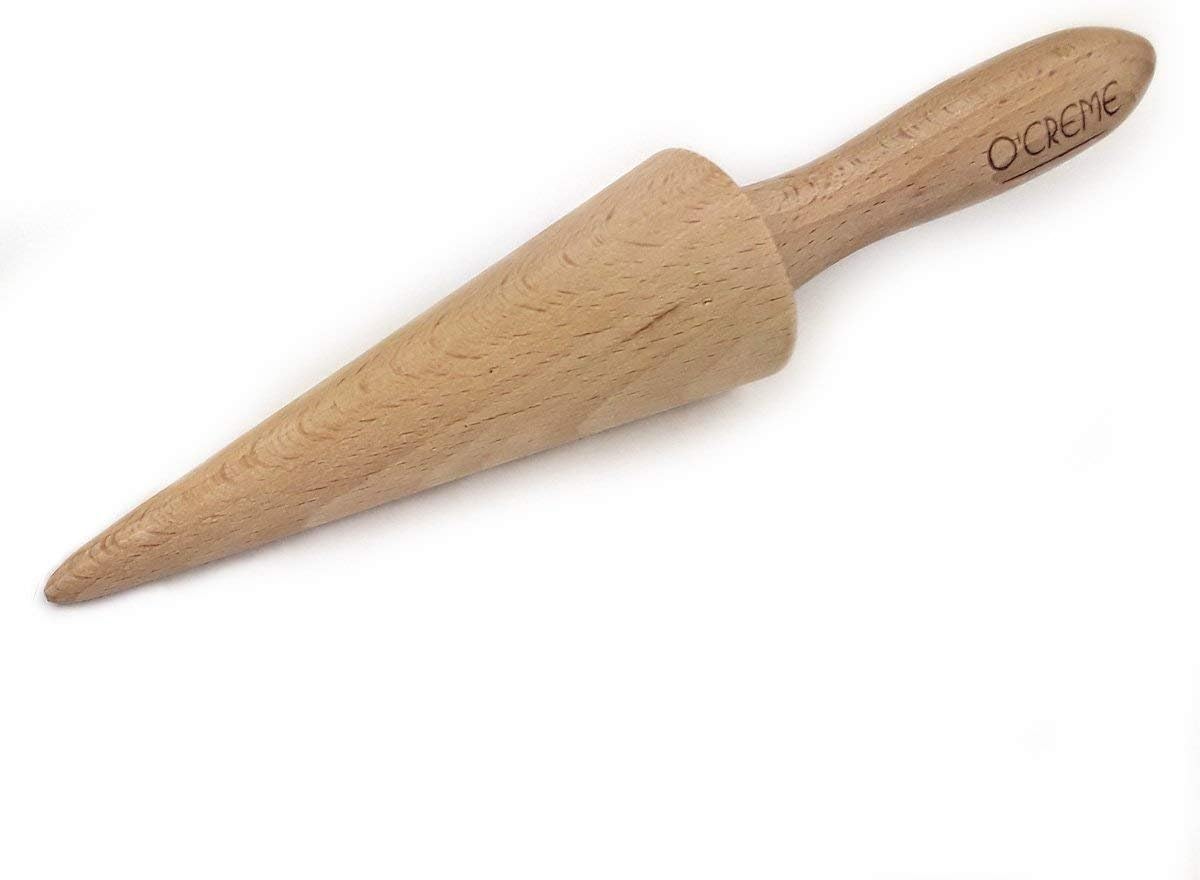
O'Creme Pizzelle Roller/Krumkake Cone/Ice Cream Cone Mold, Beechwood V3600 PREGO Pizzelle BakerKitchenAid KP26M1XNP 6 Qt. Professional 600 Series Bowl-Lift Stand Mixer - Nickel Pearl
 V3600 PREGO Pizzelle Baker
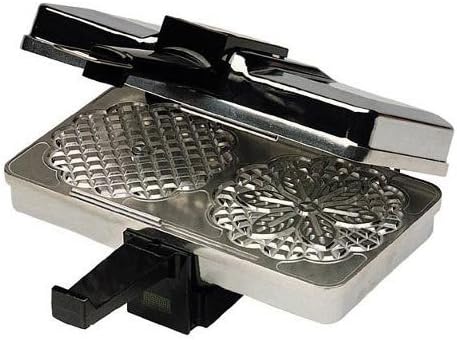 KitchenAid KP26M1XNP 6 Qt. Professional 600 Series Bowl-Lift Stand Mixer - Nickel Pearl