Smoked Bone in Chicken Breasts

Smoked Bone in Chicken Breasts

When it comes to chicken you mostly see skinless, boneless chicken breasts in the grocery stores. Since I got a new Char-Griller offset Smoker for Father's day. I've been grilling and smoking a few different things. I wanted to try some Smoked bone-in chicken breasts.

Fran picked up two nice size bone-in chicken breasts so I could try my hand at smoking them. Wow!! I'm so glad we did. This was the juiciest chicken we have ever made.

The first thing we did was marinate the chicken in Italian salad dressing for a couple hours in the refrigerator.

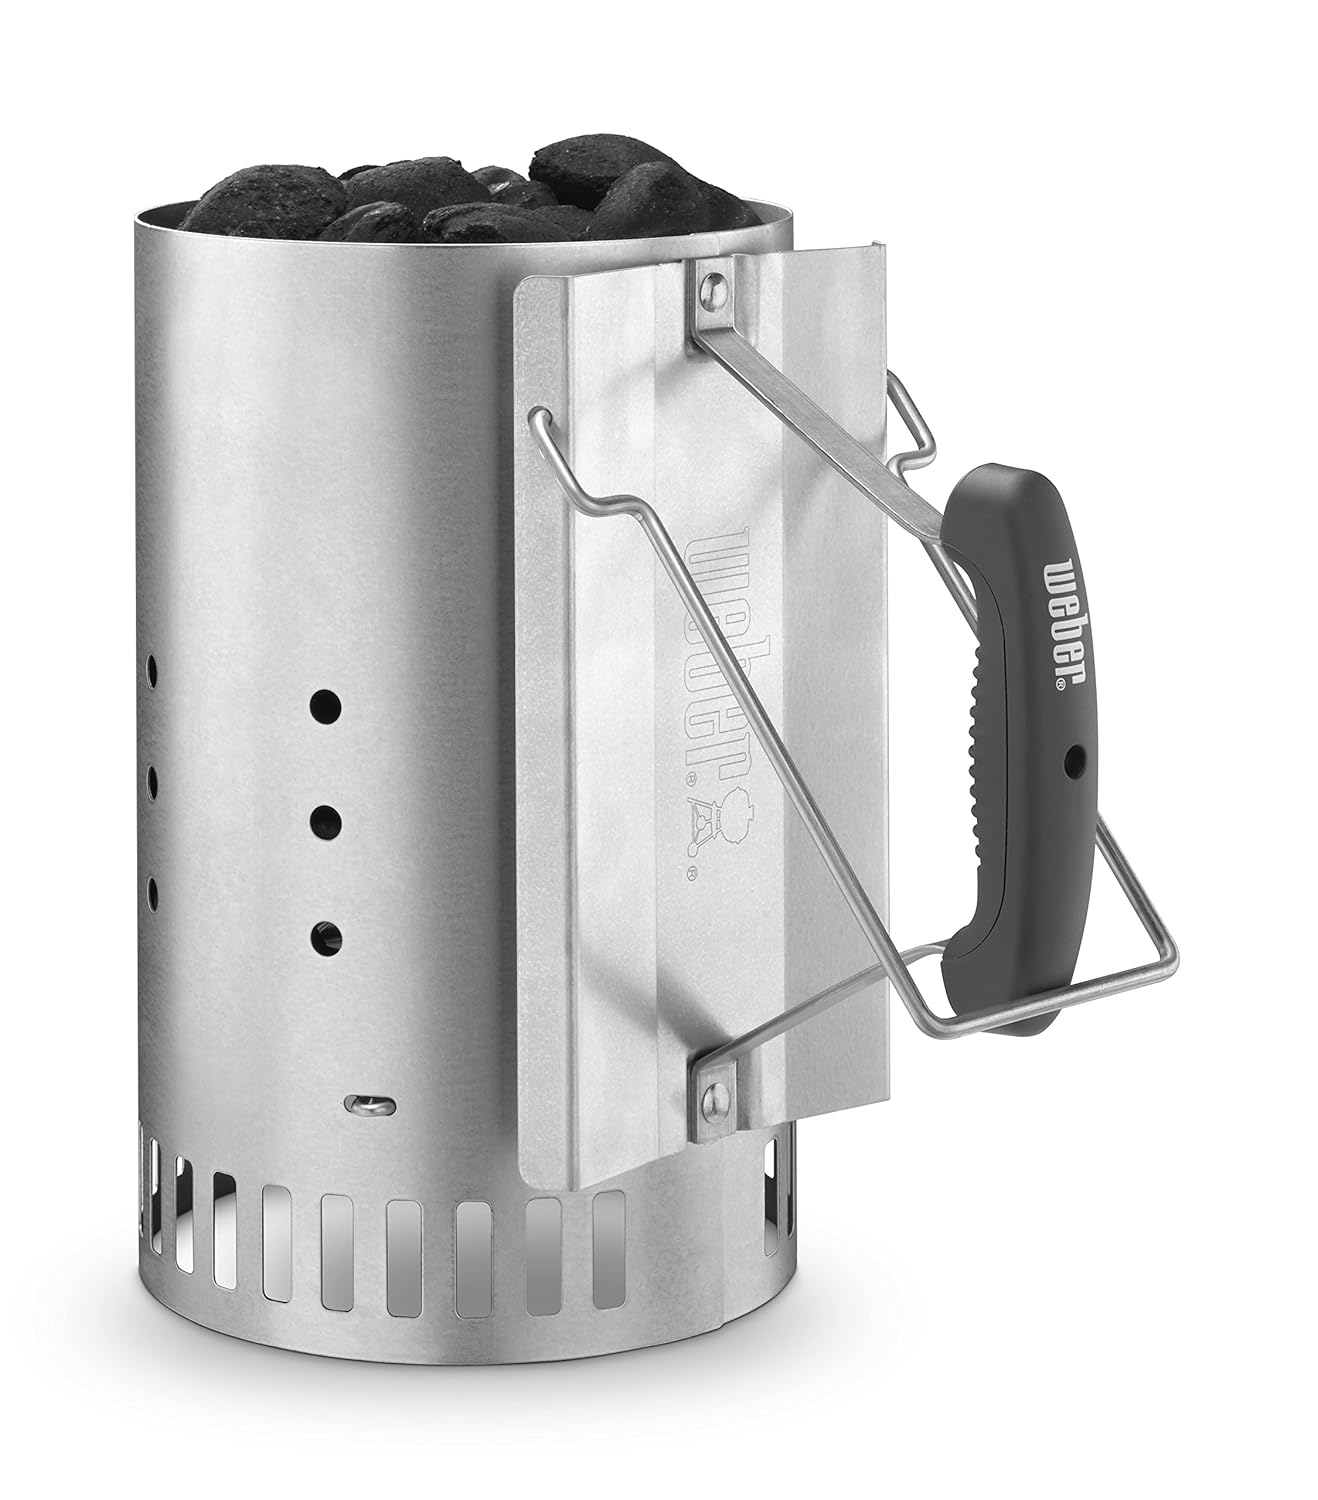
I fired up the charcoal for the fuel in my Weber Charcoal Chimney. Then put it the smoker chamber of the grill. While I waited to get the temperature up to 230 degrees, I prepared the chicken with Penzeys Galena Street Rib and Chicken Rub.

I placed the chicken breasts in the smoker bone side down for 15 minutes. Then added some applewood chunks, this brought the temperature up to between 250 to 300 degrees. I smoked them for another 30 minutes and checked the internal temperature of the meat. I was looking for 165 degrees in the meat.

I wasn't quite there yet so I turned the chicken over, added some more applewood chunks and smoked for another 20 minutes. After 20 minutes the internal temperature reached 165 degrees. I removed them to rest for 5 minutes.

Smoked Bone-in Chicken Breasts:

2 large bone-in chicken breasts
1 cup Italian salad dressing (For Marinating only)
4 tablespoons of your favorite rub (I rubbed both sides of the chicken breasts)

You can archive the same juicy chicken in your oven. Bake at 350 degrees for 40 to 45 minutes or until you reach 165 degrees internal temperature of the meat. You just won't have the smoked flavor by doing it in the oven.

As always thanks for stopping by and I hope you enjoy.


Instant Pot Corn on the Cob

Instant Pot Corn on the Cob

It is certainly corn on the cob season. We just love local fresh corn on the cob. This Instant Pot Corn on the Cob is just so easy to make.

There is no need to boil a huge pot of water and wait. Then boil it for 7 to 10 minutes. This Instant pot method is really easy. But you'll need an Instant Pot to do it.

We will never boil water again to make our corn on the cob. This is so tasty, your whole family is going to love it.

Instant Pot Corn on the Cob:

This is all you have to do if you have an Instant Pot:
  1. Remove the husks and silk. from the corn
  2. Place your vegetable steamer tray in the bottom of the pot.
  3. Add 2 cups of water
  4. Add 2 tablespoons of butter.
  5. Place as much corn in as you can fit in the pot.
  6. Set the pot to 3 minutes and press the steam button.
  7. Release the Steam when the cycle is complete, and that's it.
Enjoy your hot buttery corn on the cob.


You might also like our Camp Fire Corn on the Cob

As always thanks for stopping by and I hope you enjoy


Slow Smoke Pork Ribs

Slow Smoke Pork Ribs

We had a house full of family and friends for the 4th of July week. This gave me the perfect opportunity to try out my new Char-Griller Offset Smoker. These Slow Smoke Pork Ribs were a perfect fit for the weekend.

My new grill is a combination of charcoal grill and smoker. On the 4th of July, we grilled two of our favorites. Grilled leg of lamb and Rosemary Ranch Chicken.

You'll find both of these delicious recipes below

On Saturday we made these slow-smoked pork ribs for the crowd. We picked out two racks of nice side spare ribs. We then removed the silver skin from the backside of the ribs. Bobby and I seasoned the ribs with a combination of Penzeys Galena Street Rib & Chicken Rub and Carolina Seasoning Rub Some Butt.

Slow Smoked Pork Ribs
 We then put them in the refrigerator for about 2 hours.

We fired up the smoker using charcoal as the fuel and Hickory wood chunks for the smoke. We inserted the meat probes from our ThermoPro TP20 into the meaty part of the ribs and set it for 190 degrees internal temperature.  

We sprayed the ribs with apple juice every hour and brushed on barbecue sauce twice in the last hour of smoking.

After 5 hours of maintaining our smoker temperature of between 225 to 260 degrees, we reached our ribs internal temperature of 190 degrees. 

These Slow Smoke Pork Ribs were a real crowd-pleaser. They were seasoned just right and had a nice Hickory smoked flavor.

This is my first smoke in my new offset smoker. I would not succeded if not for David Farrell and his book The Old Fat Guy's Guide to Smoking Meat For Beginners. I have been following David's blog oldfatguy.ca for some time now. He has been a true inspiration to me to getting started on smoking foods. I followed David's method for these ribs outlined in his blog and his book and I succeded. 

If you're a beginner or have been smoking meats for a while this book is for you.
This book is packed with information from David's years of experience.

The Old Fat Guy's Guide to Smoking Meat for BeginnersThe Old Fat Guy's Guide to Smoking Meat for BeginnersThe Old Fat Guy's Guide to Smoking Meat for Beginners


As always thanks for stopping by and I hope you enjoy

Delicious Crab Cakes Recipe

Delicious Crab Cakes Recipe

Whenever you're in the mood for some tasty seafood, this delicious crab cakes recipe is what you'll want to have on hand.

We have to credit our grandson Bobby for this one. Bobby experimented with several different recipes. Then, he added his own spices until he was satisfied with the texture and taste that he wanted in these delicious crab cakes.

These crab cakes are full of flavor and can be served as a snack, appetizer or even a main dish. Did I mention that they are really easy to make? This recipe will make about 8 to10 crab cakes.

Delicious Crab Cake Recipe 

Ingredients

2 cloves garlic minced
1 shallot minced
2 tablespoons Old Bay Seasoning
2 tablespoons butter
32 oz. lump crab meat
3 tablespoons fresh chives chopped
1/2 teaspoon Tabasco Sauce
6 tablespoons Mayonnaise
Zest from 1-1/2 lemons

Needed for Cooking

2 oz. olive oil
3 large eggs
9 tablespoons Panko Bread Crumbs
salt and pepper to taste

Directions

  1. In a saute pan over medium heat sweat the garlic and shallots together with butter until the garlic is fragrant and the shallots are tender.
  2. Remove the pan from the heat and allow to cool.
  3. In a large mixing bowl add the crab meat, garlic, and shallots, and then add the remaining ingredients. Mix until all ingredients are combined.
  4. Season to taste and form 3 oz. patties.
  5. In a separate bowl add the bread crumbs. In another bowl whisk together the eggs. 
  6. Add the olive oil to a saute pan and heat over medium heat.
  7. Dip the crab cakes in the egg mixture and the coat with the bread crumbs.
  8. Cook over medium heat until crab cakes are golden brown on both sides.

Delicious Crab Cake Recipe

Mix all ingredients together in a large mixing bowl. Then form 3 oz. patties.


Dip the crab cakes in the egg mixture and then coat with the bread crumbs.

Crab Cakes Recipe

Cook on both sides until the crab cakes are golden brown. Then serve and enjoy.

While Bobby cooked the crab cakes, I whipped up a quick dipping sauce. Following is what I used:

3/4 cup Mayonnaise
2 tablespoons fresh chopped chives
2 teaspoons fresh lemon
3 teaspoons chipotle chili powder
3 teaspoons Dijon Mustard

Mix all of these together in a small mixing bowl until combined and you have a nice creamy dipping sauce. 

As always thanks for stopping by and I hope you enjoy


Broiled Walleye Fillets

Broiled Walleye Fillets

It's that time of year again. My good friend George is out on Lake Chautauqua in Western New York fishing for walleye. It's February but that doesn't stop George he's out there on the ice fishing away.

And, that's always good for me because George always shares his good fortune of fishing with me. Just the other day he gave me these fresh walleye fillets.

The last time I beer battered and fried the walleye fillets. This time I decided to broil them. And, oh my gosh were they delicious.

Broiled Walleye Fillets:

First I lined a cookie sheet with tin foil and sprayed it with Pam Non-Stick Spray.  Next, I placed the fresh walleye on the cookie sheet and brushed with melted butter.

I seasoned the fillets with the following Penzeys Spices:

2 tablespoons Italian Herb Mix
2 tablespoons Roasted Garlic
2 tablespoons Chesapeake Bay Seafood Seasoning
2 tablespoons Smoked Paprika
1 tablespoon Cajun Seasoning
1/2 tablespoon Salt and Pepper

I had four nice walleye fillets the amounts are approximately what I used. I just seasoned to my liking.

I placed the cookie sheet on the highest rack in the oven, about 6 inches away from the burner. Set the oven to broil. I broiled the fillets about 7 minutes per side. Until they flacked apart with a fork.

I squeezed the juice of one whole lemon over the broiled walleye as soon as they came out of the broiler and served.

As always thanks for stopping by and I hope you enjoy!


We always keep Penzeys Seasonings on hand. We love the fresh flavor of each and every one of them. 

Bacon Egg Cheese Breakfast Pizza Recipe

Bacon Egg Cheese Breakfast Pizza Recipe

Who likes pizza for breakfast? Well, how about trying this bacon egg cheese breakfast pizza recipe. I love making all kinds of different pizzas. I've never made my own breakfast pizza before, until now.

Like all pizza, this one is so versatile. You choose and add your own favorite toppings. I choose bacon, egg, and cheese with some fresh green bell peppers.

Quick Pizza Dough Recipe

First I made some quick pizza dough. I greased my 11-inch x 17-inch pizza pan and spread the dough using my handy Norpro Pizza and Pastry Dough Roller.

Scrambled Eggs for Breakfast Pizza

I set the pizza pan aside and then got to work on the preparing the eggs. I whisked together 9 large eggs with 1/2 cup of milk. I added the eggs to my 12-inch skillet and partially scrambled them over medium heat. I also added one slice of sharp cheddar cheese to the eggs while they were cooking for some added flavor. I didn't scramble the eggs completely because they were going into the oven later.

Easy Breakfast Pizza Recipe

 I spread the partially cooked eggs onto the dough and spread them as evenly as I could. If your using a smaller pan I think 6 eggs would be enough.

Bacon Egg and Cheese Breakfast Pizza

Next, I added the bacon bits, fresh green bell pepper, and shredded cheddar cheese. Now this delicious breakfast was ready for the oven.

Bacon Egg Cheese Breakfast Pizza Recipe:

For the Dough:

4 cups all-purpose flour
1 package instant Rapid Rise Yeast
1-1/4 cup warm water
2 tablespoons oil
1 teaspoon salt (optional)

Directions:
  1. In a large bowl add the flour, yeast, and salt.
  2. Then add the water and oil,  mix until dough forms. I use my KitchenAid Stand Mixer for this.
  3. If the dough is too sticky add a little more flour. If the dough is too dry add a little more water.
  4. Set the dough aside for about 20 minutes. That's all you need because of the Rapid Rise yeast.
For the Topping:

9 large eggs
1/2 cup milk
1 slice sharp cheddar cheese (Broken into pieces)
1/2 green bell pepper Chopped
1-1/2 cup shredded cheddar cheese
6 oz. package Hormel Bacon Bits
Salt and Pepper to taste

Directions:
  1. Beat the eggs together with the milk and partially scramble over medium heat.
  2. Spread the eggs over the dough evenly.
  3. Add the remaining toppings onto the eggs.
  4. Bake at 450 degrees on center rack for 15 minutes.
As always thanks for stopping by and I hope you enjoy!

You might like to try some of my other pizza recipes

Cast Iron Skillet Pork Chops

Cast Iron Skillet Pork Chops

It's winter here in Western New York, and there is nothing better to get you through those cold days than some good fashioned comfort food. I decided to make some cast iron skillet pork chops.

This is another quick and easy meal to put on the table after a long day at work. Fran picked up some thin cut bone-in pork chops at the grocery store the other day. I had everything else that I needed to make these cast iron skillet pork chops.

Stove top pork chops

First I minced a clove of garlic and chopped a medium onion. Heated 2 tablespoons of olive oil in my cast iron skillet. Then I cooked the garlic, and onions with 2 cups of fresh sliced mushrooms until they were tender. About 5 to 7 minutes over medium heat.

I removed this from the pan into another bowl. I added the four pork chops and browned them on both sides. Seasoned with salt and pepper. About 5 minutes per side.

Cast Iron Skillet Pork Chop Recipe

After the pork chops were browned, I returned the mushroom mixture back into the skillet. Then added a 12oz. jar of Heinz Pork Gravy. I covered the skillet and let it cook for 20 minutes over medium heat.

Cast Iron Skillet Pork Chops:

Ingredients

4 Thin cut bone-in pork chops
1 clove garlic minced
1 medium onion chopped
2 cups fresh sliced mushrooms
1- 12oz jar pork gravy
2 tablespoons olive oil
Salt and pepper

Directions
  1. Heat the oil in the cast iron skillet and cook the mushrooms, garlic, and onions over medium heat until tender.
  2. Remove from the skillet and set aside.
  3. Brown the pork chops on both sides seasoned with salt and pepper. About 5 minutes per side.
  4. Return the mushroom mixture, pour in the gravy, cover and cook over medium heat for 20 minutes.
That's all there is to it. In about 40 minutes you'll have this delicious comfort food on the table and your family is going to love it. Serve with your favorite vegetable or baked potato. We had baked sweet potatoes as our side dish.

Note: I used thin cut pork chops. If you use a thicker cut of chops you may want to cook for more than 20 minutes. The guideline internal temperature for pork is 145 degrees with 3 minutes of rest time.  

As always thanks for stopping by and I hope you enjoy!

Chocolate Peanut Butter Peanut Clusters

Chocolate Peanut Butter Peanut Clusters

This simple recipe for these chocolate peanut butter peanut clusters was given to us by a good friend years ago.

We normally make these every Holiday season. This year we just ran out of time and never got around to making these.

That means that I had all of the ingredients in the house and ready to go. The AFC playoff game this Sunday was so one-sided, that I decided to gather everything and check these off my list for some sweet treats.

These little treats are just so easy to make. And, what a great idea to make them and keep some in the freezer for that chocolate and peanut craving.

Chocolate Clusters

Here are the simple ingredients I used. Reese's Peanut Butter Chips, Semi-Sweet Chocolate Chips, and Salted Peanuts.

Chocolate Peanut Butter Clusters

After melting Reese's Peanut Butter Chips and the Chocolate Chips together, I stirred in the peanuts and dropped them onto a cookie sheet lined with parchment paper.

Chocolate Peanut Butter Peanut Clusters

Ingredients:

1- 10oz. bag Reese's Peanut Butter Chips
1 cup semi-sweet chocolate chips
1-1/2 cups salted peanuts

Directions:

  1. In a microwave-safe bowl or double boiler melt the peanut butter chips and chocolate chips. (I used my double boiler on the stovetop)
  2. Stir the chocolate continuously until all is melted and smooth.
  3. Add the peanuts, stir, and mix well.
  4. Drop onto a cookie sheet lined with parchment paper using a tablespoon.
  5. Let them set up for a few minutes and place them in the freezer for about 10 minutes. 
 I yielded 24 of these little treats but, I used heaping tablespoons. I could have had 30 or more if I used just a little less.

As always thanks for stopping by and I hope you enjoy!

Farberware Classic Stainless Series 2-Quart Covered Double BoilerFarberware Classic Stainless Series 2-Quart Covered Double BoilerFarberware Classic Stainless Series 2-Quart Covered Double Boiler


Instant Pot Easy Chicken Noodle Soup

Instant Pot Easy Chicken Noodle Soup

This instant pot easy chicken noodle soup will surely warm you up on those cold winter days. We are just loving our new Instant Pot. Fran had this soup ready in less than an hour.

We enjoyed this hearty soup just before we left the house to watch our local hockey team play. Sadly we lost the game in overtime. But, at least we had this delicious chicken noodle soup before the game. It was the perfect meal before going to the ice arena.

Instant Pot Easy Chicken Noodle Soup

Ingredients:

2 tablespoons olive oil
1 medium onion Chopped
4 carrots cut into round pieces
3 stalks celery chopped
1 clove garlic minced or 1 teaspoon garlic powder
1 teaspoon salt
1/2 teaspoon black pepper
2 large chicken breasts (We used bone-in, but you can use boneless)
32 oz. chicken broth
4 cups water
1 package wide egg noodles

Directions:
  1. Press the saute' button and let the Instant Pot heat up for a couple of minutes.
  2. Add the oil, onion, carrots, celery, garlic, salt, and pepper.
  3. Stir and cook about 5 minutes to allow them to get tender.
  4. Add the chicken breasts (we removed the skin), Chicken broth, and water.
  5. Set and lock the instant pot lid and make sure the vent button is closed.
  6. Press the Soup/Broth button and set the time for 30 minutes.
  7. After the cycle, open the vent to release the pressure, wait a couple of minutes before unlocking the lid.
  8. Remove the chicken breasts with a pair of tongs and let cool a few minutes.
  9. Press the Saute' button and bring the soup to a boil. While your waiting you can shred the chicken breasts.
  10. When the soup comes to a boil add the noodles. Cook the noodles to your liking then add the shredded chicken and stir in until all is mixed well.
Now you can serve and enjoy this hearty chicken noodle soup. Ready in less than one hour and oh so delicious.

“ I earn money from purchases on affiliate links at no additionl cost to you.” Disclosure Statement