I would like to talk about Gift Baskets; my daughter recently went to a local school play at Southwestern Central in Western New York.
She won this beautiful gift basket, and when I saw it I just knew that had to write about it. On the tag, they call this a Cupcake basket, but I call it A Bakers Basket. I don’t know who made this basket because I would love to give them credit. This is just such a unique gift basket.
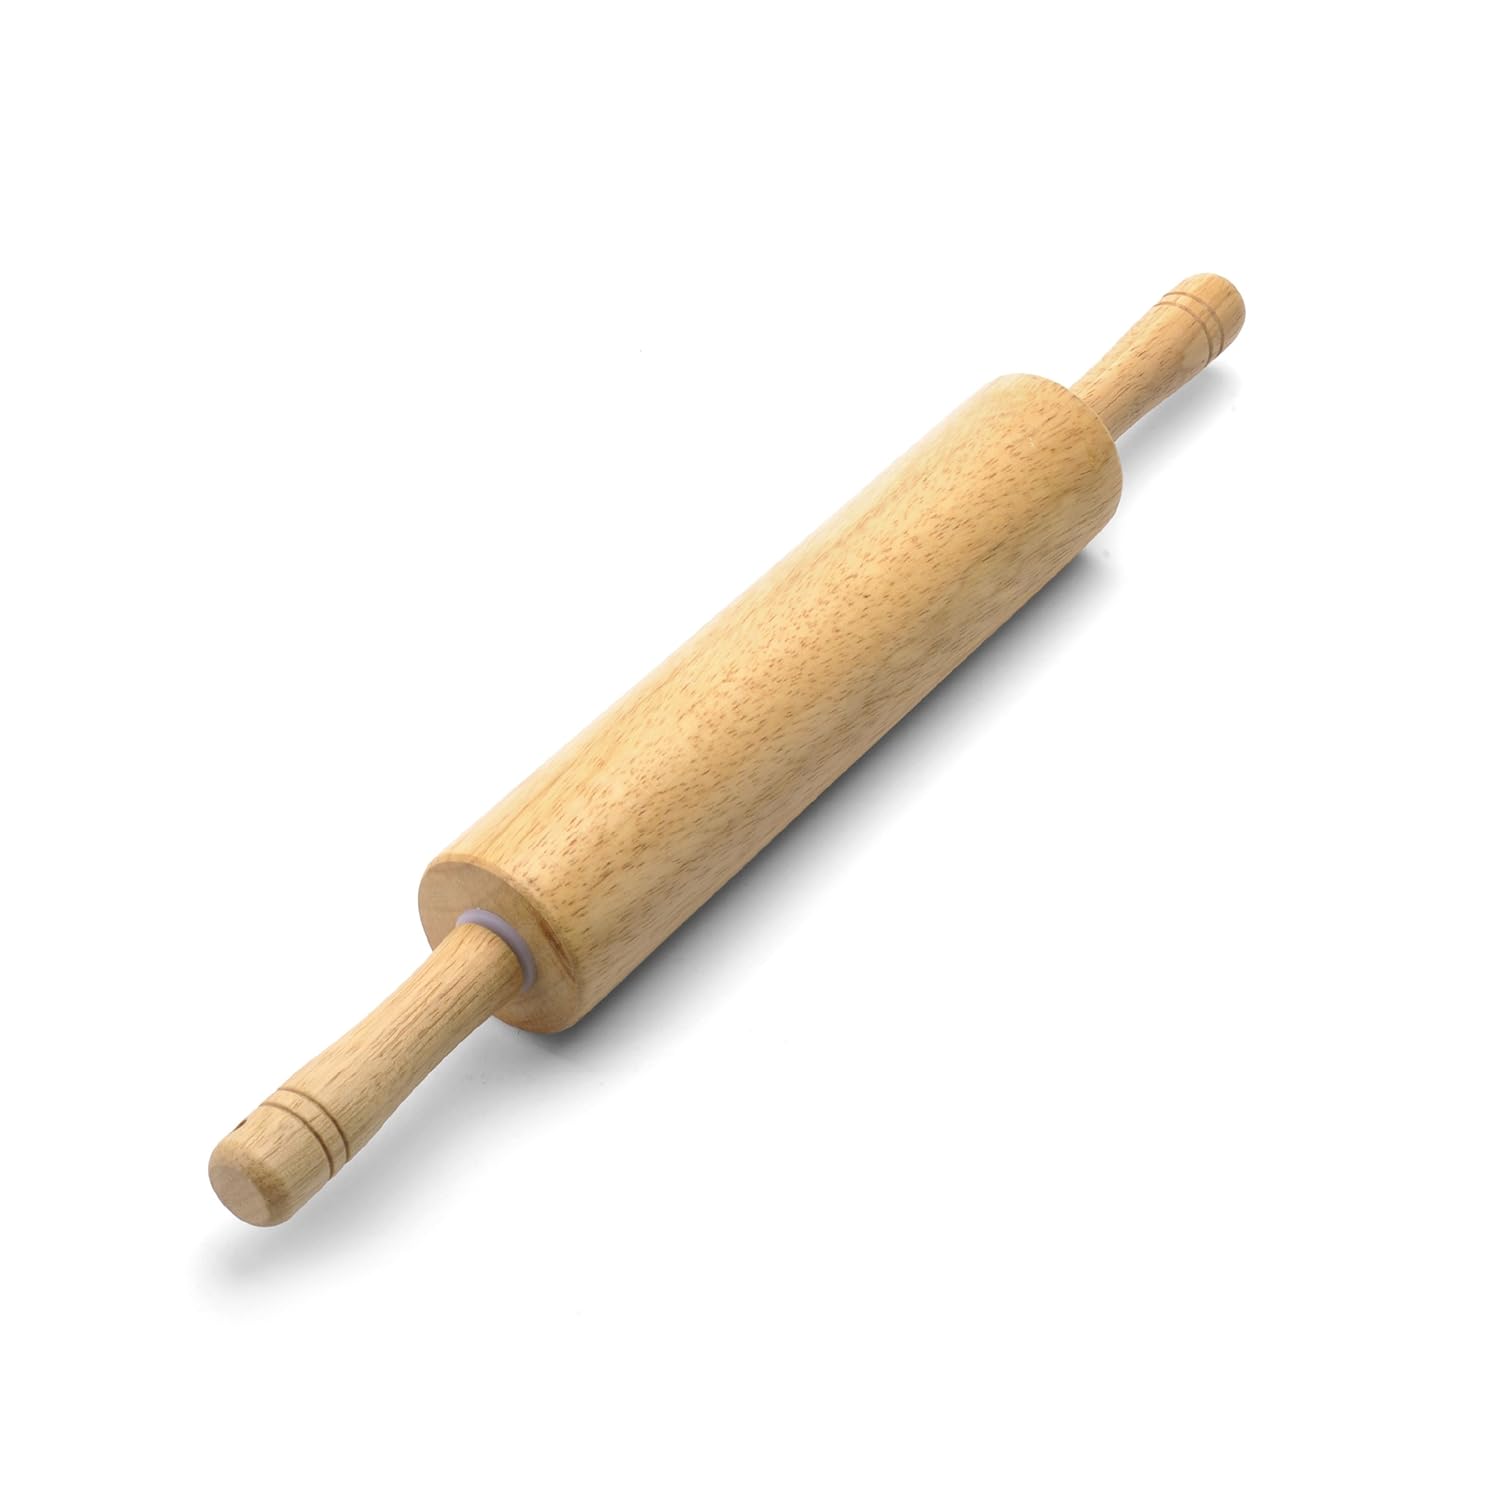
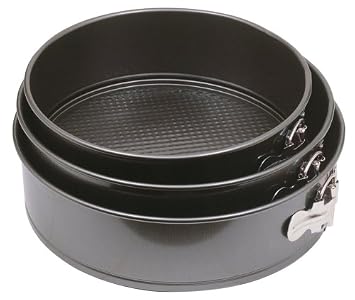
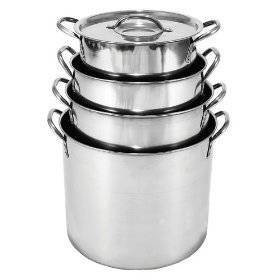
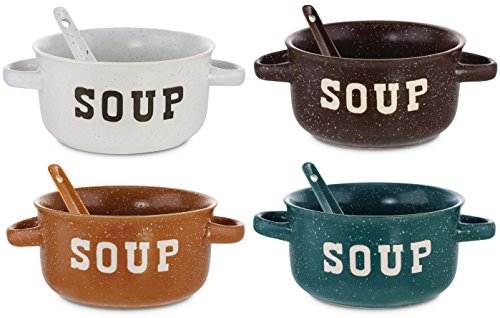
I have a passion for gift baskets, as I made and sold them when I was out of work. I thought what a great idea if you have somebody in your family or a good friend that just loves to bake.
Gift Baskets are so versatile, and really not difficult to make at all, you can create a themed basket for any occasion. All you need to do is buy the products and supplies and you’ll be off and be creating a wonderful gift.

This is the tag that was on the outside of this beautiful gift basket listing all of the contents.
If you're not sure of how to make a gift basket the following video will help you get started. Making gift baskets is creative, fun and not hard to do at all.
So what are you waiting for? Be creative, have some fun, and make somebody happy with your beautiful creation.
As always Thanks so much for stopping by
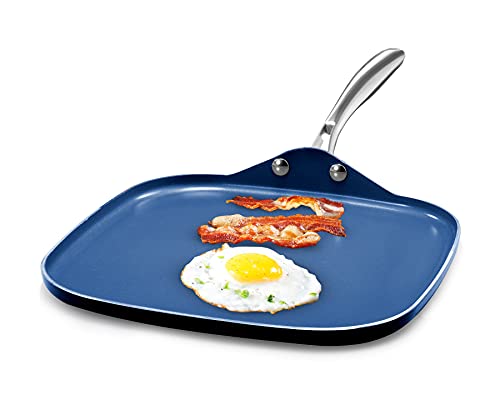
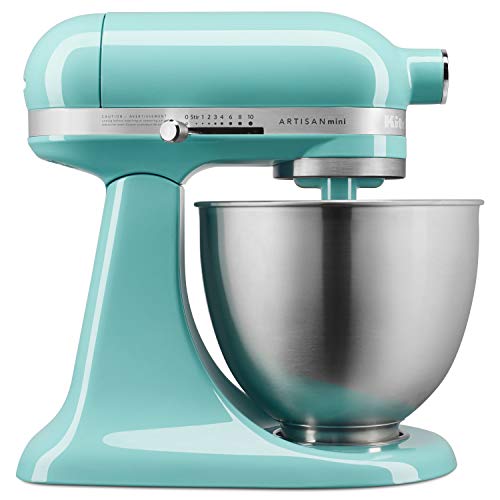
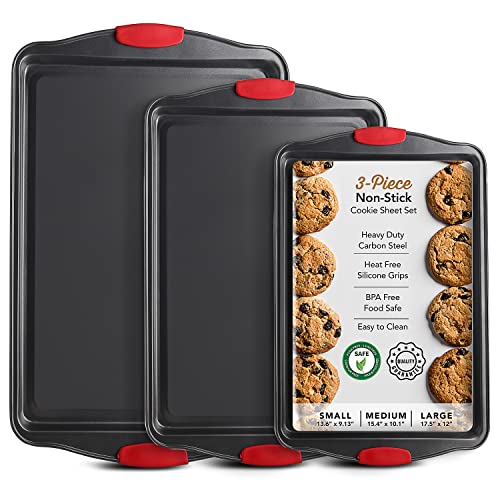
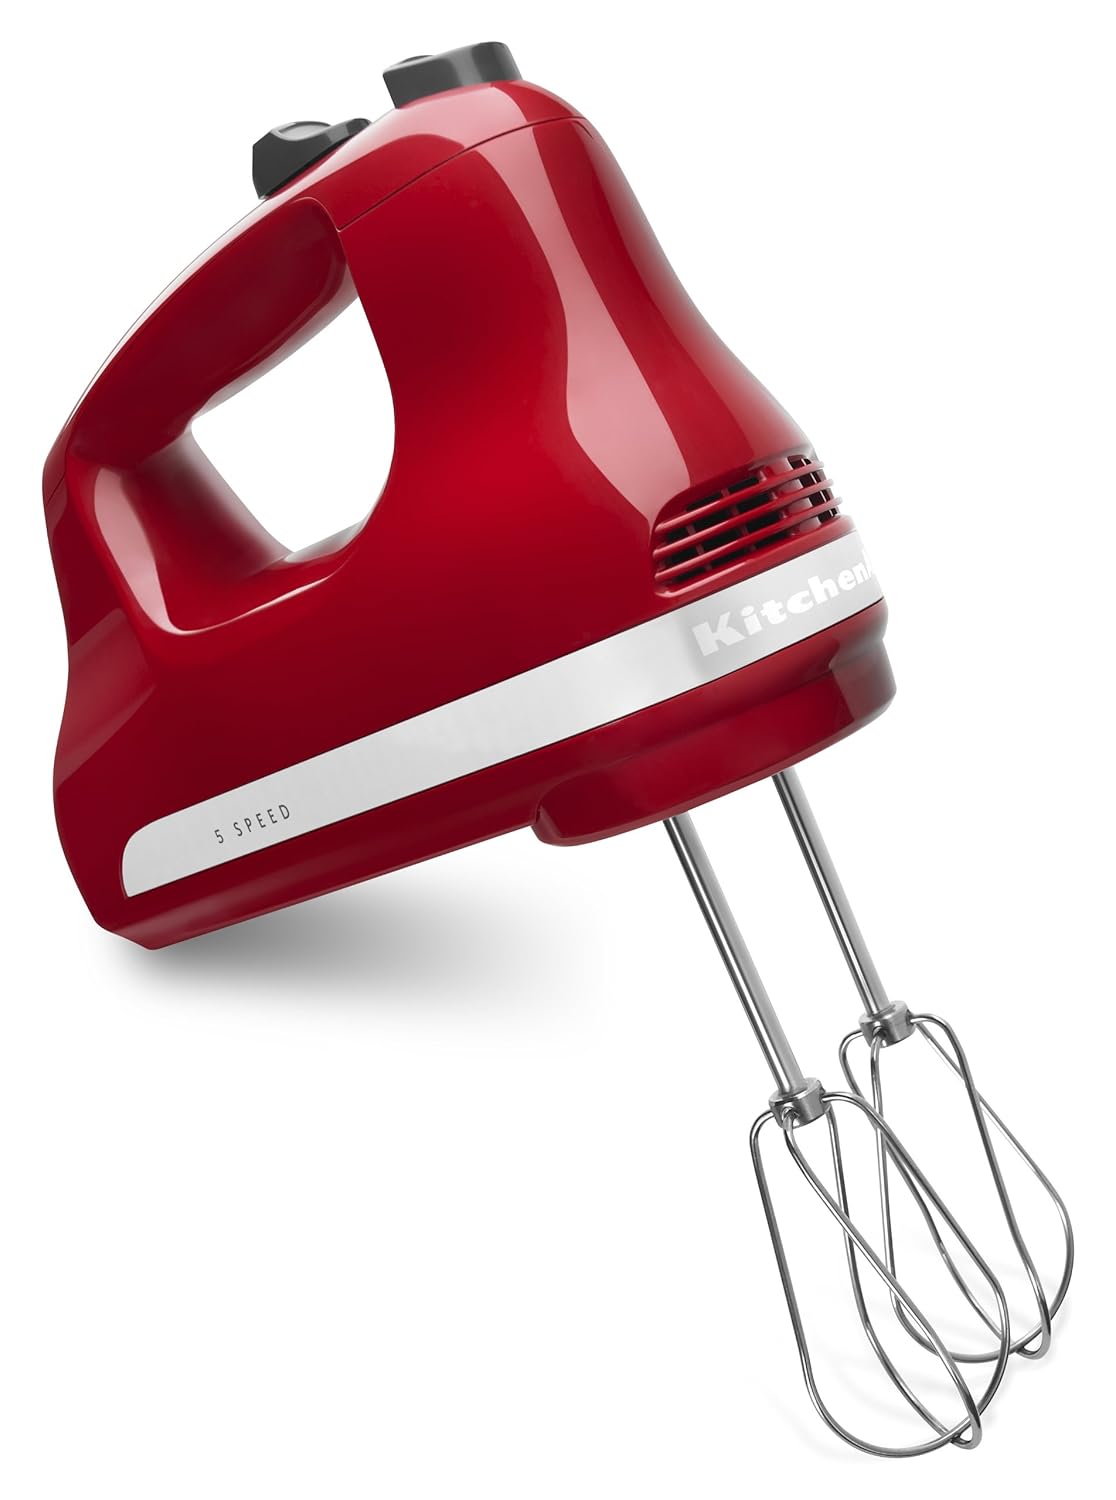
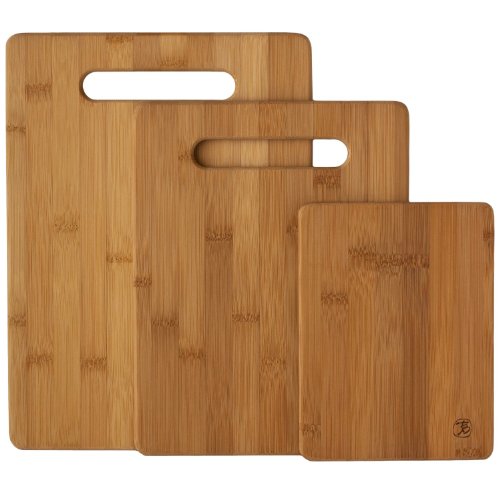
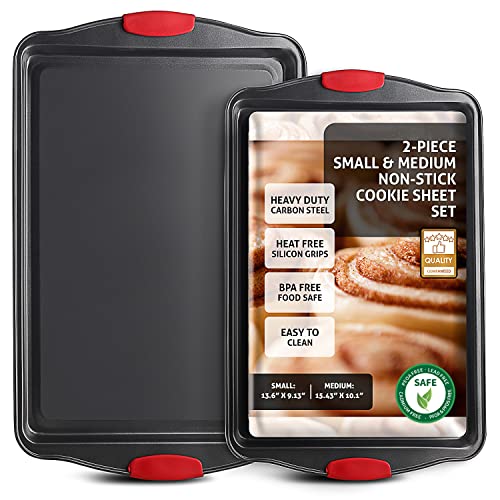
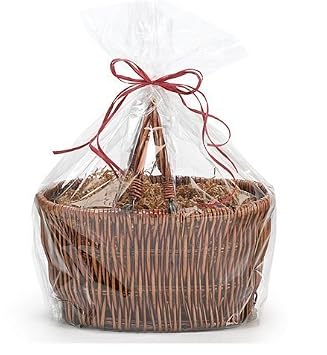
So many options for gift basket supplies. Here are just a few.
&
CakeSupplyShop Bundleofbeauty Extra Large Cellophane Bags Gift Basket - 30 Mighty Gadget (R) 1 LB White Crinkle Cut Paper Shred10 x 7 x 2 1/5 Bamboo Gift BasketSet of 8 Elegant Pull Bows with 35" Long RibboneZthings Decorative Designer Fabric Ribbons for Home Craft Projects andCraft and Party Super Clear Cellophane Wrap Roll (40" XPatterned Specialty & Event Boxes - Chevron Chic Gift BasketSet of (3) Elegant Shrink Wrap 24" X 30" (Clear)
 Mighty Gadget (R) 1 LB White Crinkle Cut Paper Shred
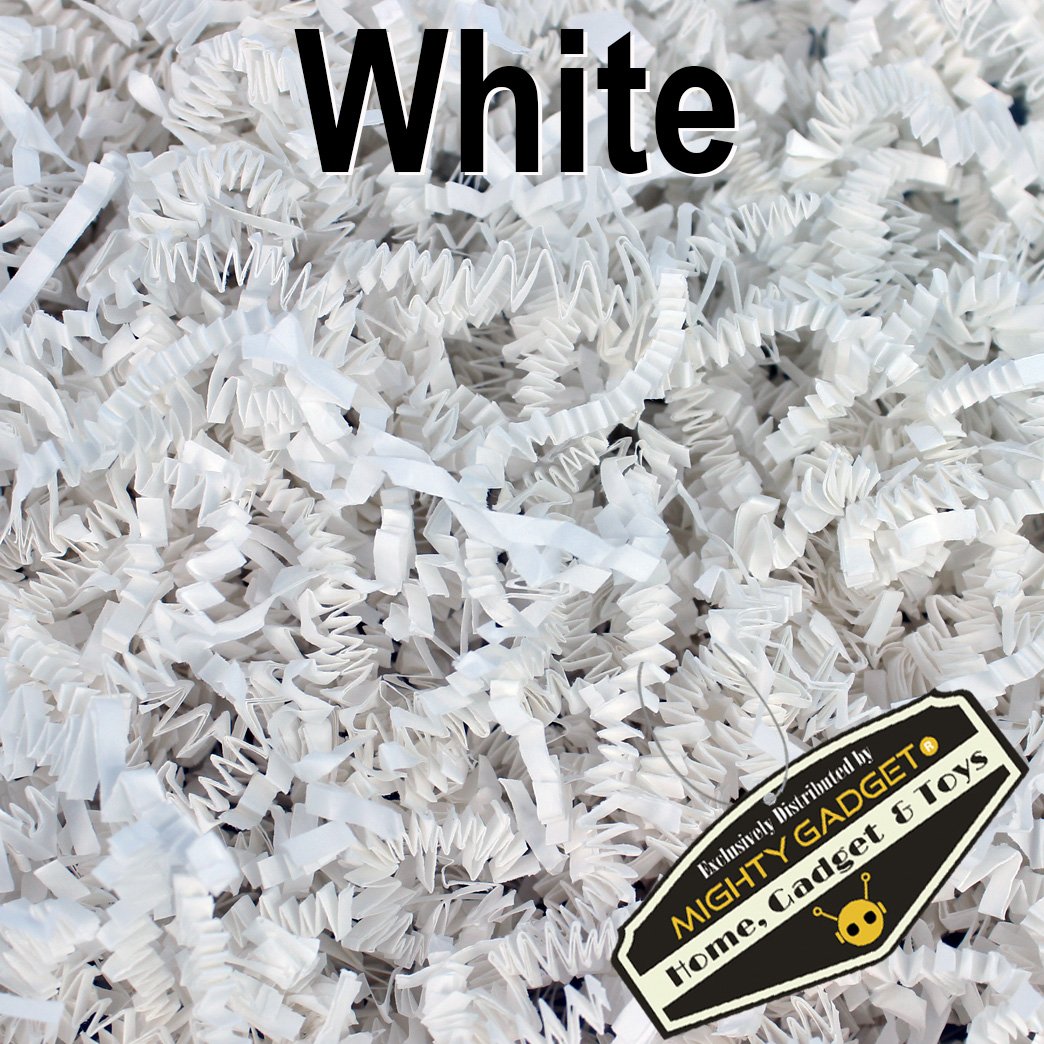 10 x 7 x 2 1/5 Bamboo Gift Basket
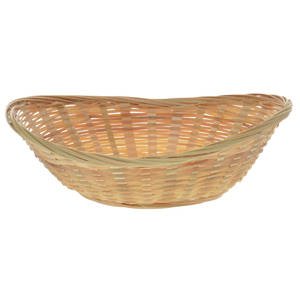 Set of 8 Elegant Pull Bows with 35" Long Ribbon
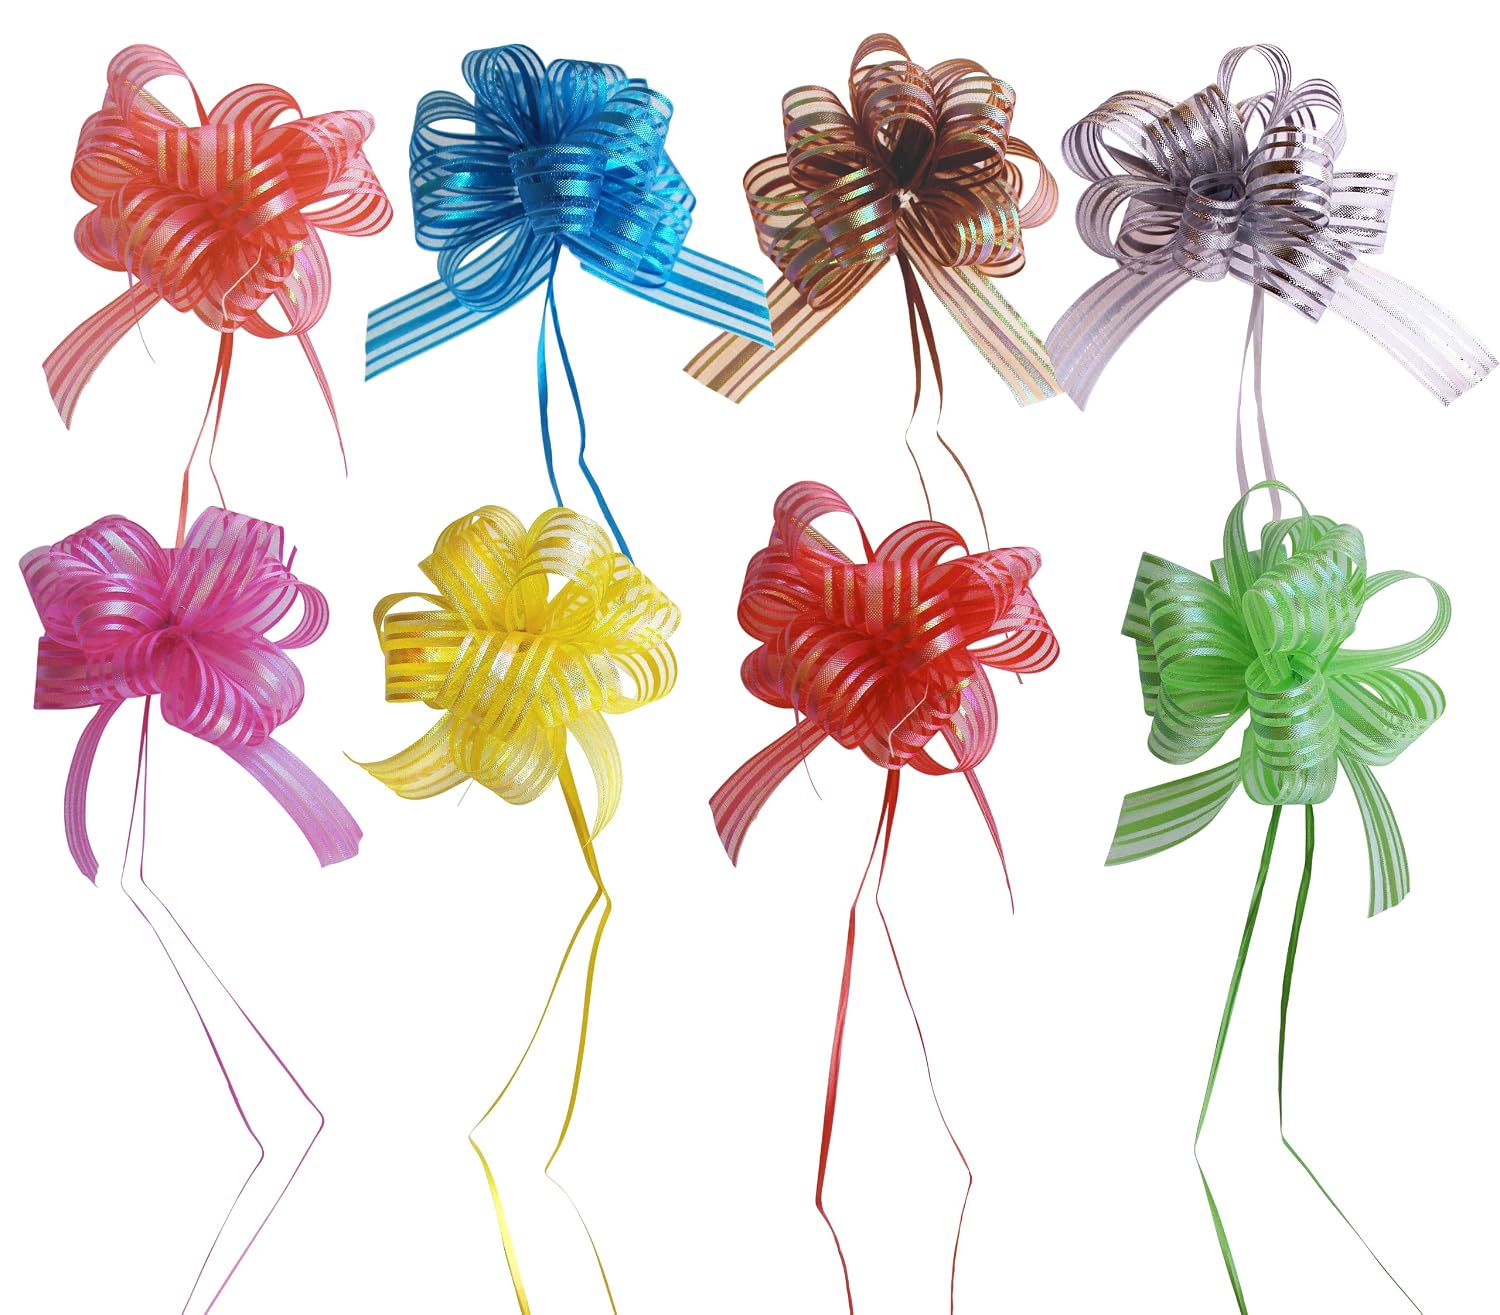 eZthings Decorative Designer Fabric Ribbons for Home Craft Projects and
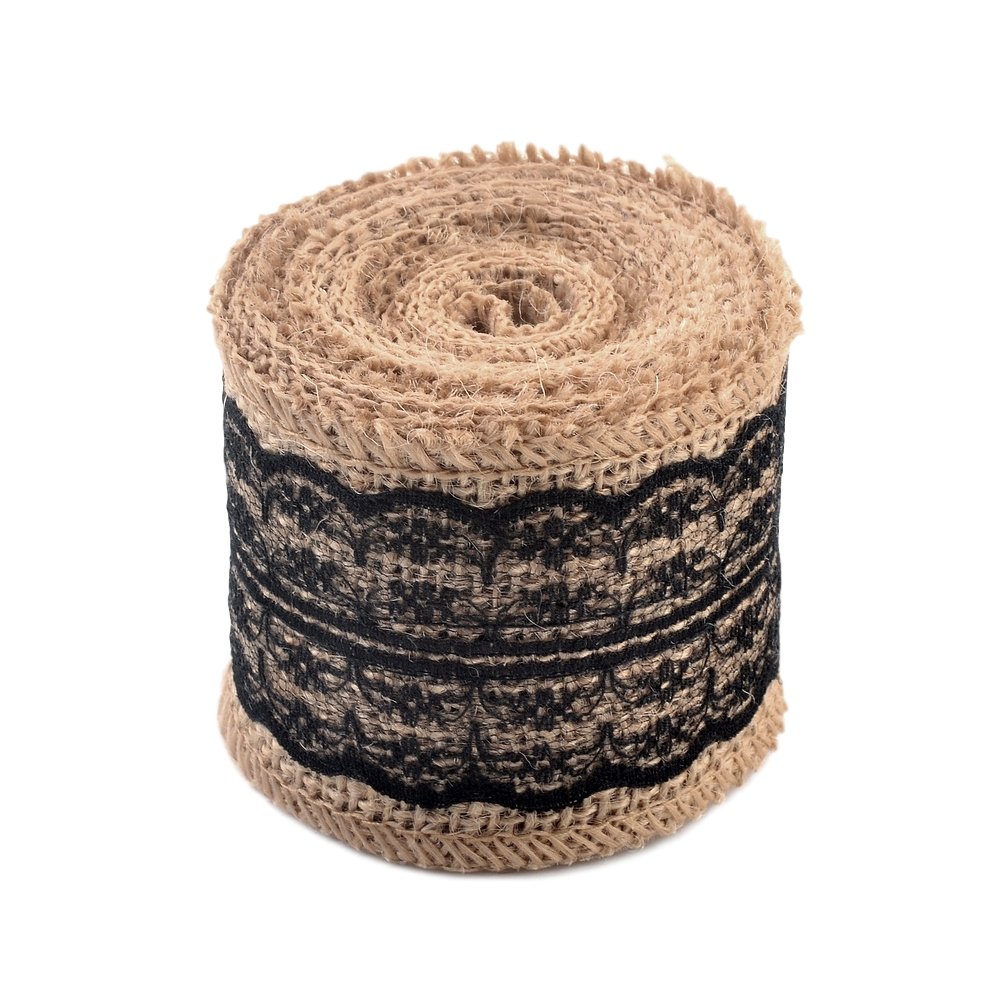 Craft and Party Super Clear Cellophane Wrap Roll (40" X
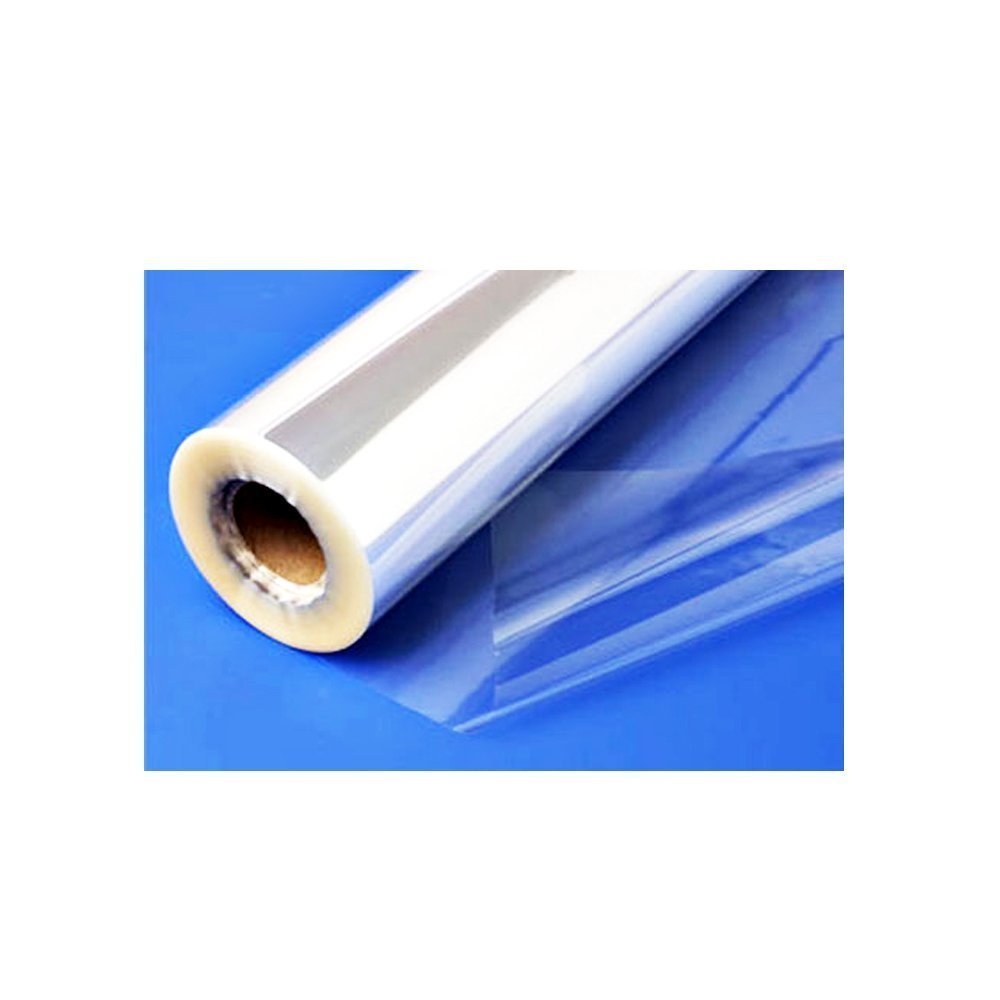 Patterned Specialty & Event Boxes - Chevron Chic Gift Basket
 Set of (3) Elegant Shrink Wrap 24" X 30" (Clear)